I recently came into possession of 2 older 12V cordless Milwaukee power tools (a 3/8impact socket driver, and a 1/2
drill) along with a huge lot of other tools. The NiCd batteries were dead, as was the charger. Not wanting to part with these for cheap or buy another charger and cells for a repack, and having already invested into the Ryobi 18V One+ ecosystem, I decided to make an adapter for my existing 4Ah Li-Ion batteries.
Before I go further, be aware that over-volting a power tool may shorten its lifespan. They did not seem to overheat in testing at 18V, and after hours of use, no 'magic smoke' has leaked out. Regardless, be careful.
I started by tracing the bottom of one of my Ryobi drills (where the battery attaches) onto a thin sheet of polycarbonate. After cutting the outer profile with a band saw, and the inner profile with a dremel, I fitted this onto a Ryobi battery until it securely locked in place. I epoxied another piece of polycarbonate to the underside of this sheet for a more secure fit.
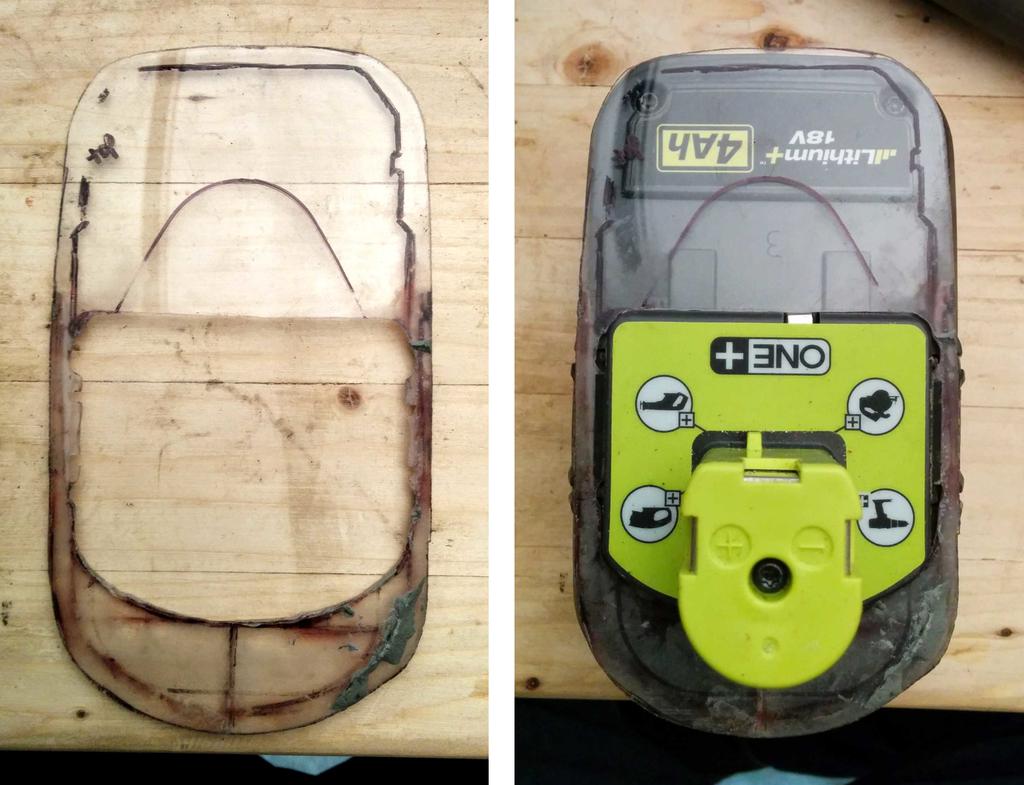
I then removed the top half of the casing of the dead Milwaukee battery, and eye-balled a few band saw cuts so that it would fit atop the Ryobi battery at the right height to fit into the Milwaukee tools.
Next, I cut a few interlocking pieces of polycarbonate and epoxied them to the first polycarb sandwich and to the top of the Milwaukee battery casing.
While this cured, I took the terminals from the Milwaukee battery, and soldered these to ones from the dead charger to fit over the plastic tabs I left when cutting the Milwaukee battery.
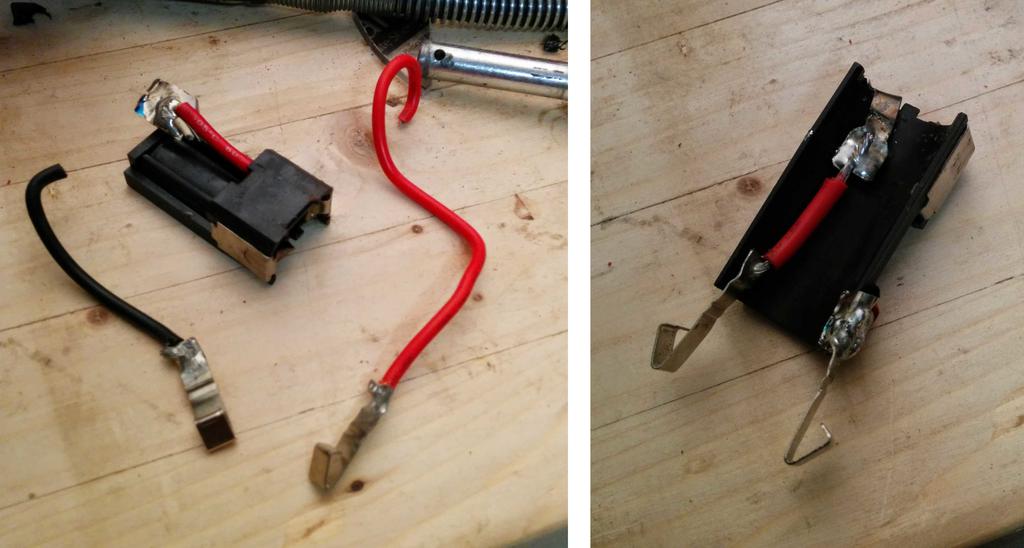
These fit securely over the Ryobi battery terminals for a good connection. Most of the electrical is press-fit into place, and is later fully secured and protected with more polycarbonate/JB PlasticWeld (2-part putty-like hard epoxy for plastic).
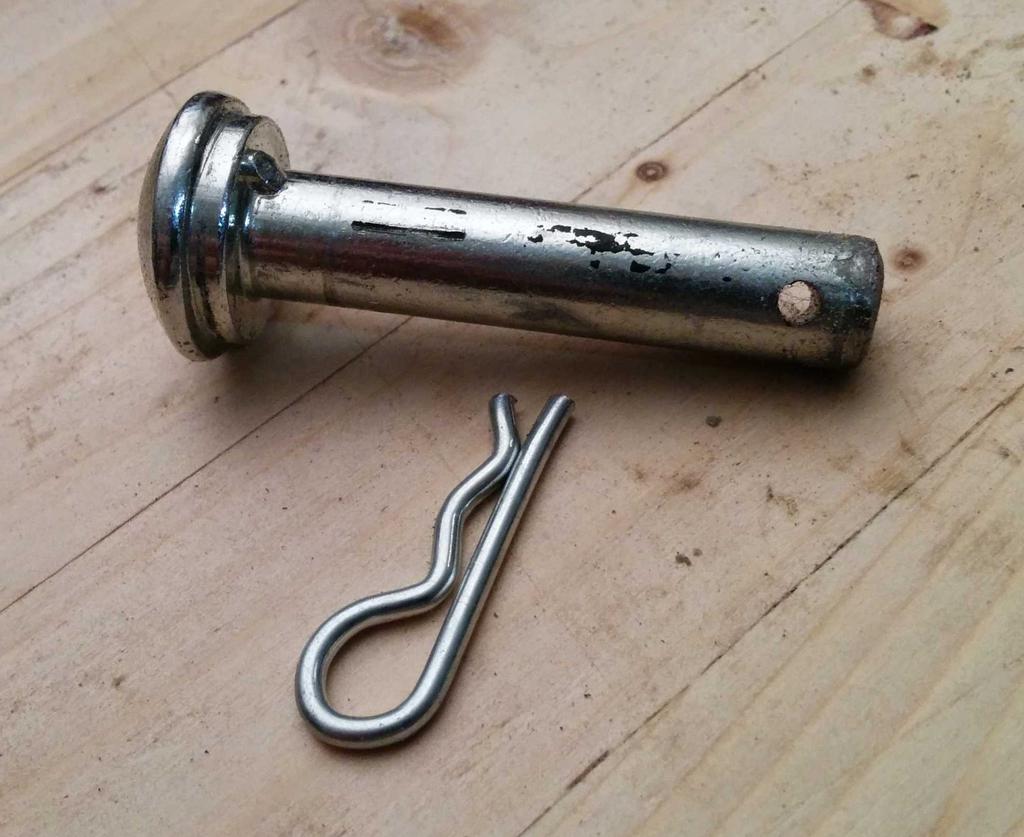
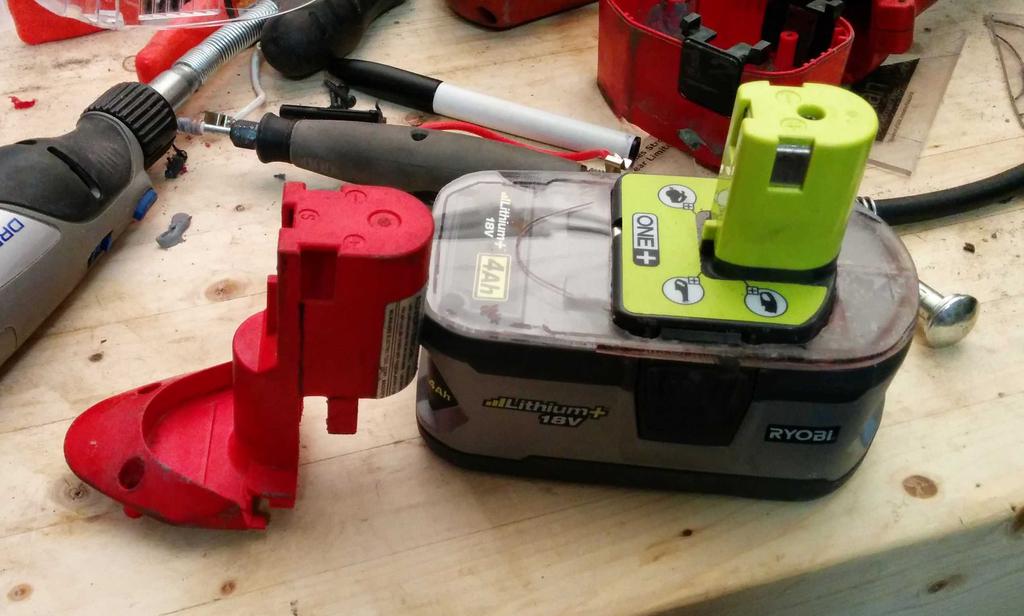
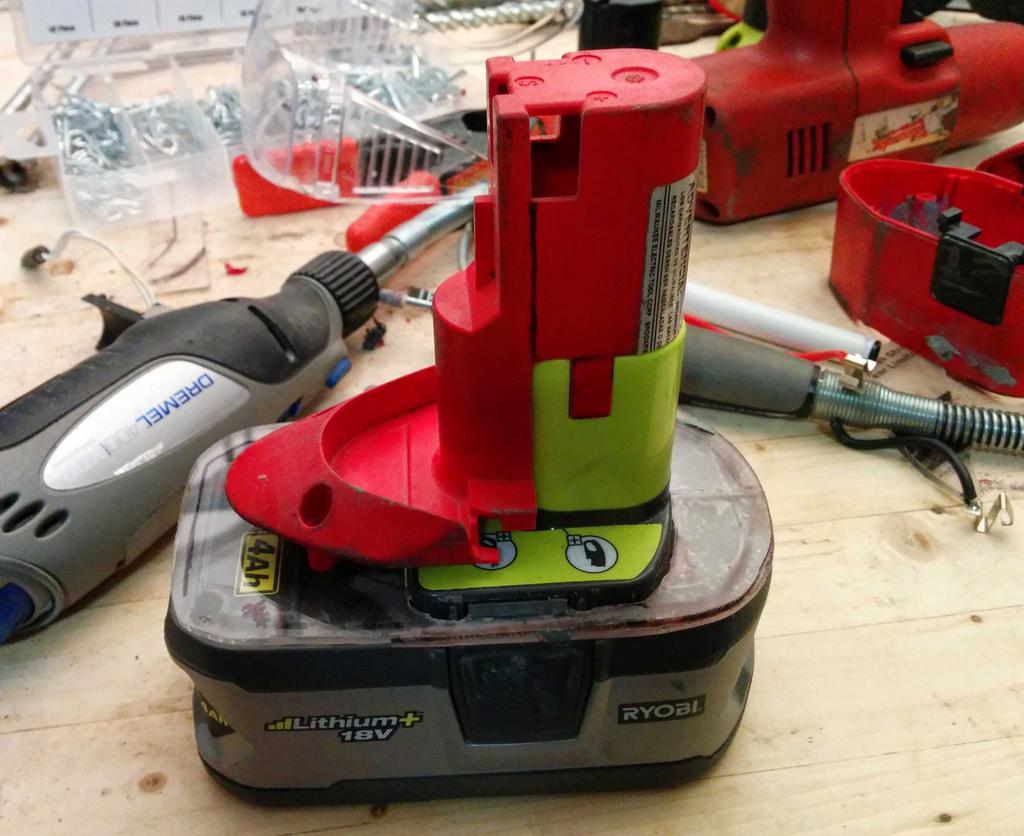
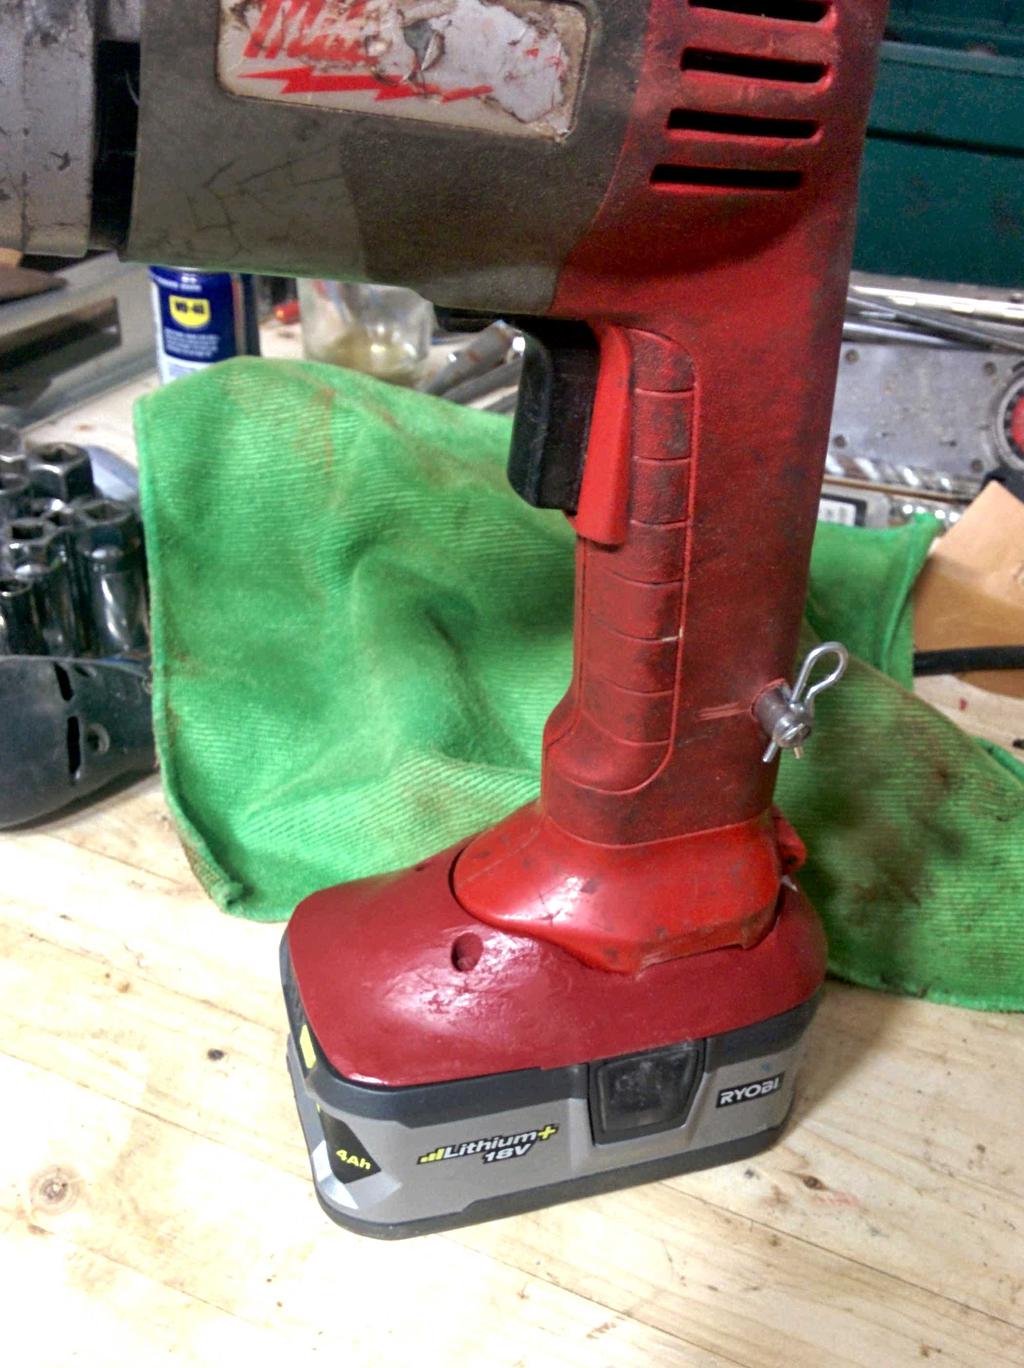
Since I cannibalized the physical connection between the old Milwaukee battery and tools earlier (to cut about 2-3 inches of height from the adapter), I needed a way to secure the adapter to the tools. To do so, I drilled matching holes through the grip of the tools and the back of the adapter, having given myself plenty of clearance for the wiring. Putting layers of polycarbonate, PlasticWeld, and wood between the wiring and the holes, I secured the battery to the tools with an improvised hitch-pin (portion of head ground for clearance, threads ground away, hole drilled on the end) and a hitch-pin clip (note: this picture was taken before I ground the back-side of the head down).
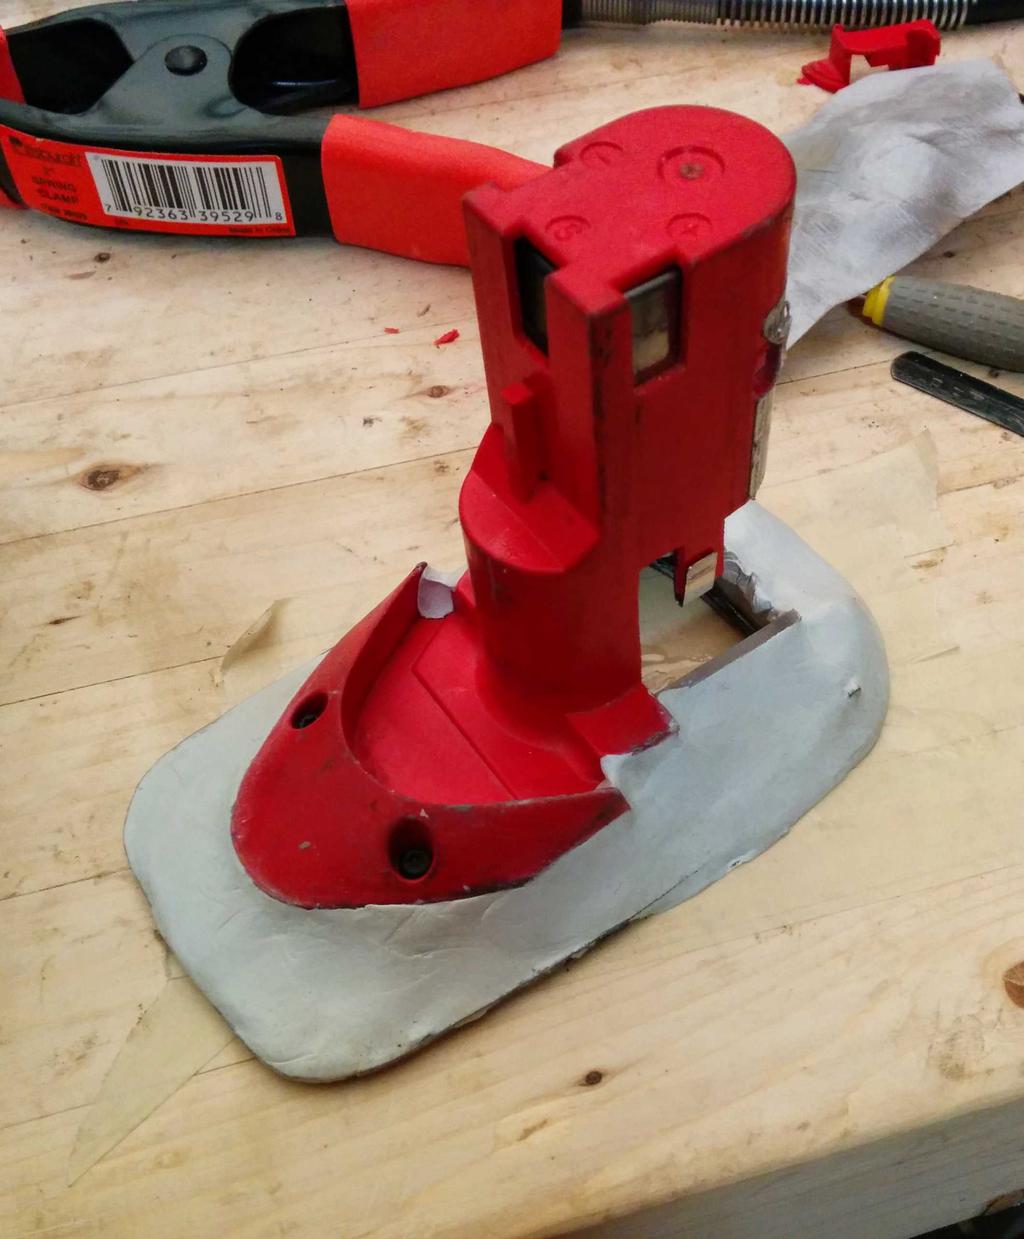
From there, I covered my Ryobi battery with a thin polyethylene bag, fitted the adapter over that, making sure it locked into place on the battery, and tightly packed the PlasticWeld around the the sheets of polycarbonate and remnants of the Milwaukee battery case.
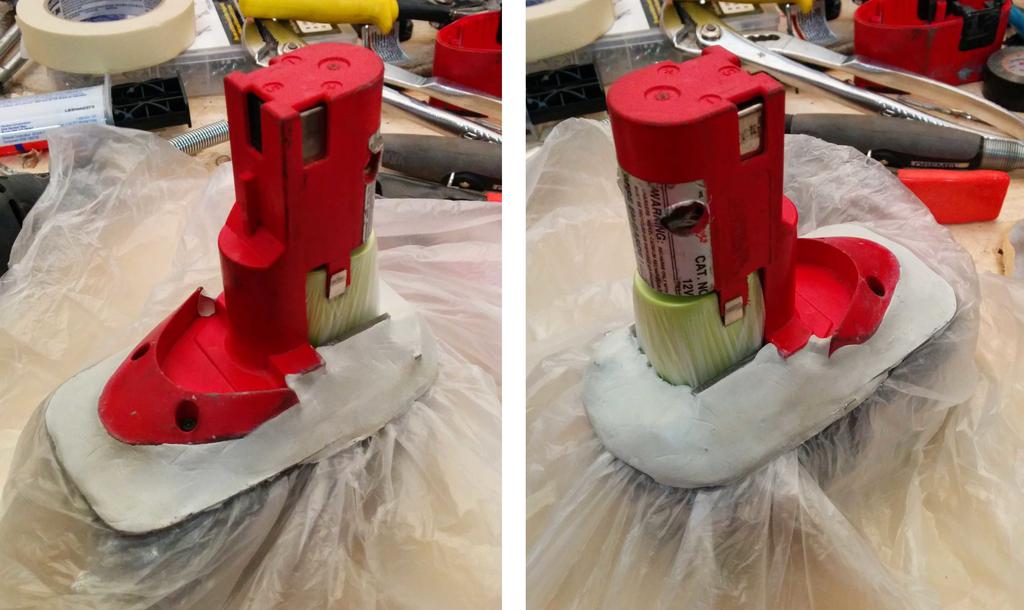
The PlasticWeld didn't stick to the garbage bag (lucky break), so the adapter lifted right off of the battery, and the garbage bag peeled away cleanly.
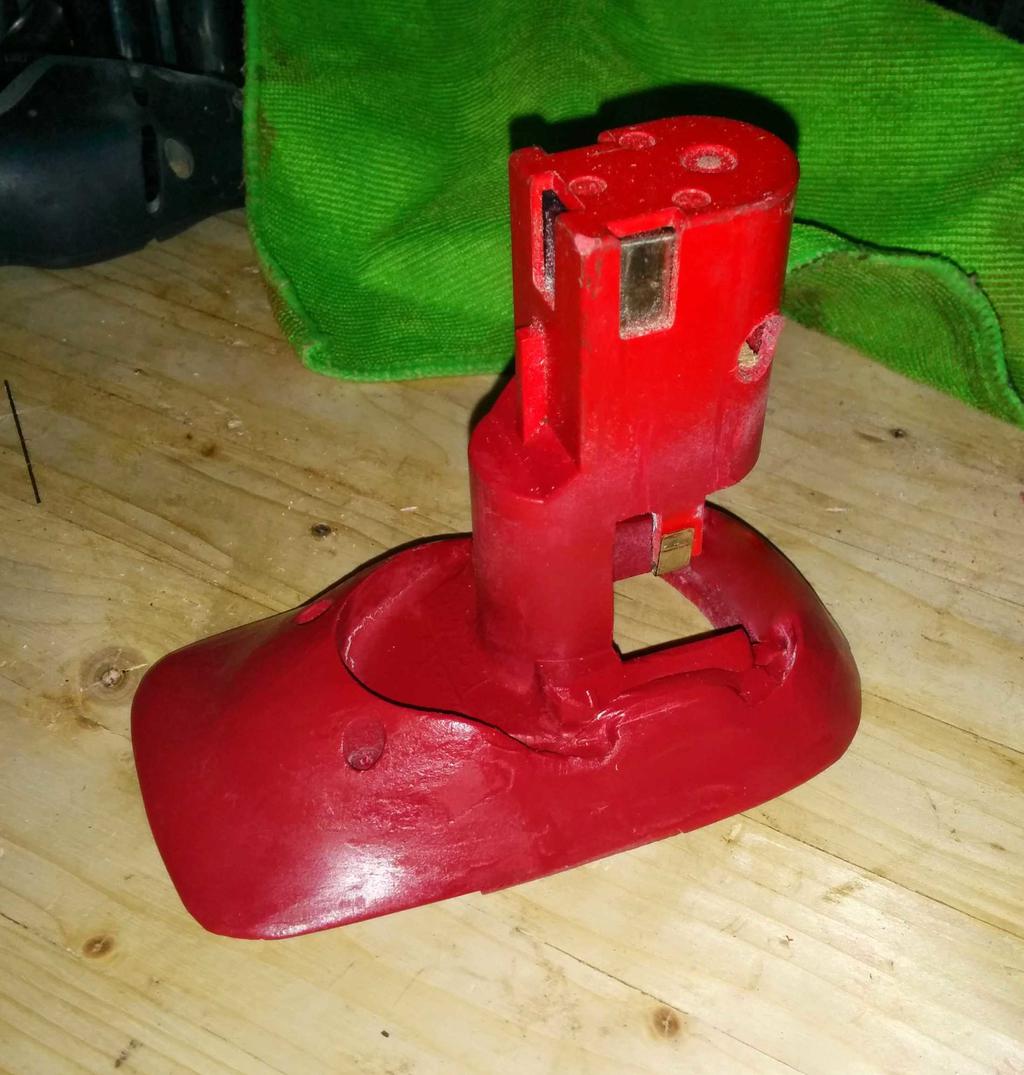
After curing, I quickly sanded it to remove some of the wrinkles from where the bag was, and hit it with a quick coat of spray paint. After about an hour of active work and a few patient nights of PlasticWeld curing, here it is!

To leave a comment below, sign in using Github.