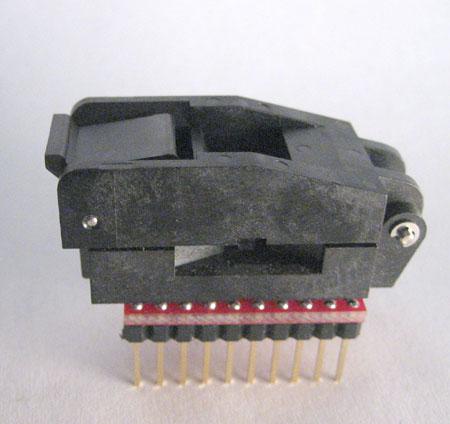
This was designed to replace something like the adapter shown to the right, an expensive bit of kit at the time of writing.
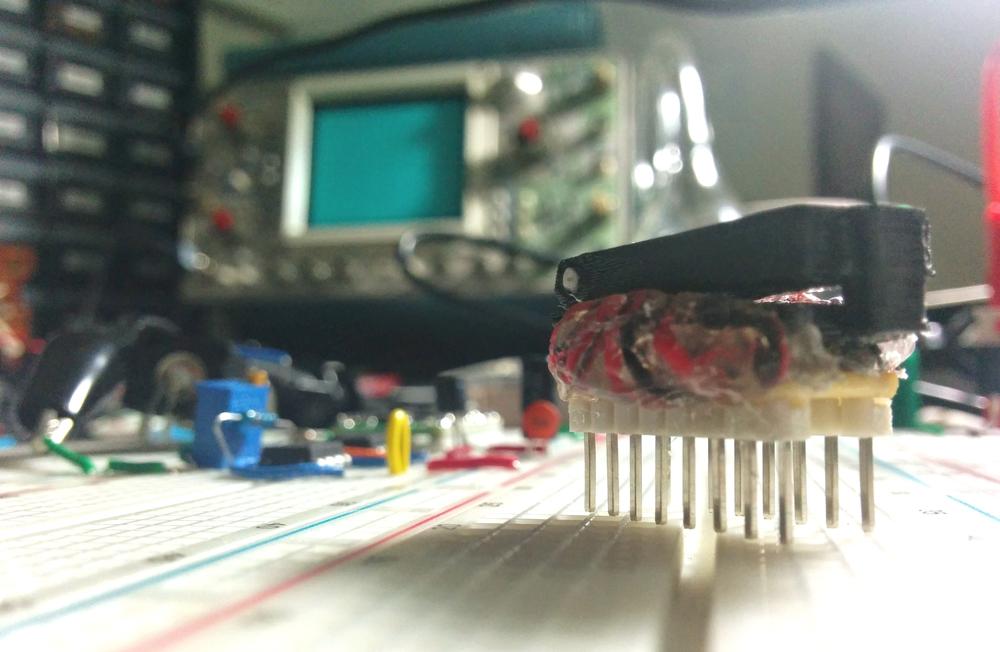
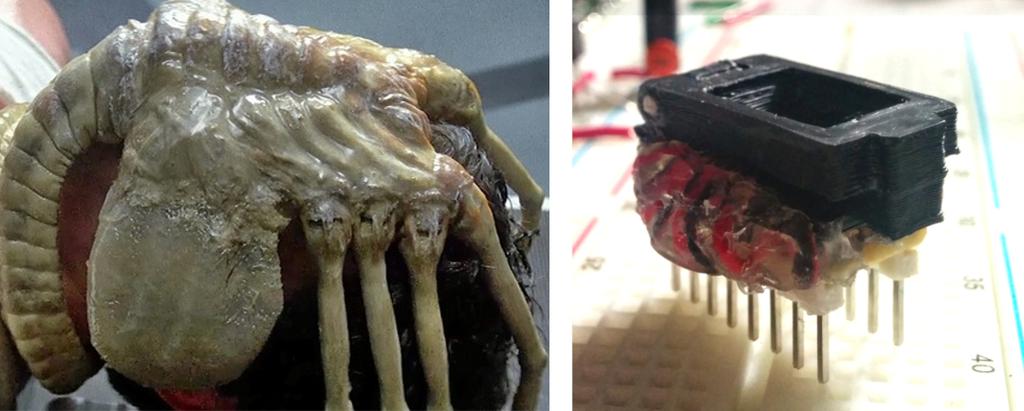
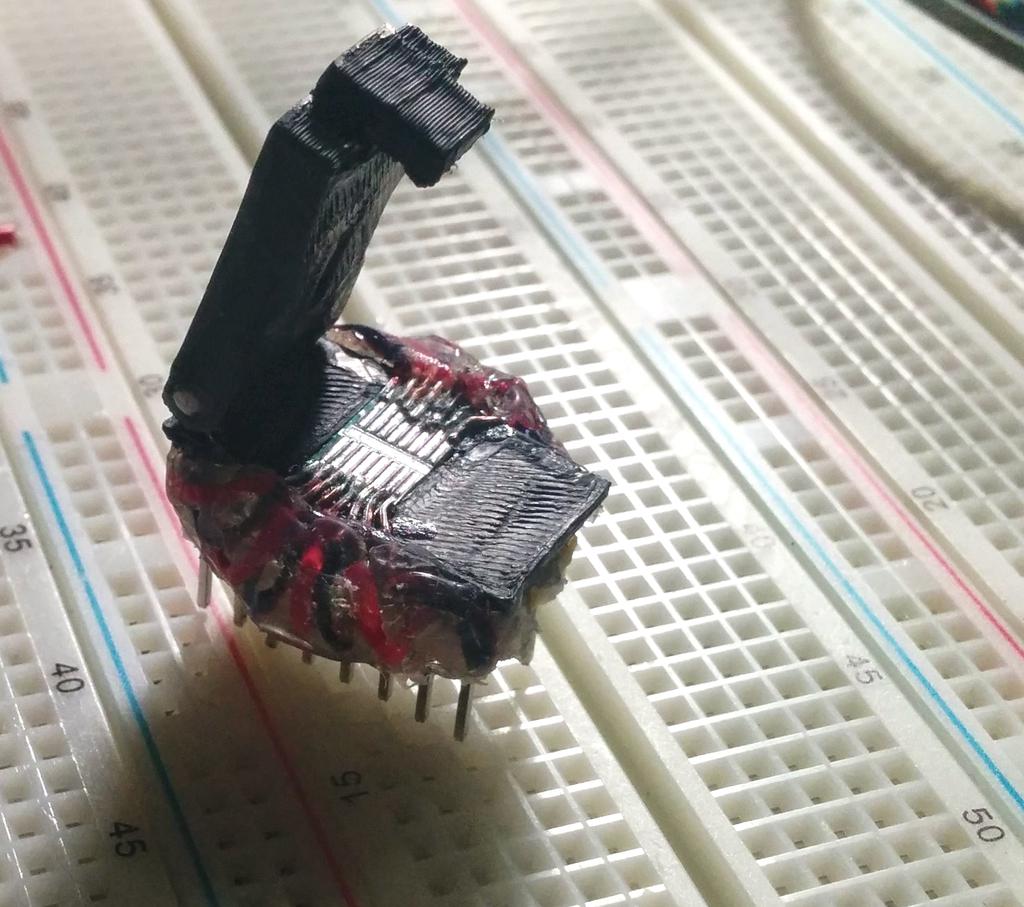
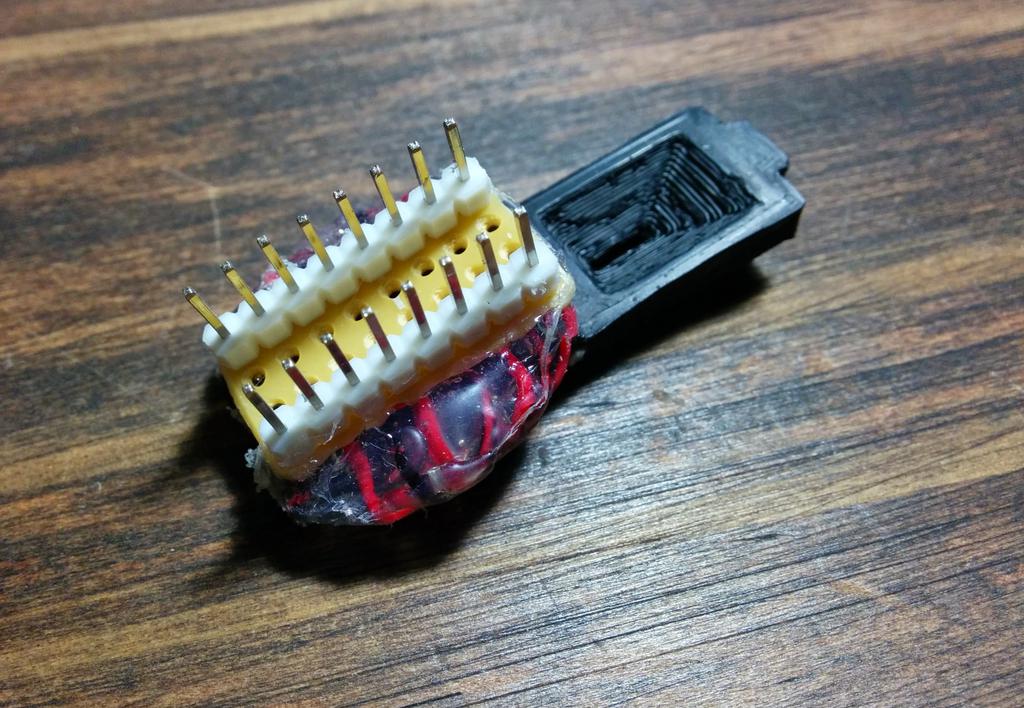
The one I made can hold one component with 16 or fewer pins, or several smaller components at once. I highly recommend using enameled magnet wire (rather than larger PVC-insulated wire), both for ease of assembly and appearance (I didn't, so mine looks a bit like a facehugger). Alternatively, taking this idea further and redesigning it to be made completely from PCB would be clean and cheap (now why didn't I just do that?!).
Instructions:
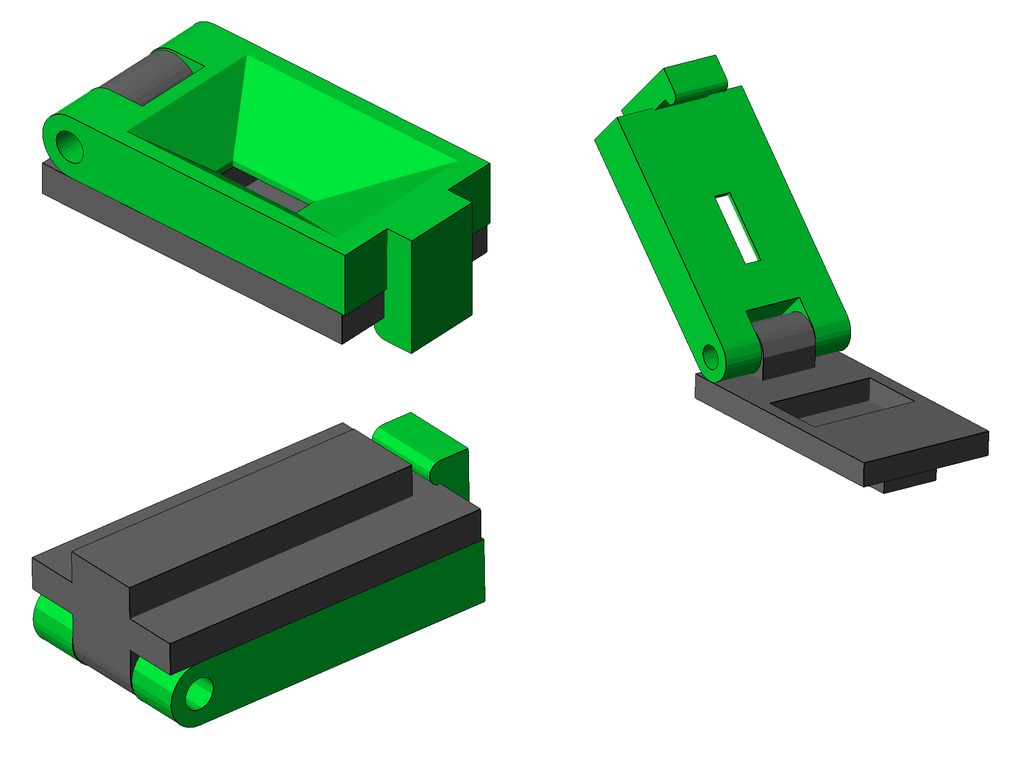
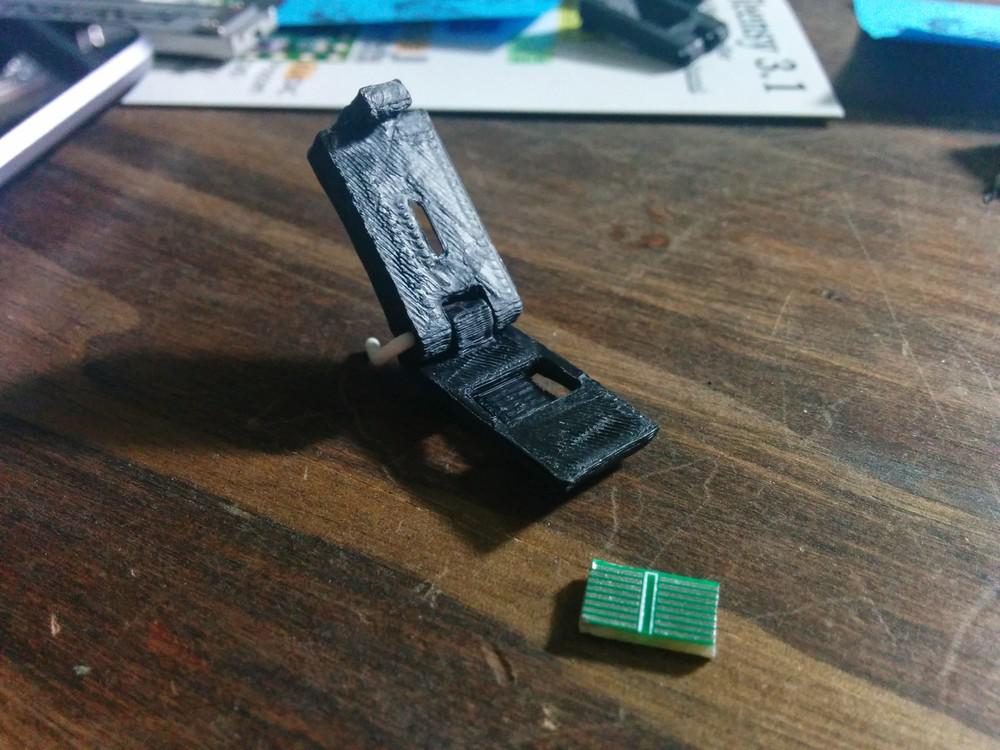
I printed the model at 0.1 mm layer thickness, with support material for the overhangs of the bottom half of the assembly. If copying this exactly, make sure to provide enough cooling to keep the clip from distorting while it is printed (alternatively, allow more cooling time by pausing between layers layers or printing multiples).
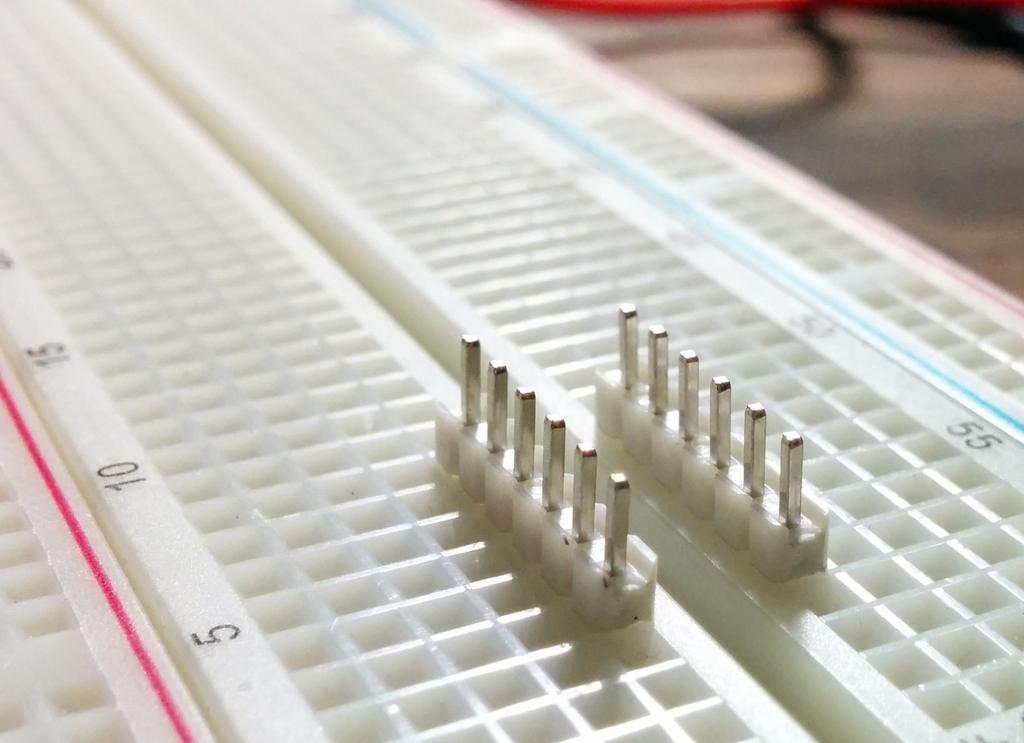
To secure the hinge, I inserted a piece of insulated 26 gauge wire through the holes and trimmed the excess. For the base of the adapter, I soldered two 8-pin segments of 0.1" header to a 4x8-hole piece of perf-board.
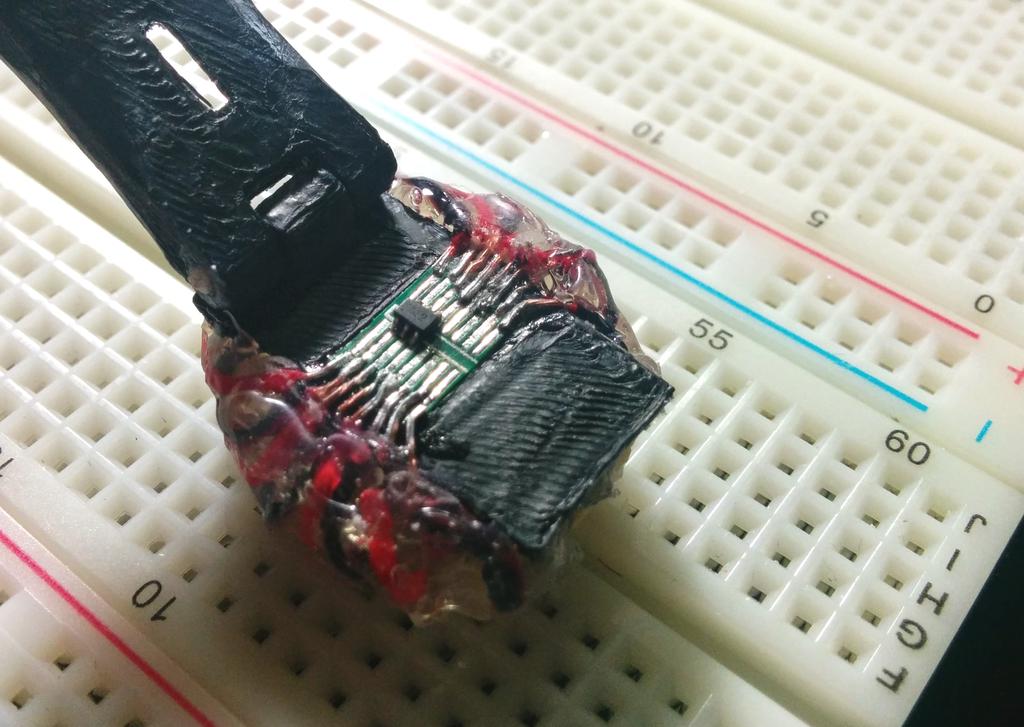
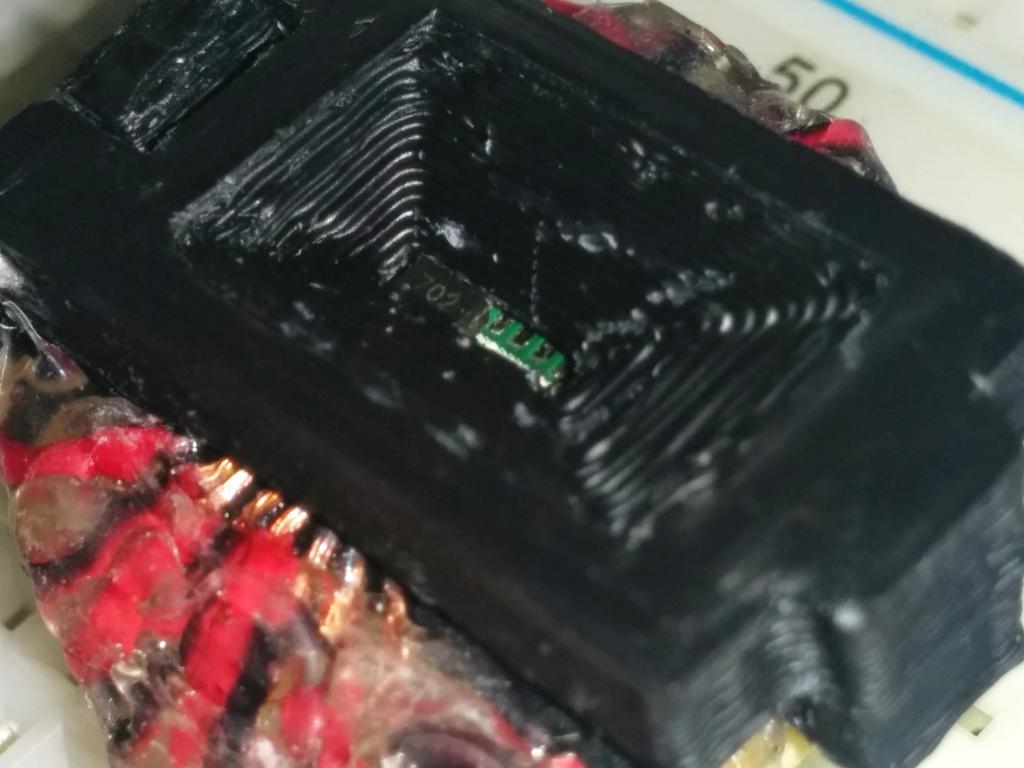
Next, I cut an SC-70 pad from a PCB in my scrap pile (for which I allowed 9.7 mm x 5.9 mm x 1.9 mm in the model) and pressed it into the print. One could have also used something like this (http://www.amazon.com/20PCS-SOP28-SSOP28-TSSOP28-Adapter/dp/B00O9YJ1US), adapting the model accordingly.
I then glued the 3D print to the perf-board, soldered wires from the footprint to the headers, checked for continuity and shorts, and hot-glued the wires in place to keep them from moving.
Enjoy!
Designed using OpenSCAD in October 2014. Refer to its Thingiverse page for downloads and more information.
To leave a comment below, sign in using Github.