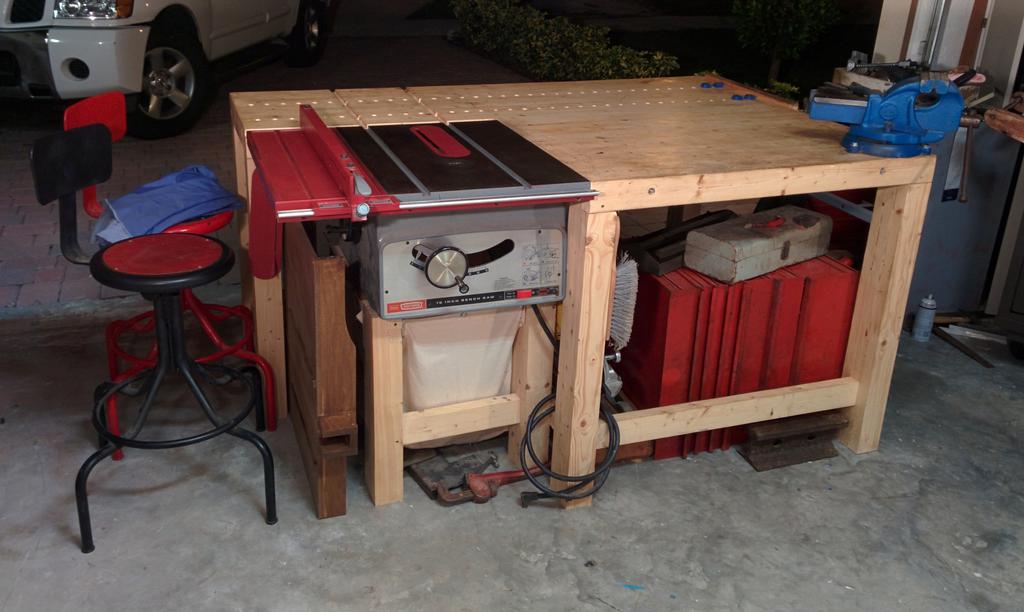
About a year ago, tired of using my garage floor as my primary outdoor work-surface, I built this heavy-duty workbench. The bench is 38tall, has a 3-1/4
-thick 4 ft x 8 ft butcher-block top, weighs roughly 400 lbs excluding the saw (a 40 year old Craftsman tablesaw, model 113.29943, that I bought at a garage sale for $20 and restored), and is held together by mortise and tenon.
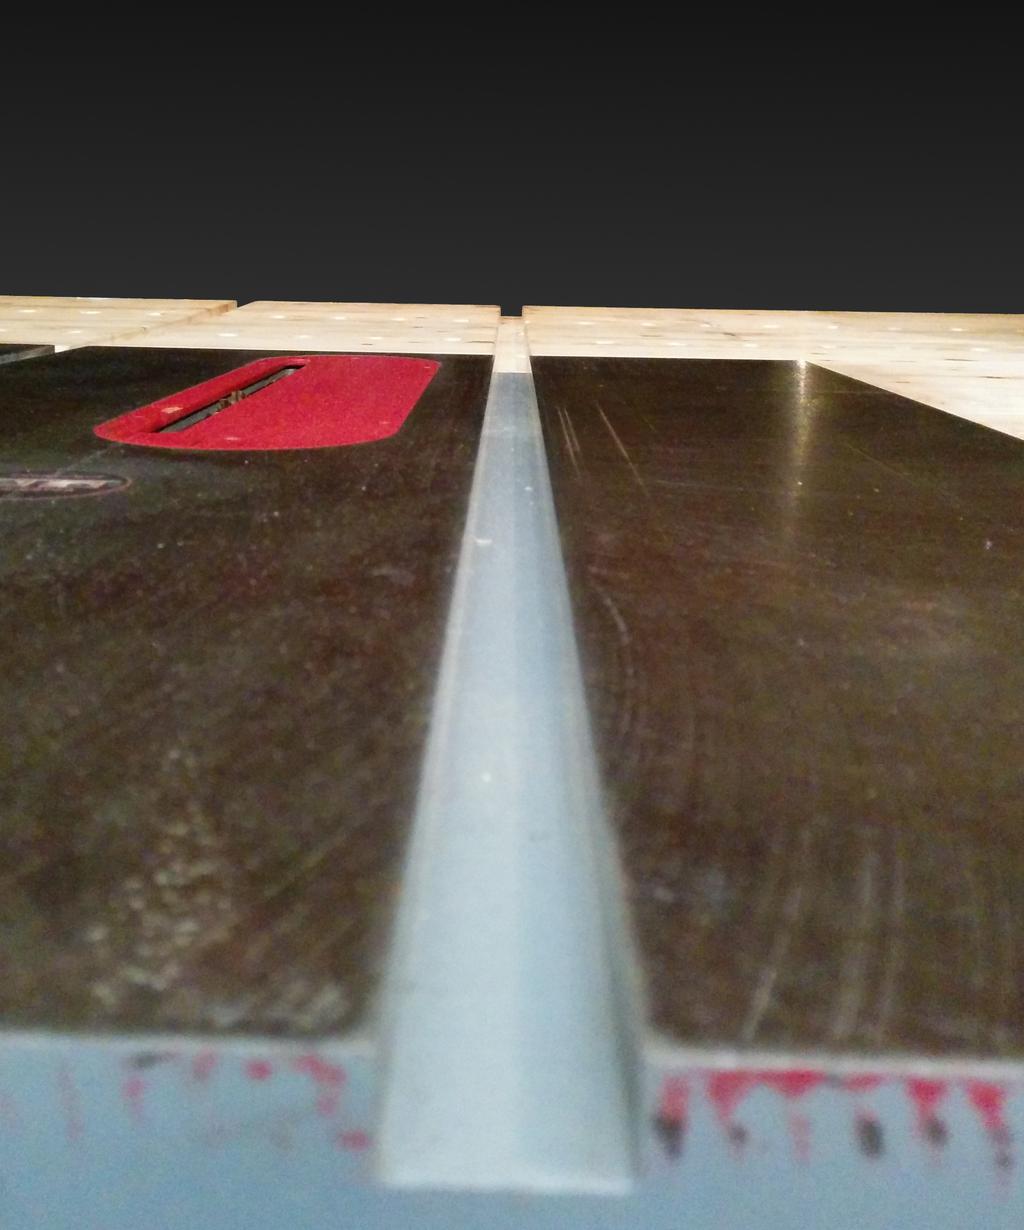
The surface of the workbench is flush with the tablesaw, which is bolted directly to the workbench. This synergy serves both to increase its stability and working capacity (providing outfeed support and additional support to the right side of the saw), and makes cutting large pieces of material a much less dicey affair. Miter slots were routed into the workbench surface behind the saw and extend to the edge of the workbench so that tablesaw cutting jigs (like a crosscut sled or miter gauge) can still be used without interference from the table.
The workbench rests on 6 legs (with the tablesaw removed, it has 6 corners), and the tablesaw rests on a separate 4-legged base. The top of the tablesaw is bolted securely to the workbench, using existing tablesaw mount-points.
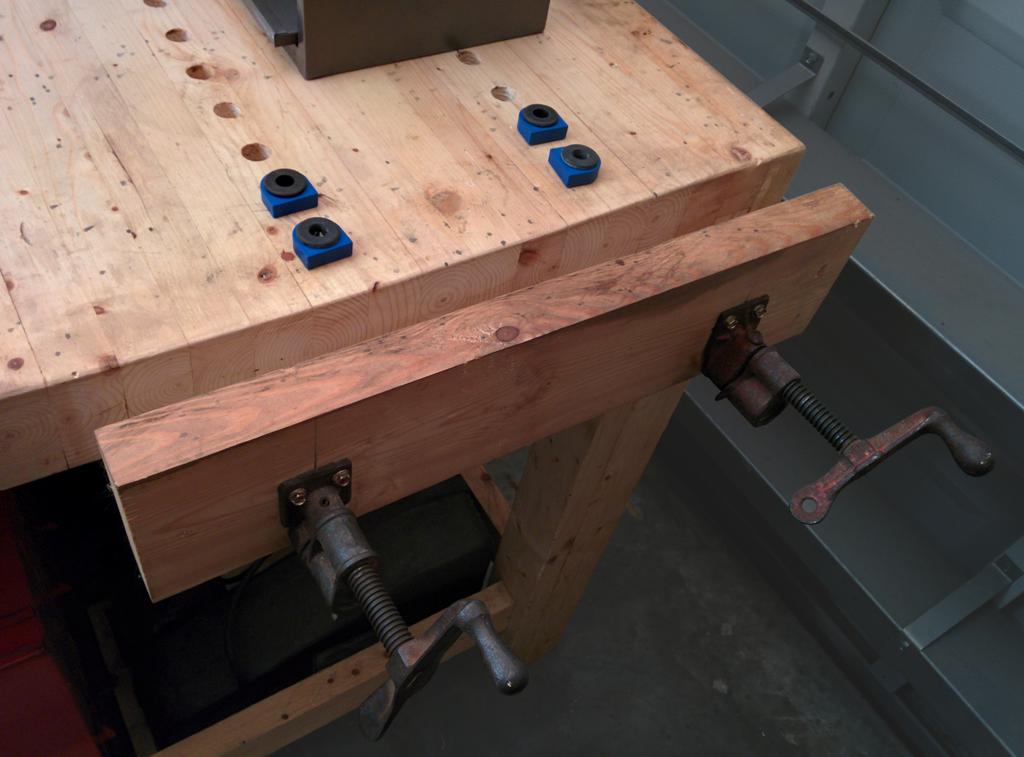
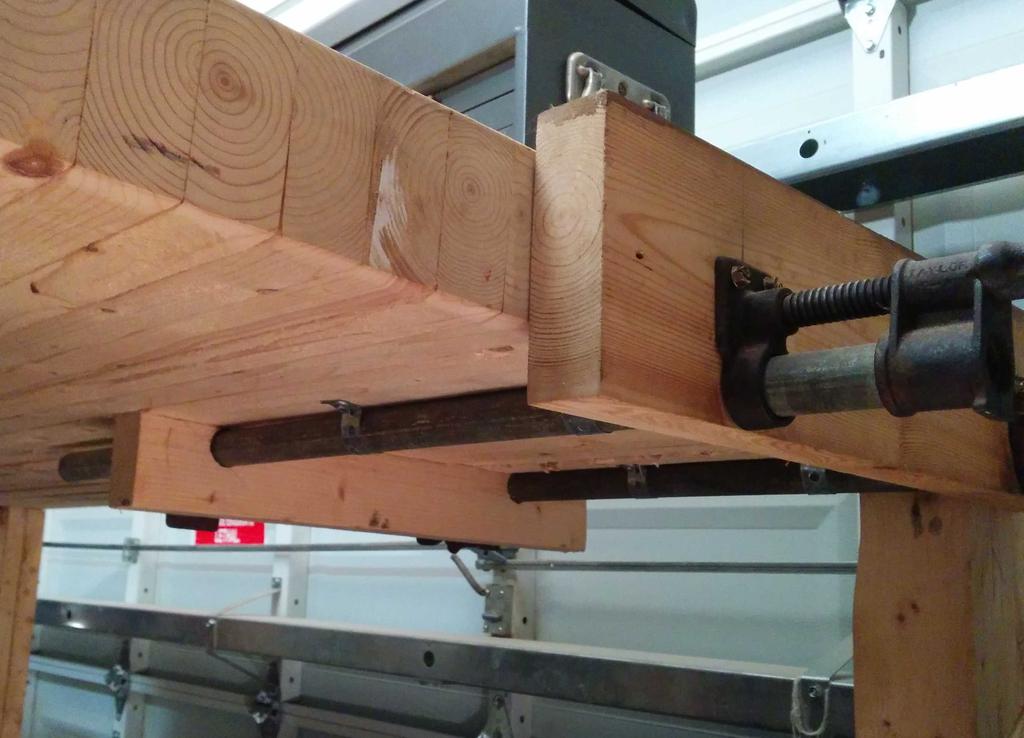
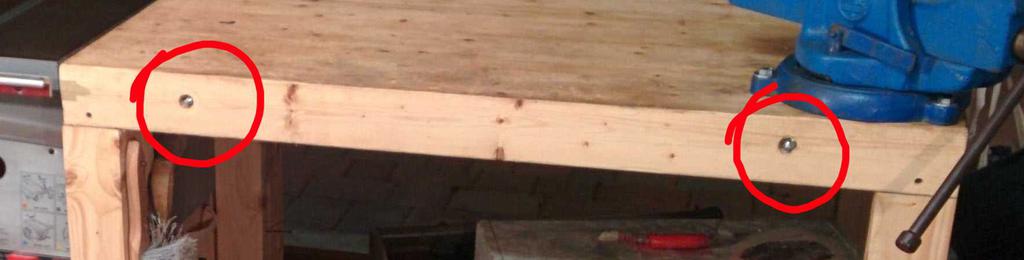
On the back right-hand corner of the bench, I built a woodworking vise using pipe-clamps, and drilled dog-holes every 2 inches along the entire length of the bench for clamping large and/or irregularly shaped objects.
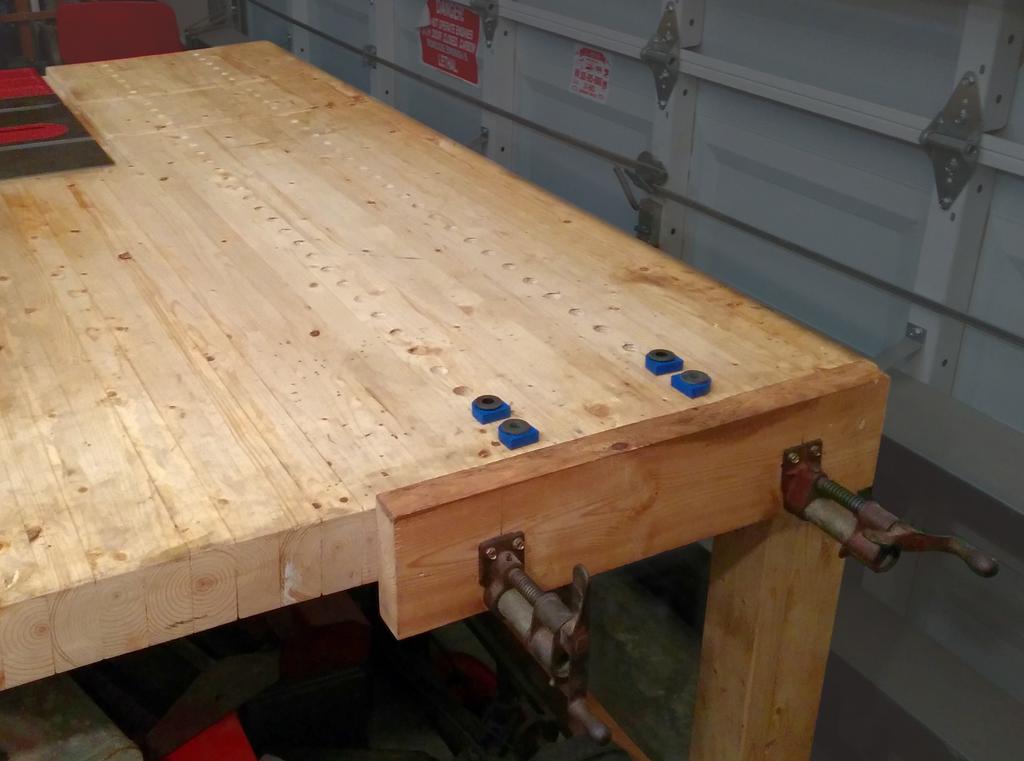
The entire bench was made using roughly $80 worth of untreated southern pine 2x4s. After spending about 2 hours at home depot hand-picking the straightest (and driest) boards in stock, I ripped both short sides of each board, and spread out the boards so I could plan my cuts around any defects I saw. After cutting the boards for the top (32 of them) to length (some 8 ft long, others shorter to accommodate the tablesaw), the undersides of some of the boards were notched. When glued together, these notches created mortises for tenons at the top of each of the legs to secure the top to the base.
Given that the top started out as 32 separate boards, aligning them for gluing and clamping presented a challenge. Without enough clamps longer than 4 ft to glue the entire top at once (and not wanting to assemble the top in pieces) I drilled matching holes in each of the boards (two for each of the boards for the narrower portion of the top, and three for each for the wider portion), recessed the outward-facing holes, and inserted long threaded rods through them. I added washers and nylon-threaded nuts to both ends of each rod, and ratcheted these tight immediately after gluing to provide the extra clamping force that I needed to glue the top.
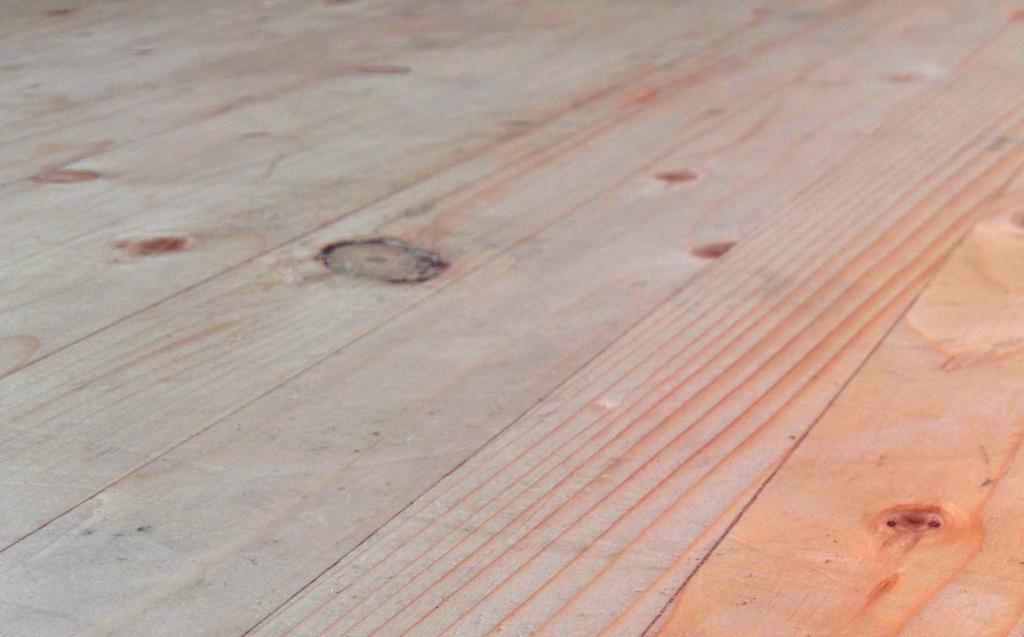
Allowing plenty of time for the glue to cure, I removed the clamps, and planed the top flat by hand (starting with a 24" Stanley Bedrock plane, and working down to smaller planes). Once sufficiently flat, I smoothed it further using a card scraper, leaving a silky-smooth finish.
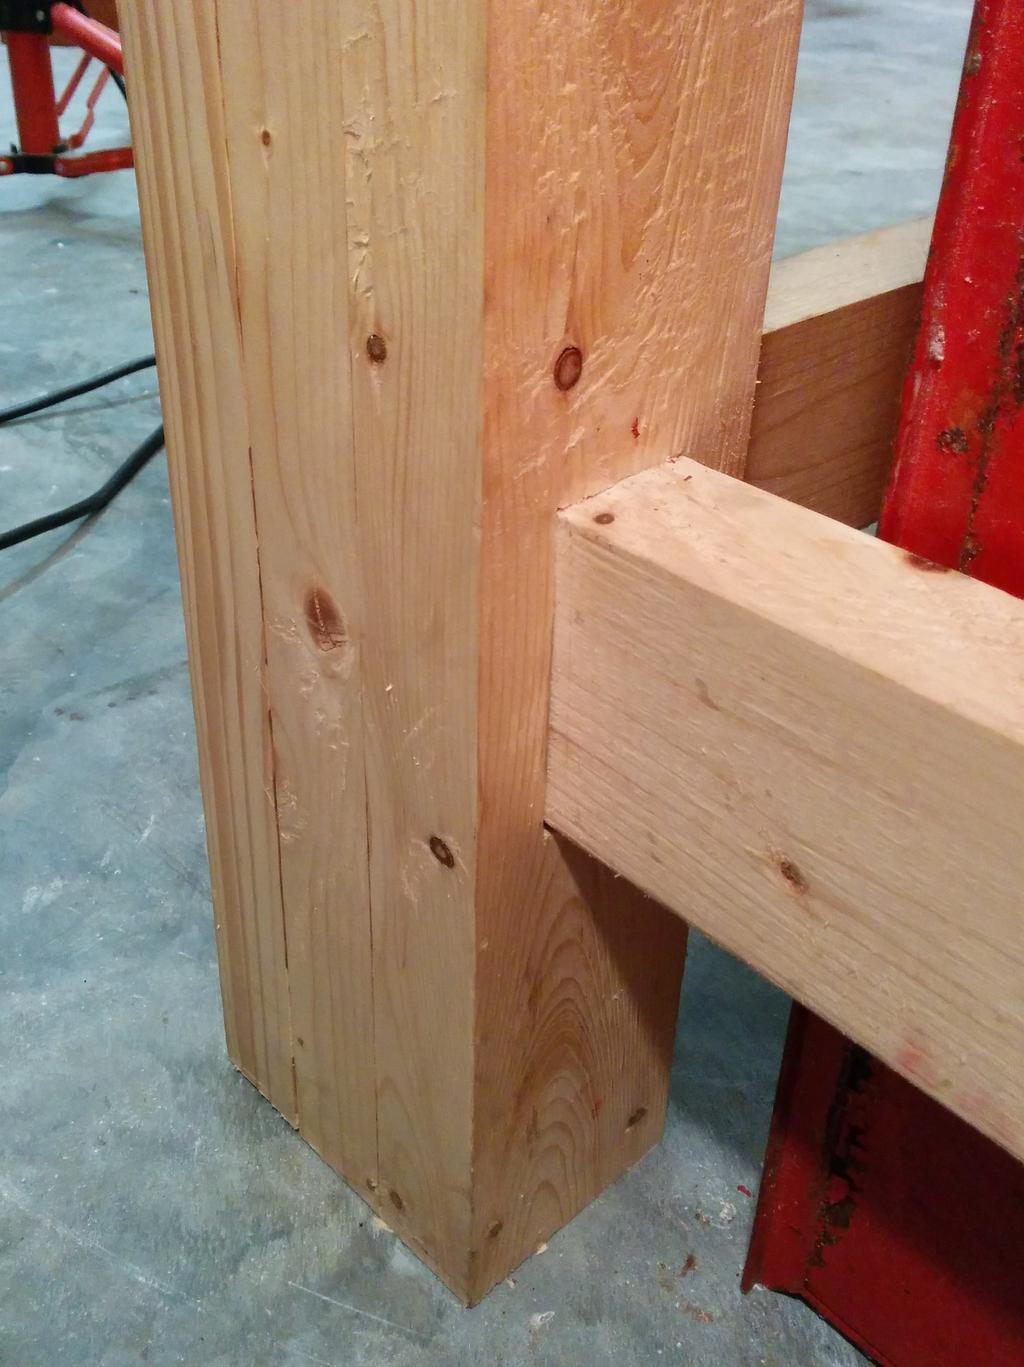
Each leg was made from 3 boards laminated together (glued and clamped just like the top), leaving the middle board longer than the two outer boards (to fit into the notches built into the underside of the top), and with mortises near the bottom of each leg chiseled out before clamping.
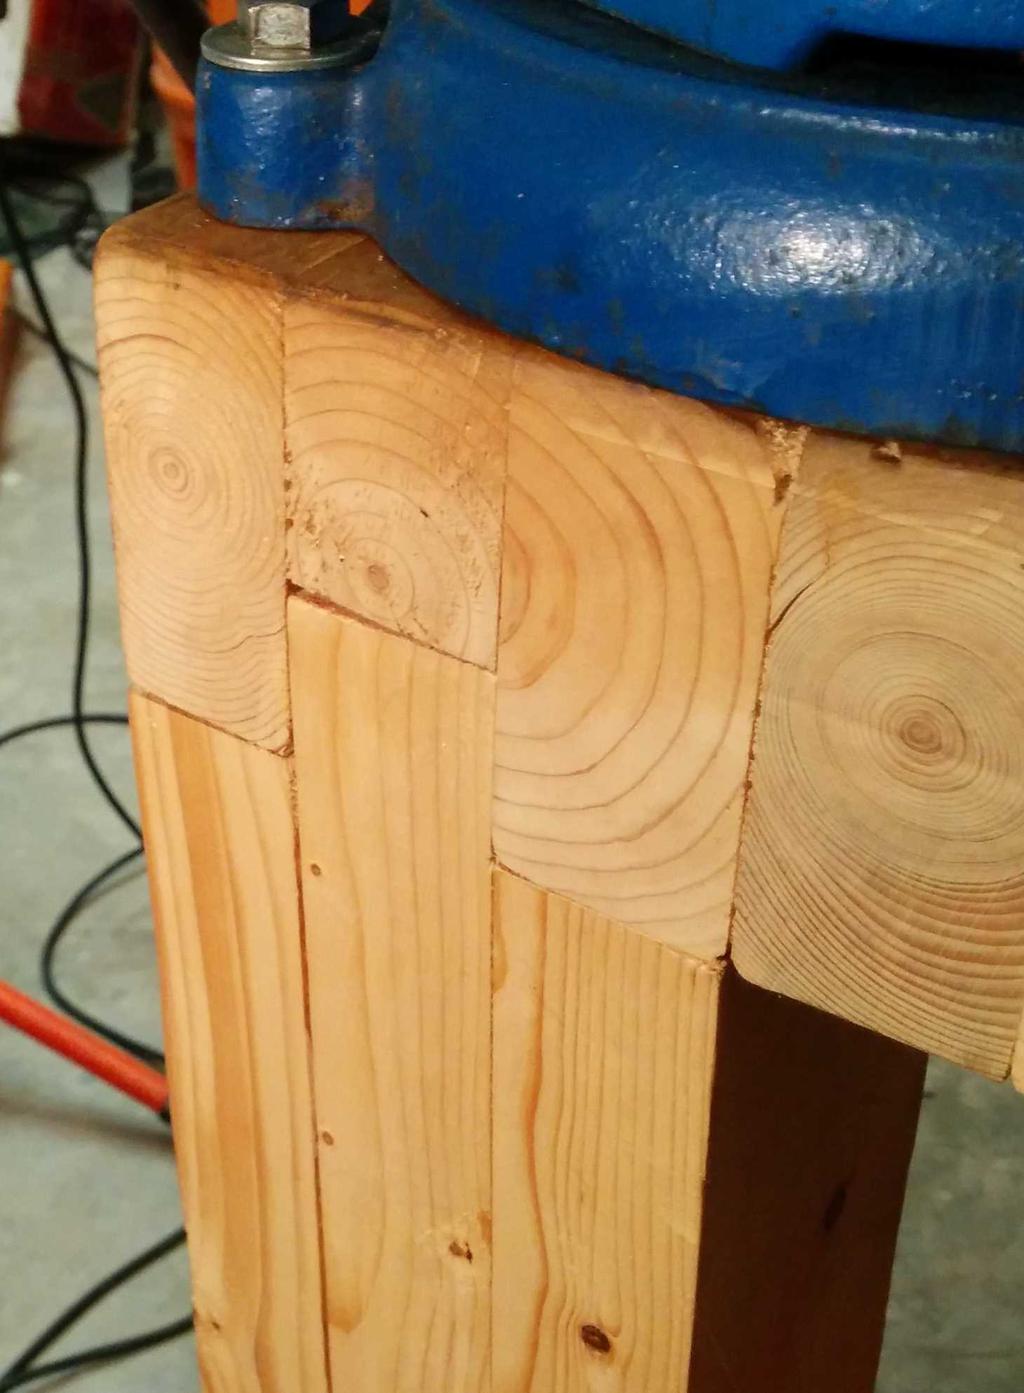
2x4s acted as cross-beams from each leg to the next, and were fit as tenons into the mortises using a mallet. Due to the tight fit of all of the pieces, no additional adhesives or fasteners were necessary to hold the bench together or to maintain structural integrity.
Finally, the bench was coated in Johnson Paste Wax for protection, and nails were added for hanging brushes and tablesaw accessories under the bench.
To leave a comment below, sign in using Github.