Why not just buy one?
I was in the market for a protective sleeve for my tablet, but couldn't find exactly what I was looking for. Specifically, I wanted one that was:
- cheap (ideally $10 or less),
- more sophisticated-looking than my nephew's gameboy case, and
- that would securely hold my chunky aluminum touchscreen stylus adjacent to (but physically separate from) the tablet.
Unable to find all of these qualities, I set out to make my own.
How did I do it?
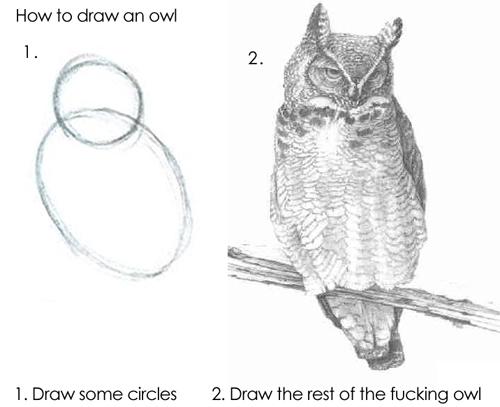
To be honest, it wasn't very difficult or time-consuming (but having a sewing machine really helped). Many incredibly confident and otherwise handy folks get flustered at the sight of fabric, but there really isn't any magic to it. Until you cut it, fabric is a pretty forgiving medium; if you misplace a stitch, you need only a sharp instrument to undo it and try again.
Initially, I wasn't sure exactly what look I was going for, but after picking through the clearance fabric-cutoffs section at a local craft/fabric store, I found a small amount of felt that looked and felt (ha!) about right. On the way to the register, I found a small assortment of wooden buttons and a black elastic hair band that I thought would complement it nicely. All told, I don't think I spent more than $6.
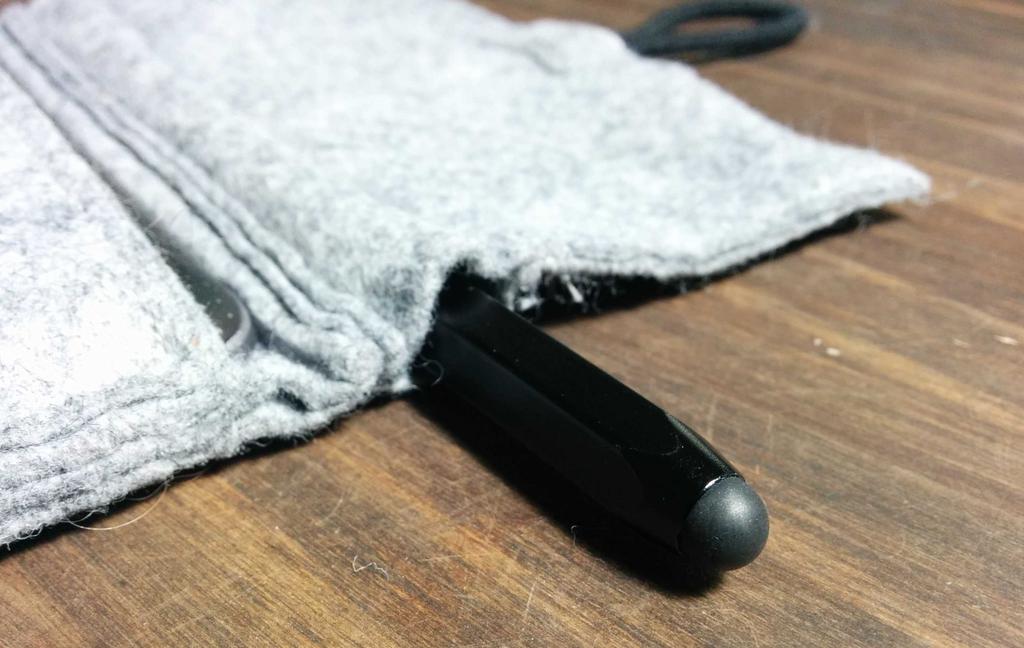
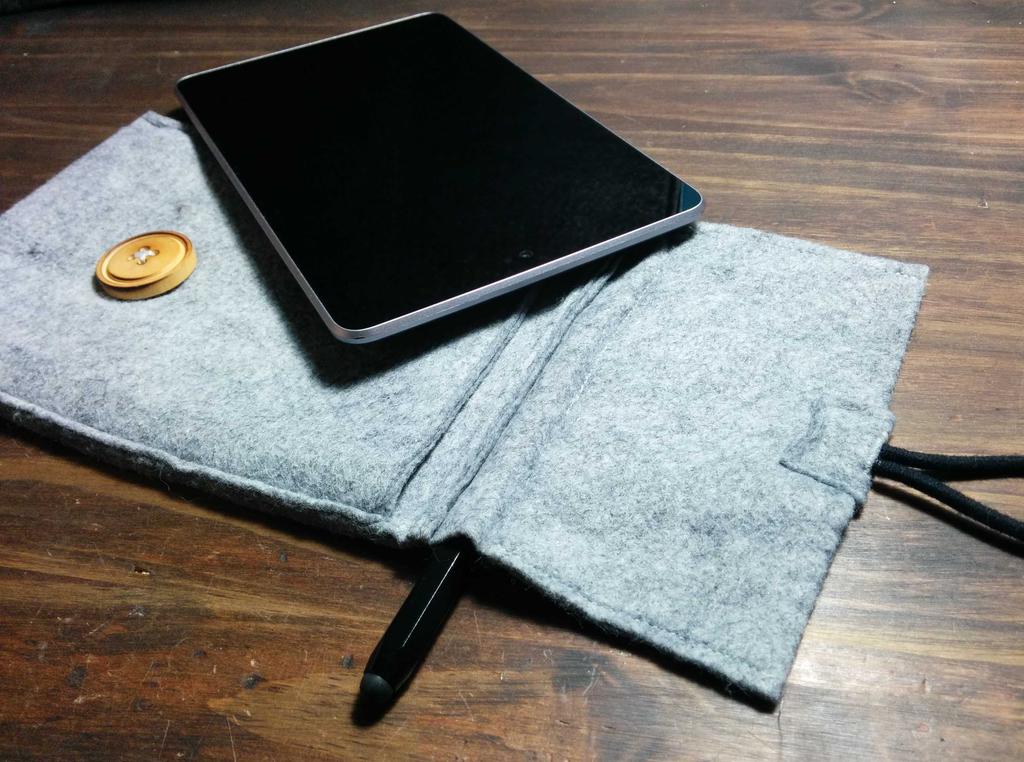
After getting home, I laid everything out around the tablet and figured out how I wanted things to look. As the felt was a bit thin as a monolayer, I doubled it over everywhere to provide additional padding, and stitched around the edge to reinforce it. The slot for the tablet was made by folding the doubled felt yet again, and running a stitch up both sides. Where I wanted the stylus to go (above the tablet but inside the fold), I left a small section of the edge of the doubled felt unstitched for it to slide into, and ran a stitch across the width of the sleeve to hold it in place.
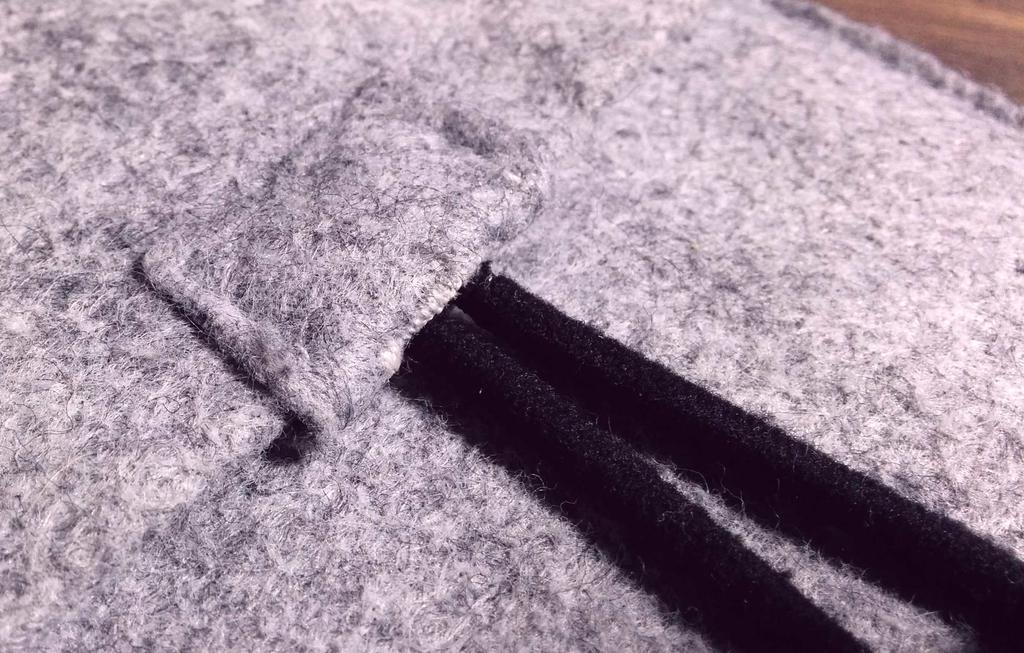
The elastic band was manually stitched to the flap to avoid piercing the elastic with the needle using several x-shaped stitches, and its attachment point was hidden using a small square of felt with a button-hole sewn into the middle, through which the band was passed. This was then stitched to the flap to secure it.
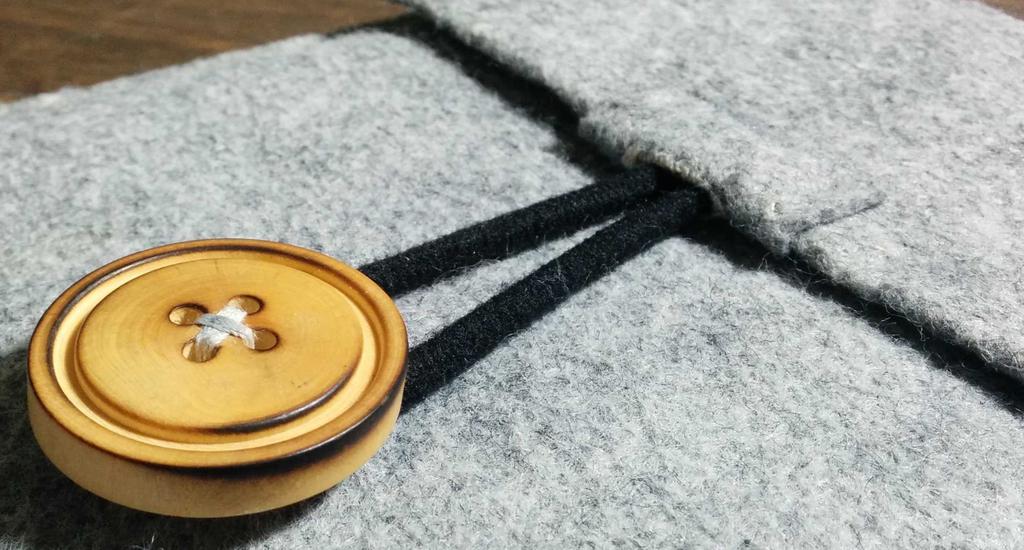
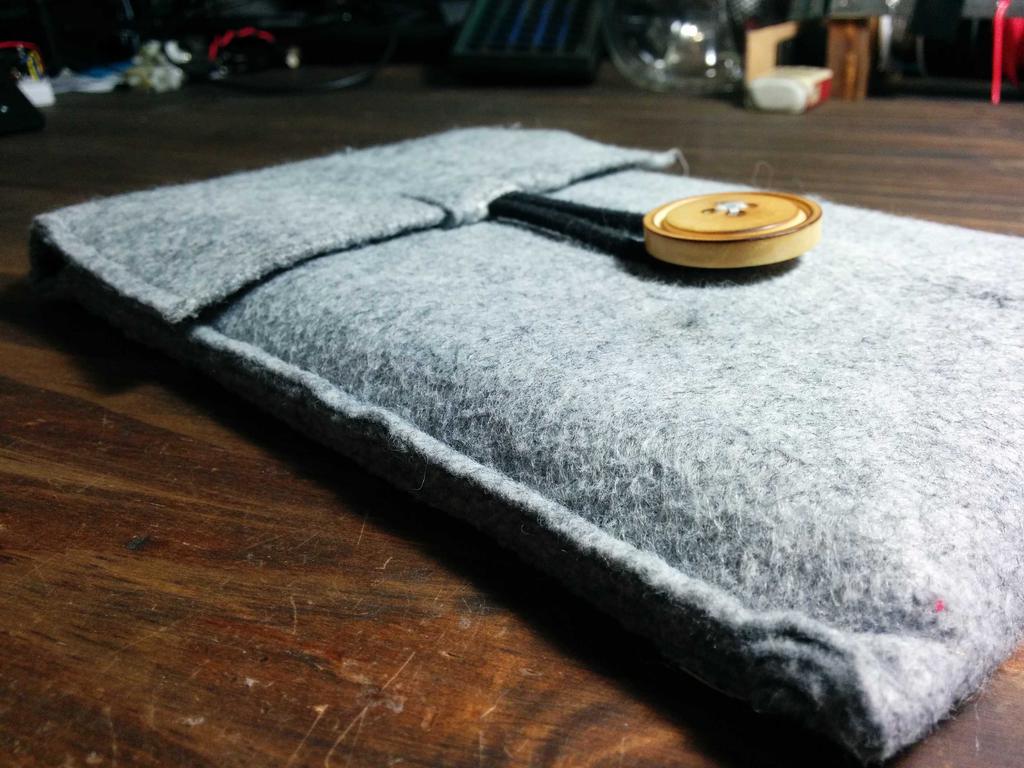
Finally, the wooden button was manually stitched to the sleeve, far enough down on the sleeve to keep the elastic band in tension once secured.
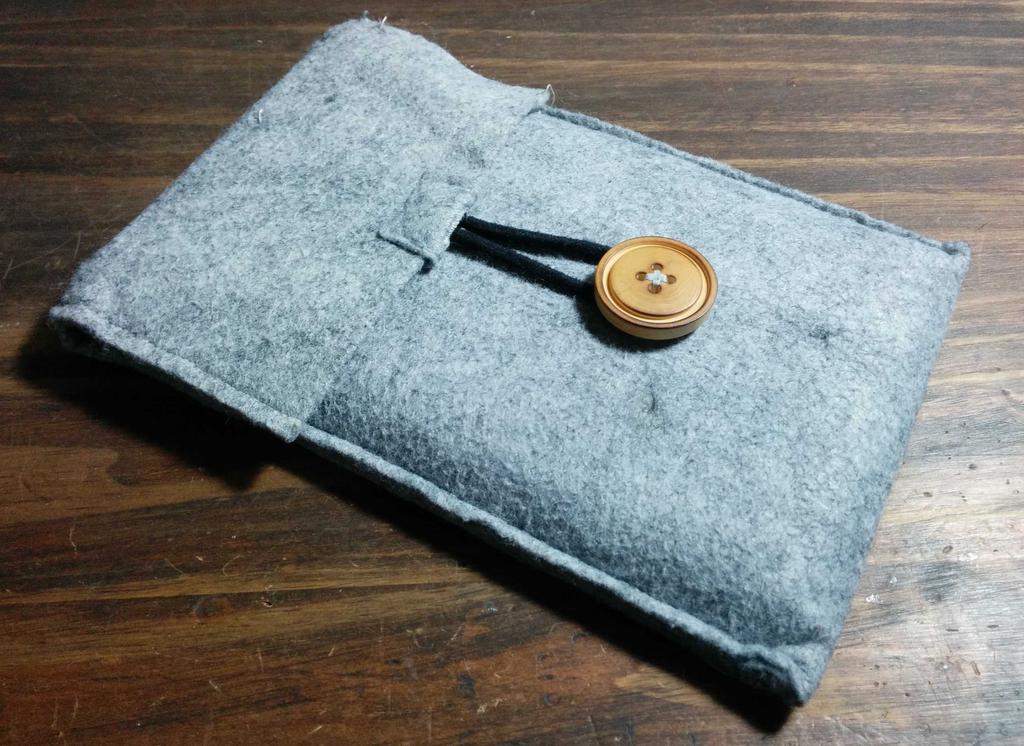
And here it is!
To leave a comment below, sign in using Github.