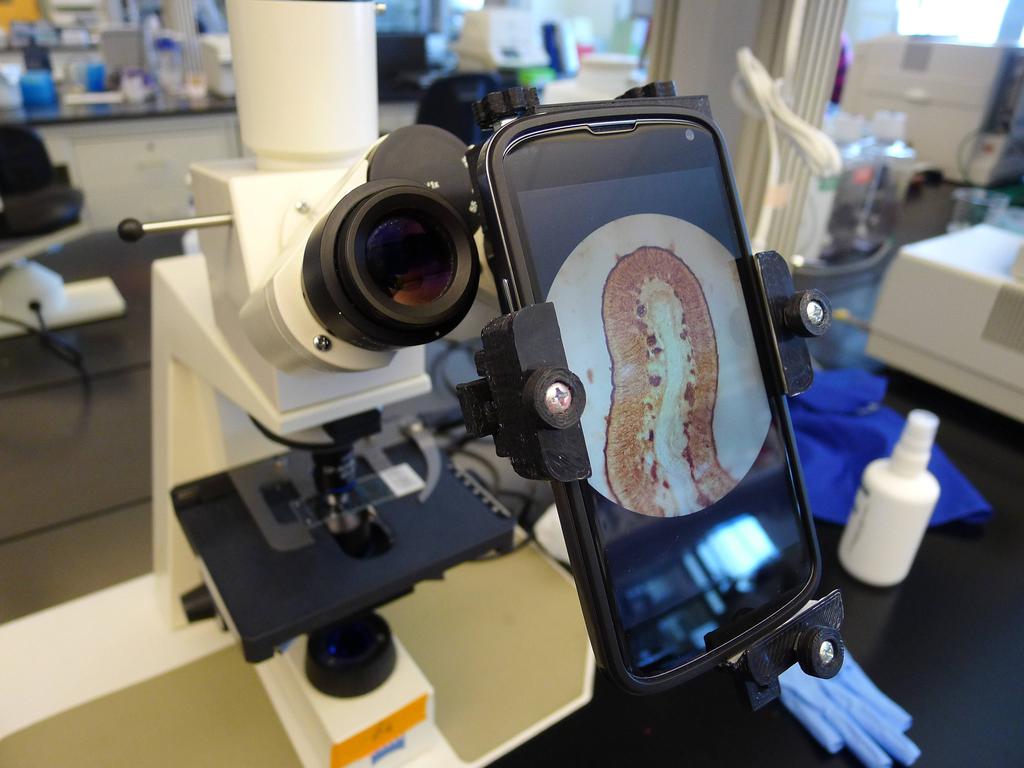
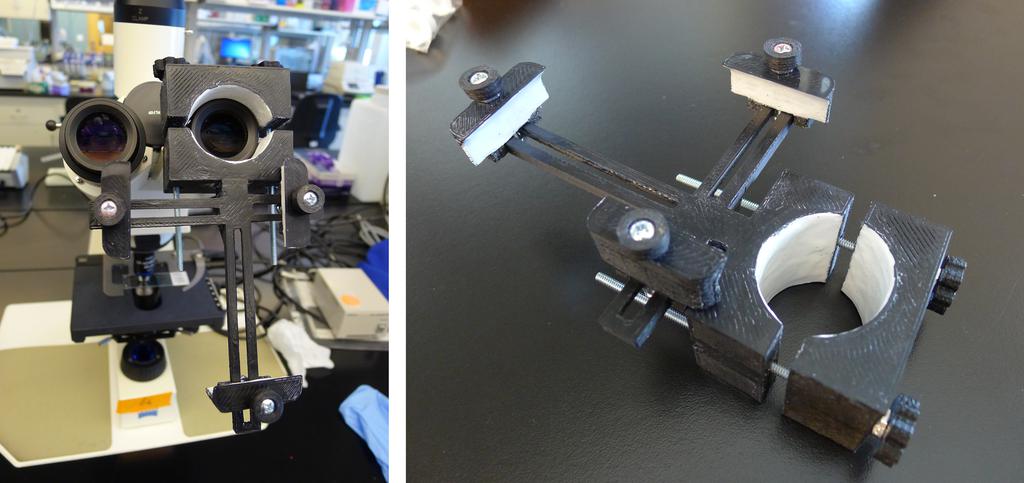
This adapter allows you to securely attach almost any phone to almost any microscope for capturing still images or video, or for use as a digital display.
After several iterations and bit of testing, I came upon this design. The deep eyepiece clamps allow for focus adjustment, as the optimal distance from a phone camera to a microscope eyepiece can vary. The broken eyepiece clamp allows for adjustment to fit a wide range of eyepiece diameters. The sliding phone supports allow the adapter to fit a broad range of phones (pictured is a Nexus 4, though larger or smaller phones also fit), though the design may need to be enlarged in the future if screen sizes continue to grow.
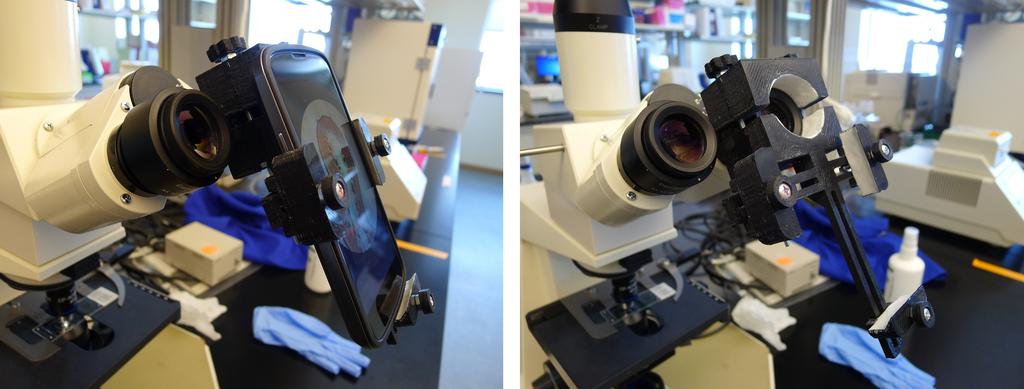
I designed the adapter myself, tested it with coworkers and friends, and borrowed the 'knobby knob' from Thingiverse Thing #26752.
Parts
Before assembling the adapter, you'll need:
Copies of each 3D-printed part
| Qty. | Part |
|---|---|
| 1 | Adapter body. The non-flipped version will fit the vast majority of phones, but a flipped version is provided just in case. If you are unsure, look at the back of your phone; if your camera is on the left, then use the non-flipped version (e.g. for all Nexus phones, Galaxy-series phones, iPhones, and most others), otherwise, use the flipped version. A file exported directly from OpenSCAD (from the rev4a SCAD file) will have some non-manifold edges, so a corrected STL is also provided (rev4b). |
| 1 | Outer half of clamp |
| 1 | Inner half of clamp |
| 3 | Sliding support |
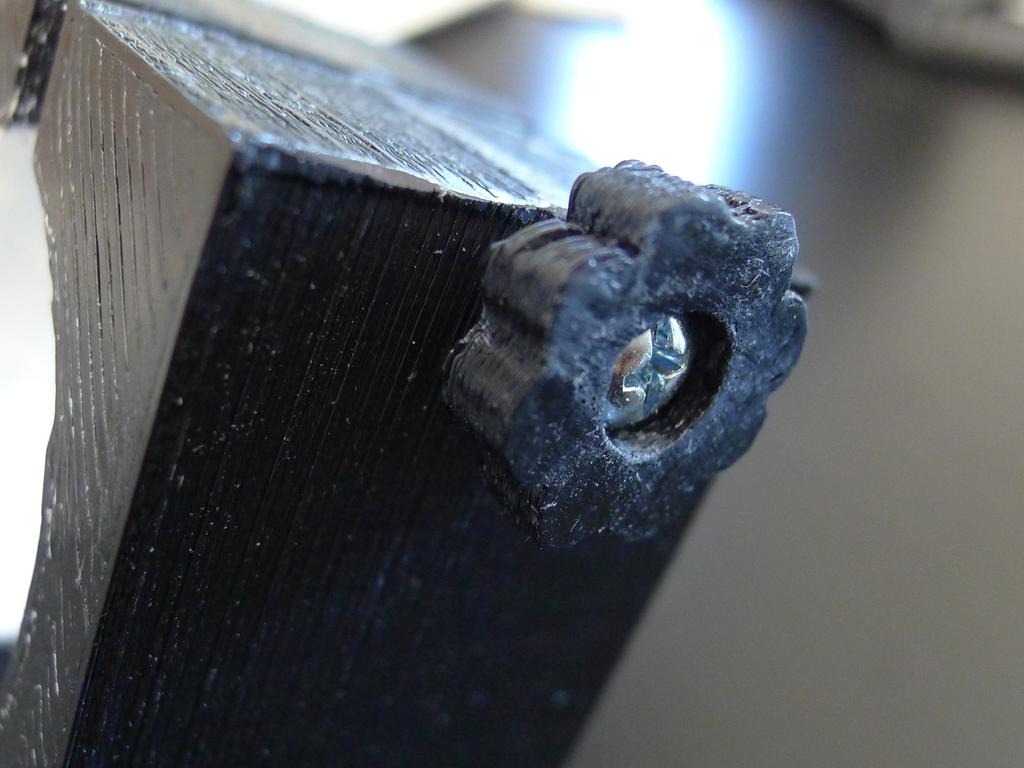
| 5 | Knobs, of either variety. I printed three of the round knobs, and two of the knobby knobs. Keep in mind that the knobby knobs are much easier to tighten; for the clamp I'd recommend these over the round ones. |
Hardware
| Qty. | Part |
|---|---|
| 3 | #6-32 machine screws, 1.25" length |
| 2 | #6-32 machine screws, 4" length |
| 10 | #6-32 nuts |
My local Home Depot doesn't sell #6-32 screws longer than 2.5individually, but I did find the 4
ones as part of a set of toggle bolts that I bought for less than 1 USD.
Assembly
Attach the body to the inner clamp using epoxy, CA glue, or an acetone/ABS slurry if ABS was used for the print. If your print bed is large enough, you might prefer to print these as a single object.

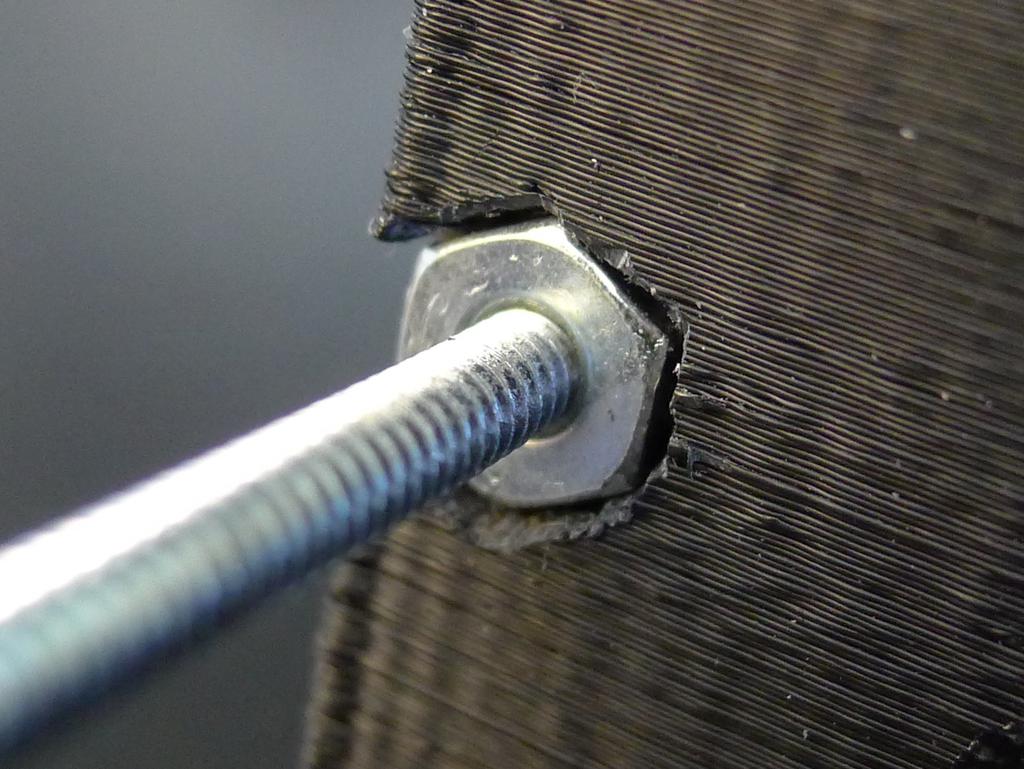
Attach each knob to the corresponding screw by sliding the screw through the hole (the hole might need to be drilled out slightly, depending on the calibration of your printer), and threading the nut onto the other end. Using a pair of pliers (on the nut) and a screwdriver, tighten the screw head into the indentation in the knob.
Drill out the holes in the eyepiece clamps and sliding supports slightly so that the screws can move freely within them. I think I used a 1/8" drill bit for this.
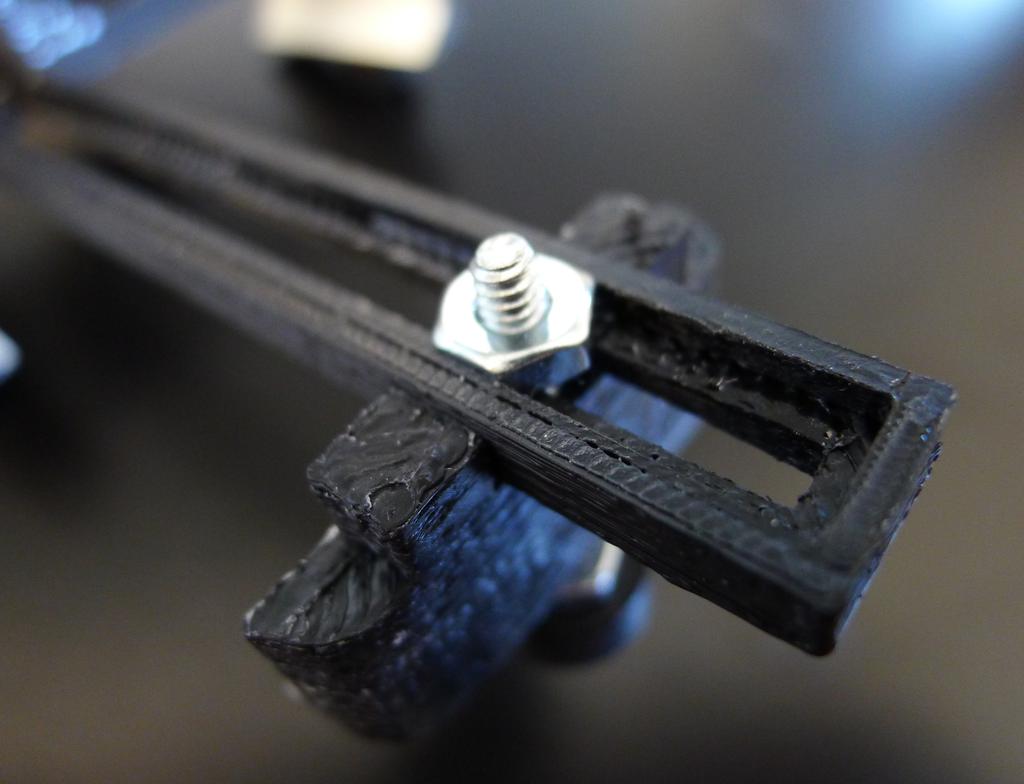
Placing each remaining nut into the corresponding nut trap, assemble the remaining parts as shown in the pictures.
If desired, add Sugru (moldable silicone) to the insides of the eyepiece clamps and sliding supports for better grip.
Finally, take some beautiful pictures!
Tip: if the edges of your images are fuzzy, try loosening the adapter and moving it up and down until they come into focus. Tighten.
Designed using OpenSCAD in April 2013. Refer to its Thingiverse page for downloads and more information.
To leave a comment below, sign in using Github.