If you do any electronics design work, one of the most useful tools to have on your desk is a benchtop DC power supply, second only to the oscilloscope. Now, I've already got one on my desk—a vintage Leader LPS-151, with three regulated outputs, adjustable voltage, adjustable current limiting, and voltage tracking—but two or three outputs isn't always enough, and I've run up against its current limits enough times to warrant adding a second supply for situations it can't handle.
For reference, the LPS-151 can output 0 to 6V at 3A max, and 0 to ±25V (or 0 to 50V) at 0.5A max.
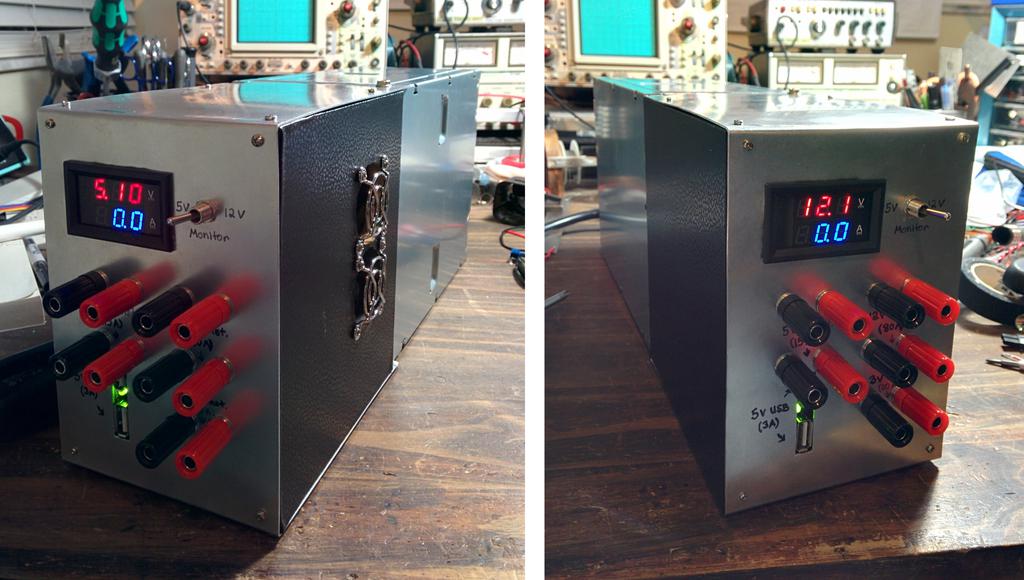
As I already have an adjustable supply, it isn't strictly necessary for the second supply to be adjustable, especially if the outputs it does have are common enough to be useful (e.g. 5V and 12V). I'd also prefer for it to source at least 10A across the range of outputs. If you're thinking what I'm thinking—this sounds like a good fit for an ATX power supply (PSU) retrofit.
Right around the time I was planning to make this, I heard about an old Dell workstation at work that was headed to surplus, and got permission to grab anything from it that could be of use. While its PSU was not a standard ATX, it seemed to follow the ATX voltage rail/wire color map, and could source plenty of current at 3.3V (30A), 5V (15A on one rail, 3A on another), and 12V (80A)—perfect! With this in hand, I got to work adapting it for use as a benchtop supply.
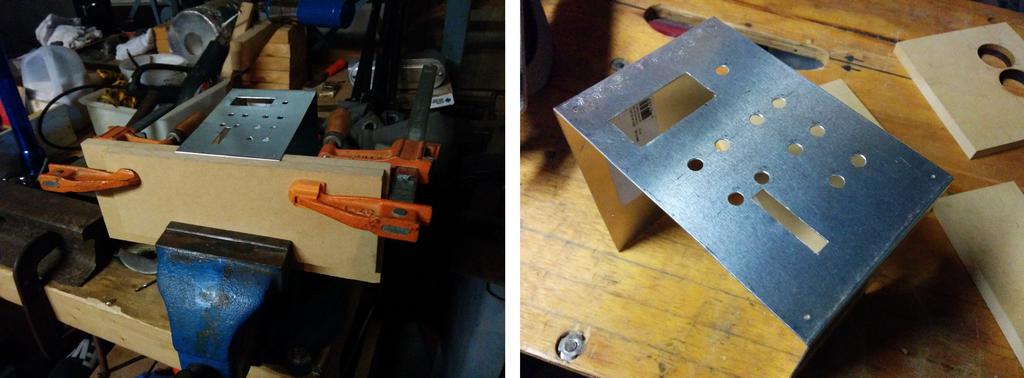
To avoid wasting precious bench space, I decided against placing this PSU inside of yet another (even larger) case, and to instead make a new panel and housing to secure to the front of it.
Inside of the housing, I used:
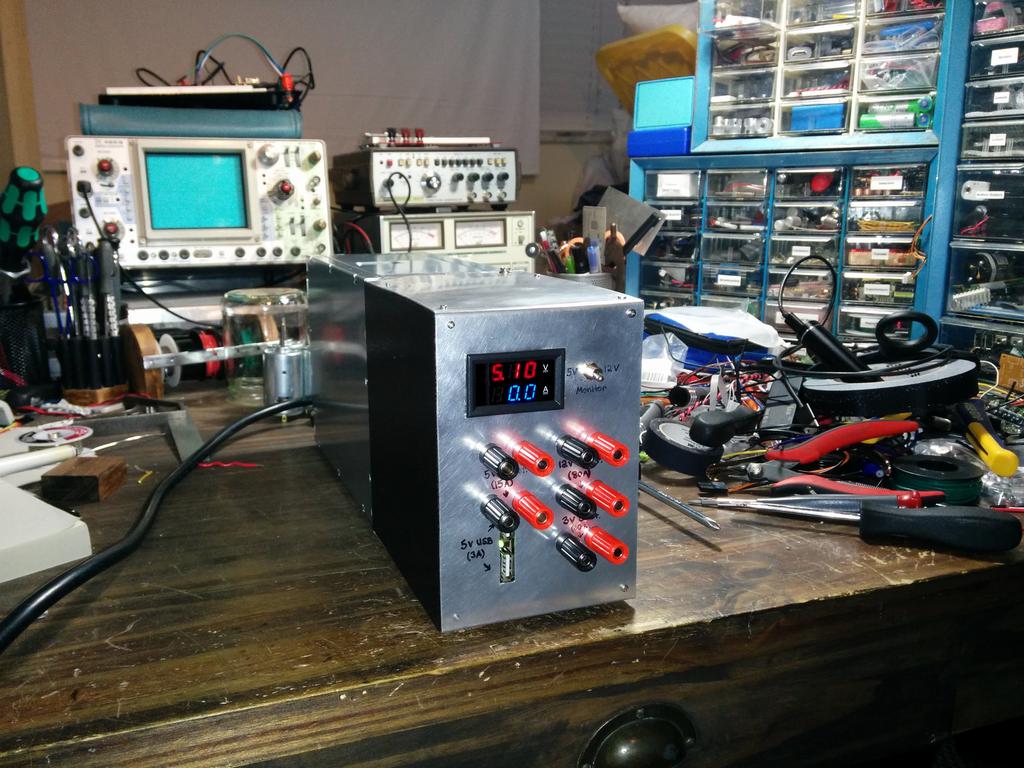
- a 0-100V/0-100A panel meter, sourced from Ebay (no longer available, but similar to these from Amazon),
- a DPDT switch, as selector for monitoring either the 5V or 12V rail (both are always powered, but only one is monitored at any given time)
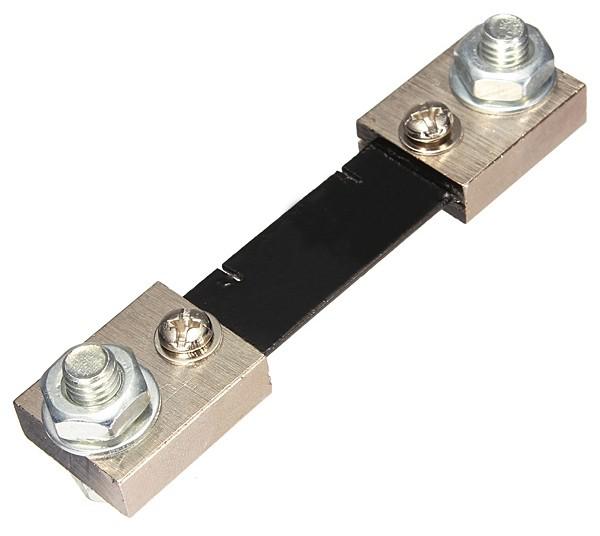
- 2 x 100A current shunts, sourced from Ebay (no longer available, but like these from Amazon),
- a number of binding posts/banana jacks from Amazon (which to be fair, probably couldn't handle 80A continuous, but I'm not sure I'd even want to try),
- a few USB ports (on the separate 5V 3A rail, which is not monitored by the panel meter)
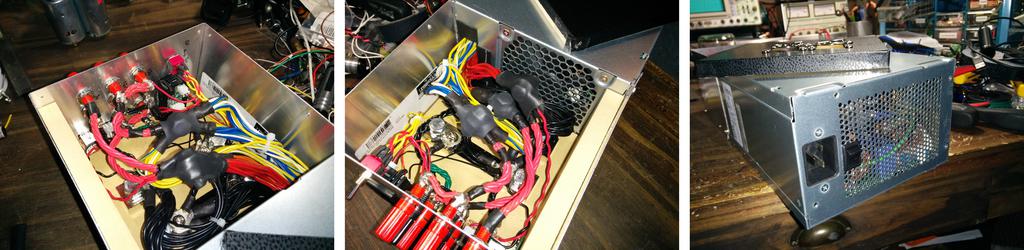
As this new housing would otherwise block the air intake for the power supply (visible on the inside of the housing in the photos above), I made sure to include air vents on the side of the housing (protected by fan vents on the side of the housing below).
And there we go!
To leave a comment below, sign in using Github.