At the moment, I don't have time to write an in-depth post on this, but in lieu of that, here's a bunch of pictures I took while building it. If you're interested in reading more (or have any specific questions), let me know in the comments, and I'll push it further up the to do list.
I originally planned to build this small CNC mill for PCB prototyping. While it is capable of being used for that, in retrospect, I'm not sure that spending the time to mill out a prototype PCB is worth it when I can have several professionally-made multi-layer PCBs made and delivered to my doorstep for a few dollars in a few weeks or less. That said, it'll certainly be useful for milling other things!
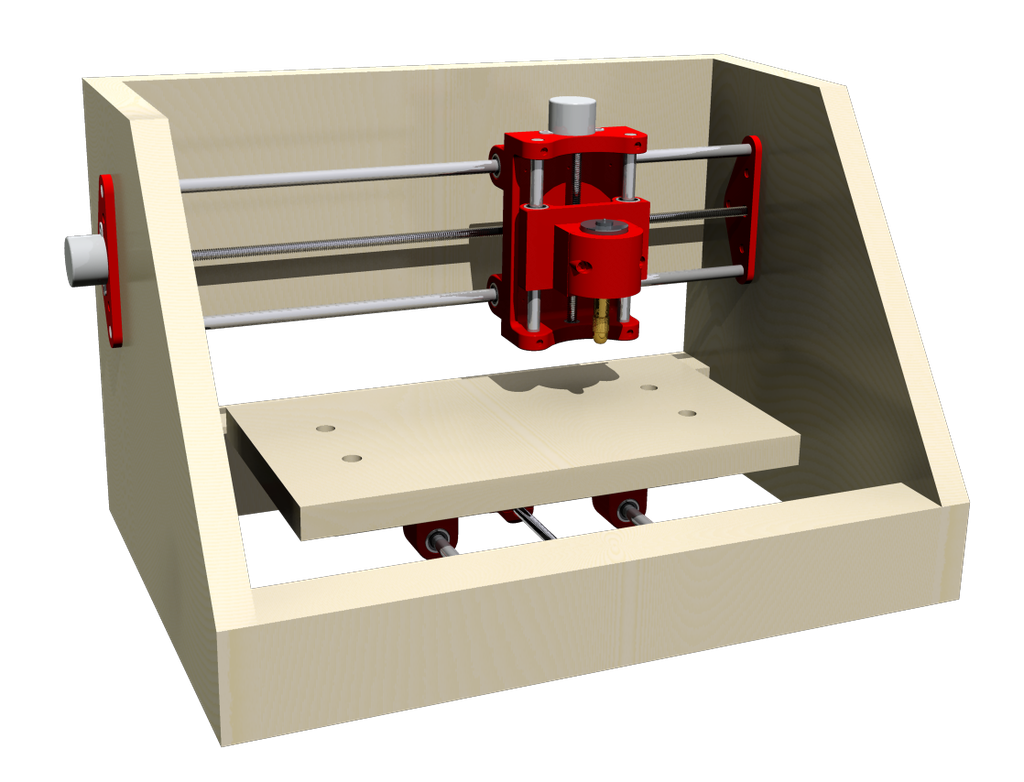
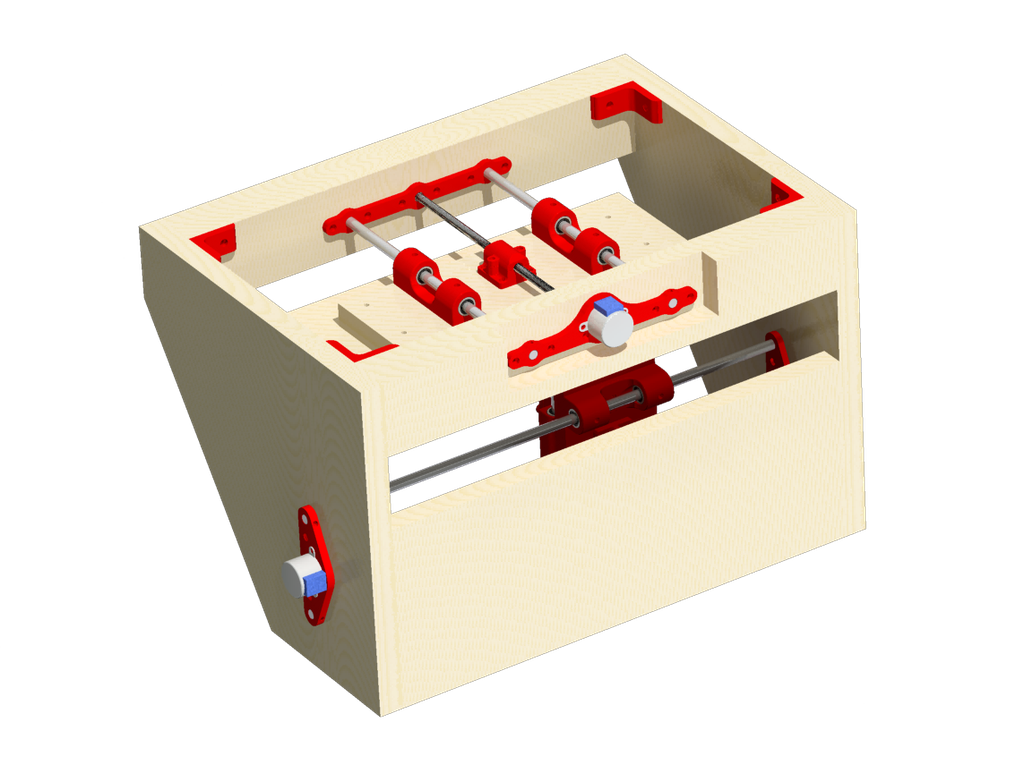
Initial CAD Renderings
At the time, I was planning to use smaller steppers. All parts that are not made of metal or wood are 3D-printed, and all parts were designed in PTC Creo.

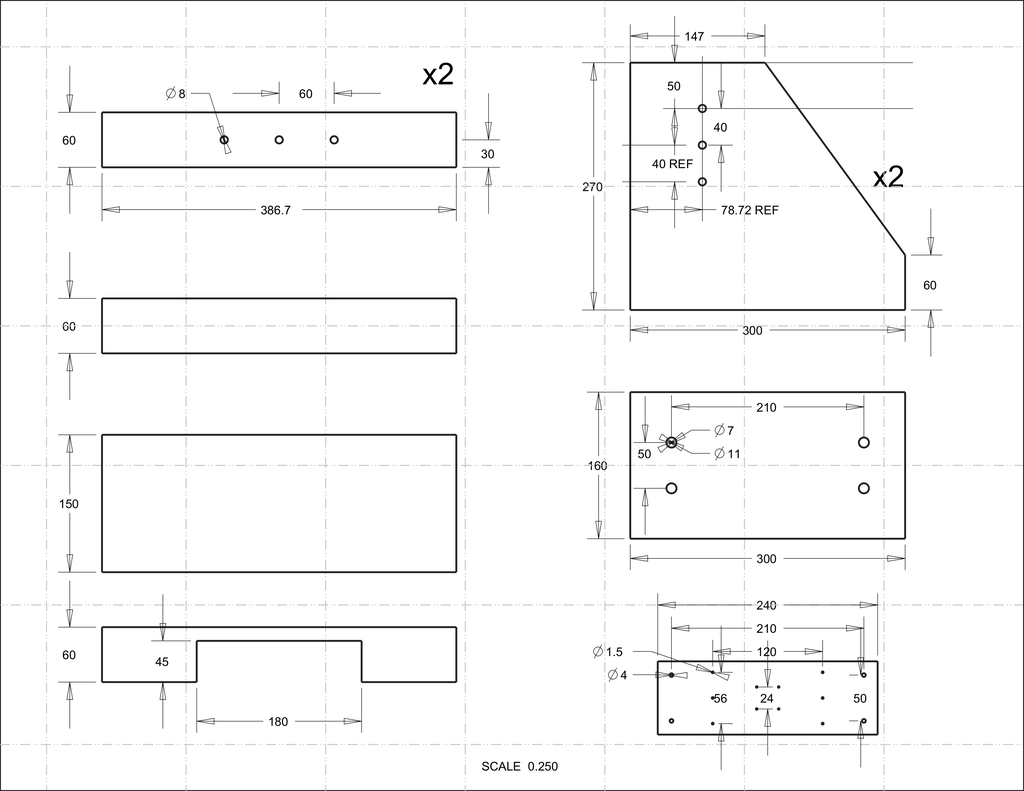
Wood Cuts
Doesn't include the hinged lid, which was added later, or any other modifications made on-the-fly.
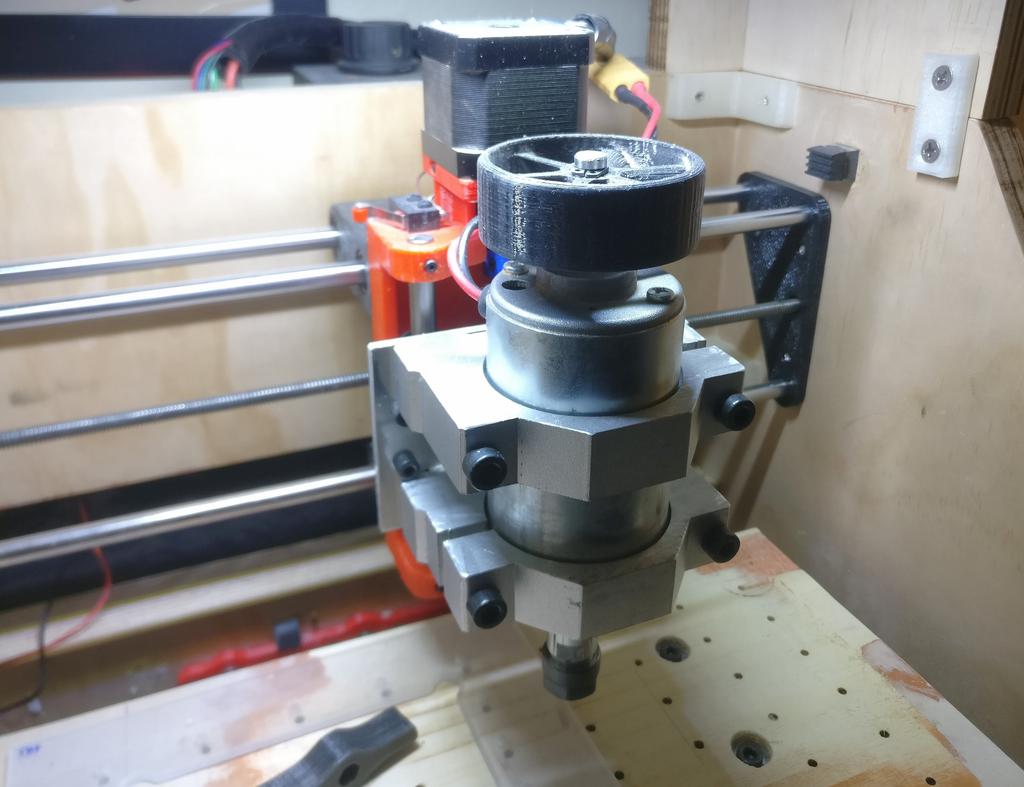
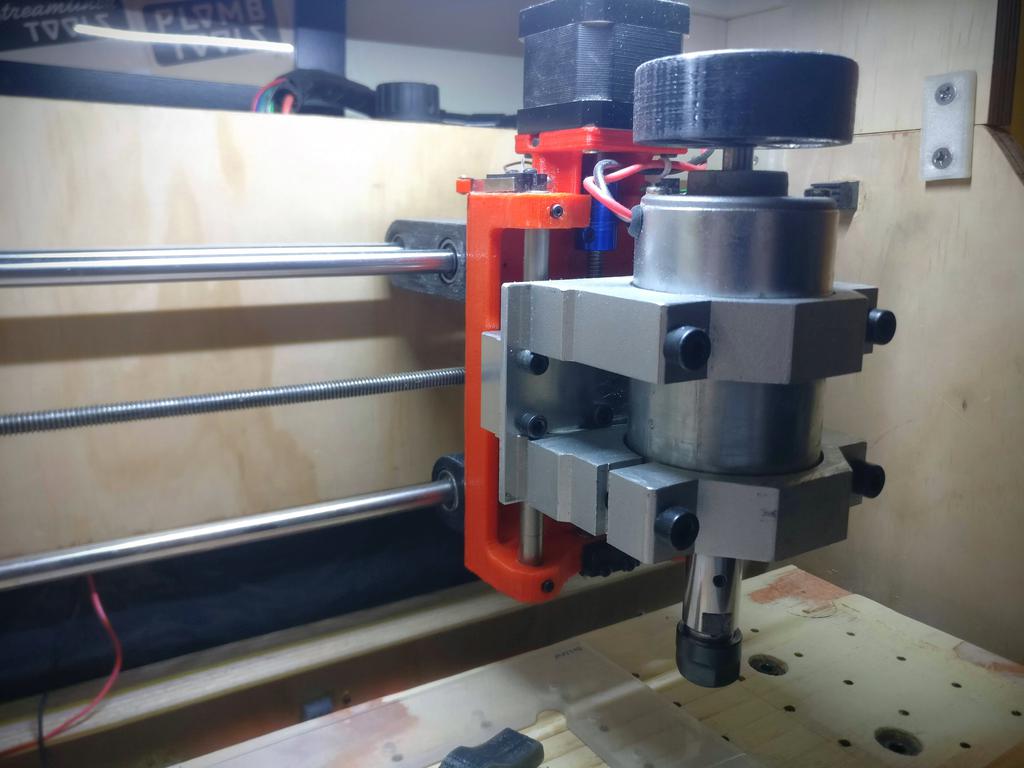
Chinese Spindle Motor
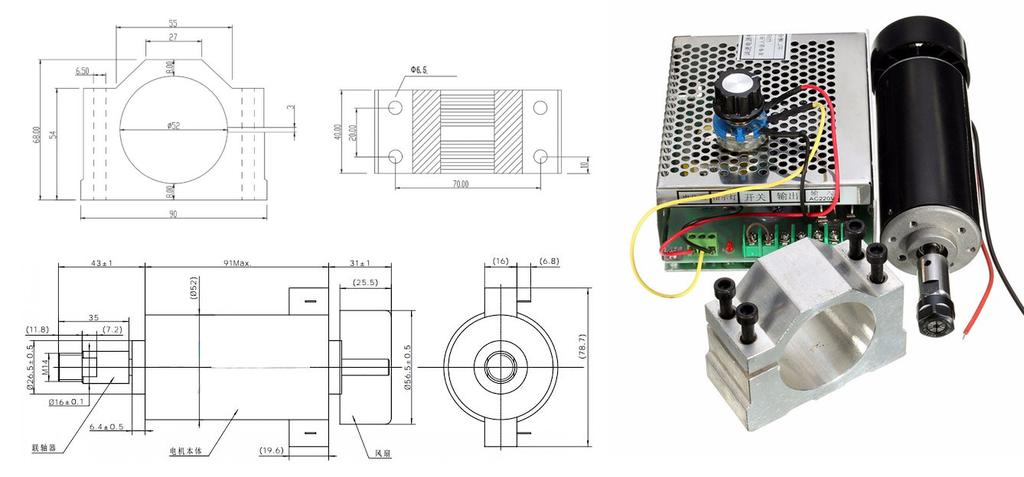
The provided clamp was cut in half, to better support the large motor.
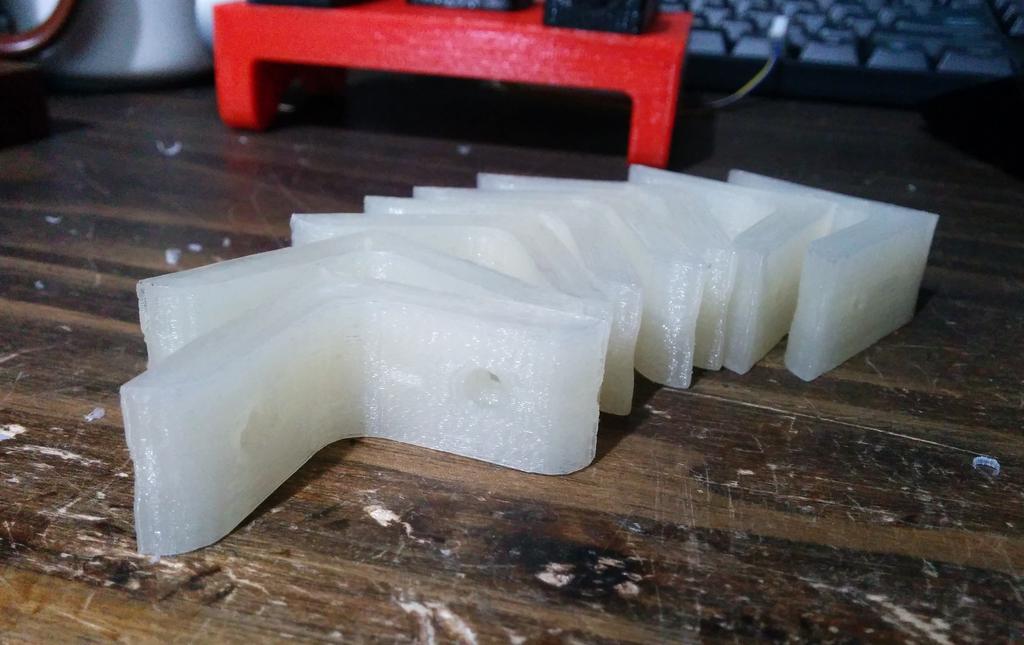
3D Prints and Assembly
Brackets for quickly assembling and squaring the frame
Rod holders and motor mounting plates
Brass threaded-inserts pressed into place using a $5 USB-powered soldering iron (as its tip is small enough to not get stuck).

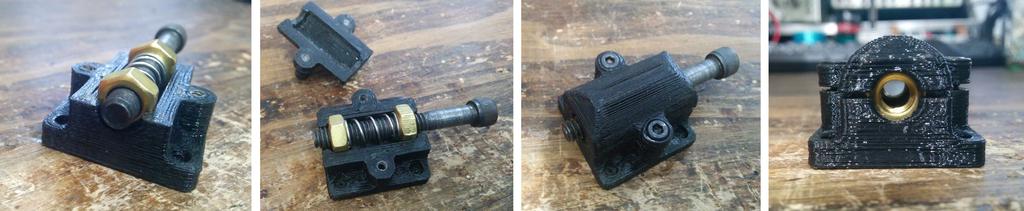
Anti-backlash nuts
The bolt was used only during assembly (in lieu of the threaded rod) to keep the spring and nuts from flying away.
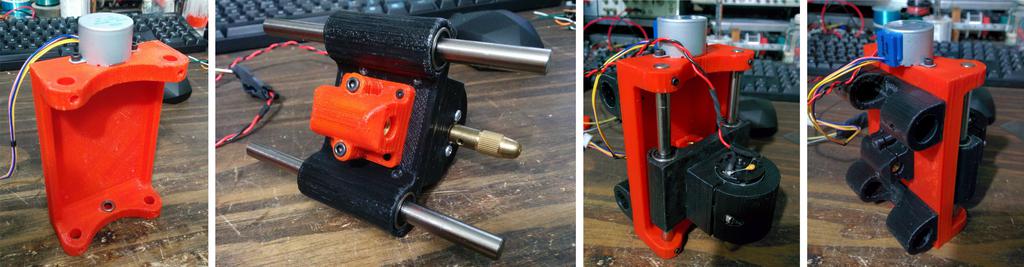
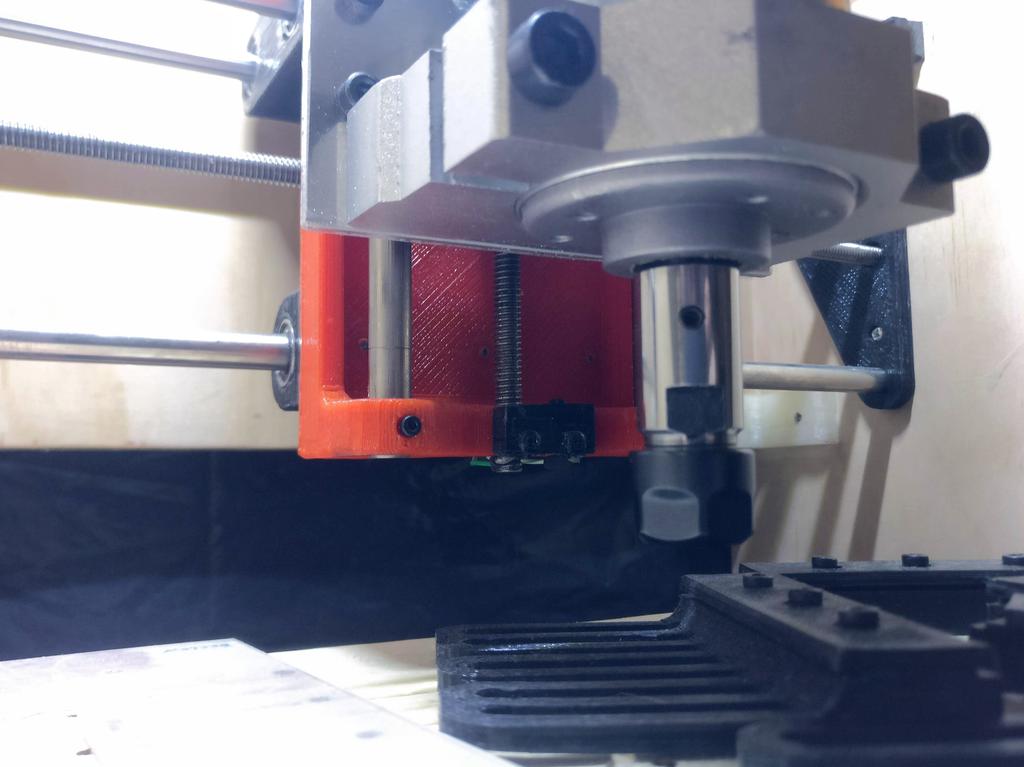
Z-axis assembly, with original (small) stepper motor
Leadscrew not yet mounted.
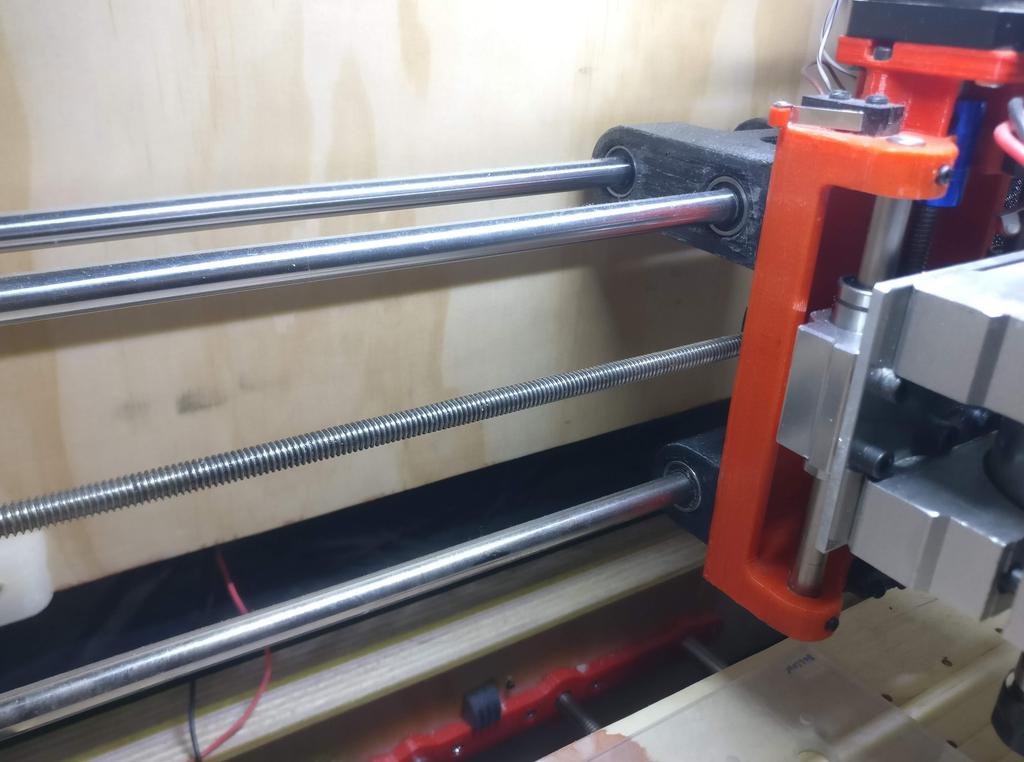
Y-axis, with linear bearing holders and anti-backlash nut
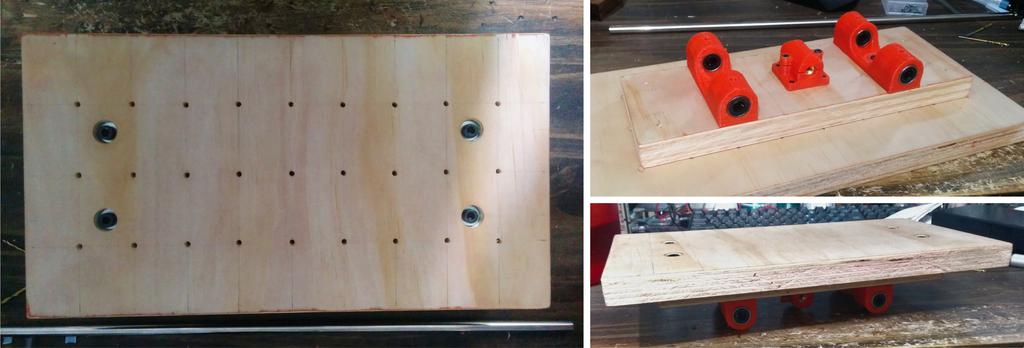
In case you were wondering, the holes in the plate were made using the CNC itself.
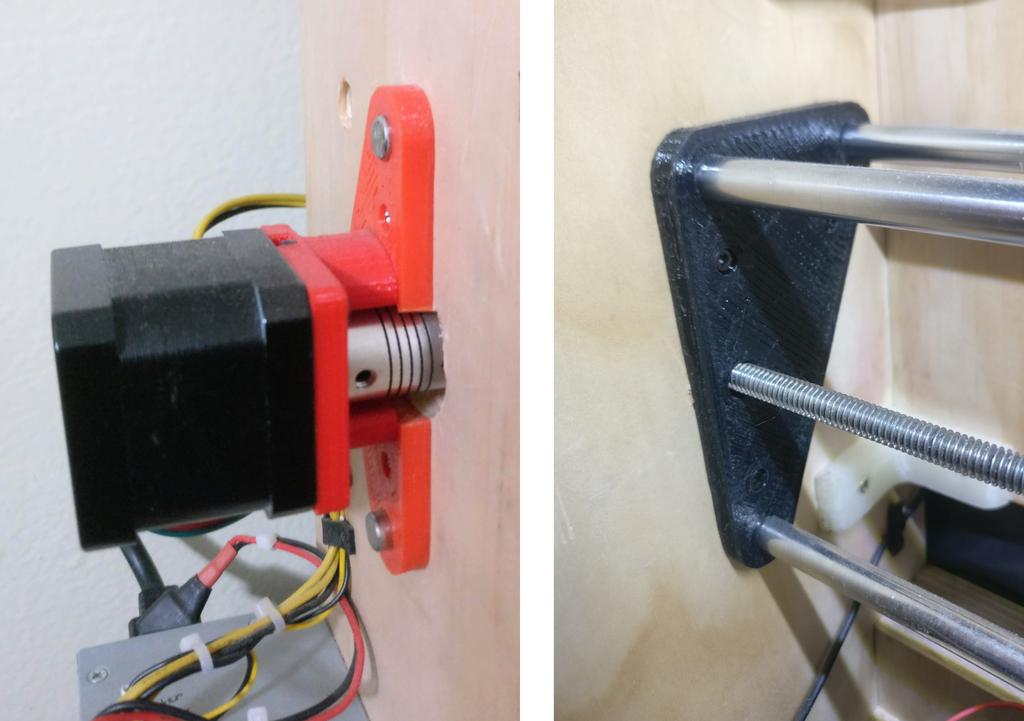
Adapters for larger stepper motors
When switching to larger steppers, I designed adapters for mounting to the motor-mounts that were already installed.
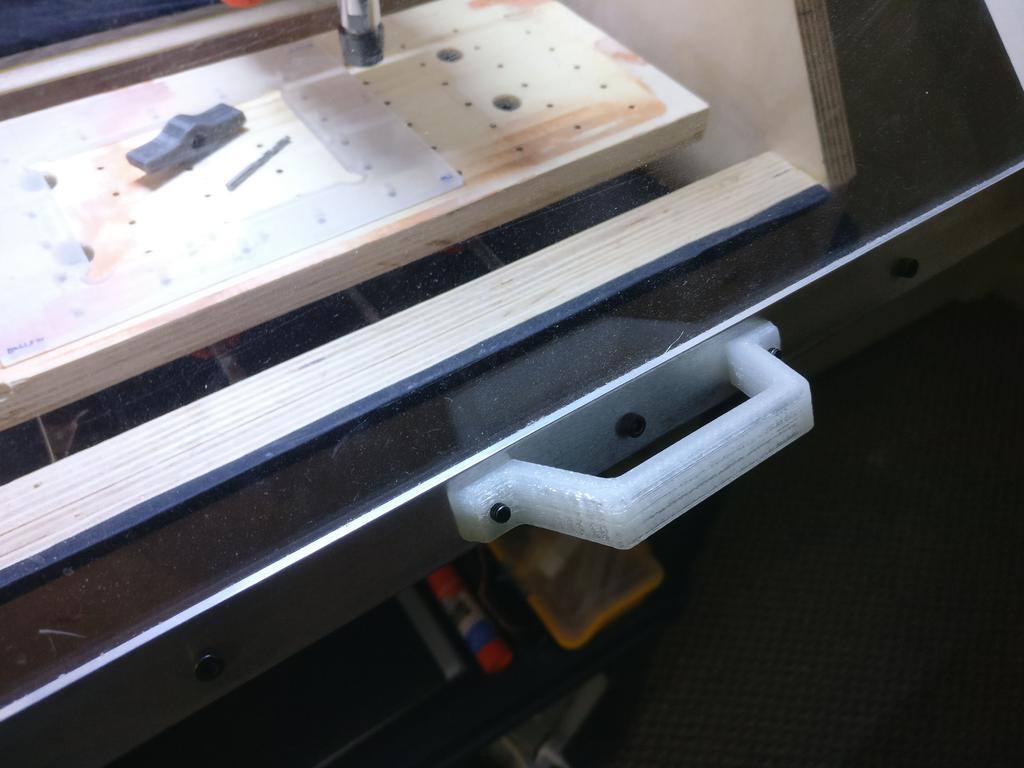
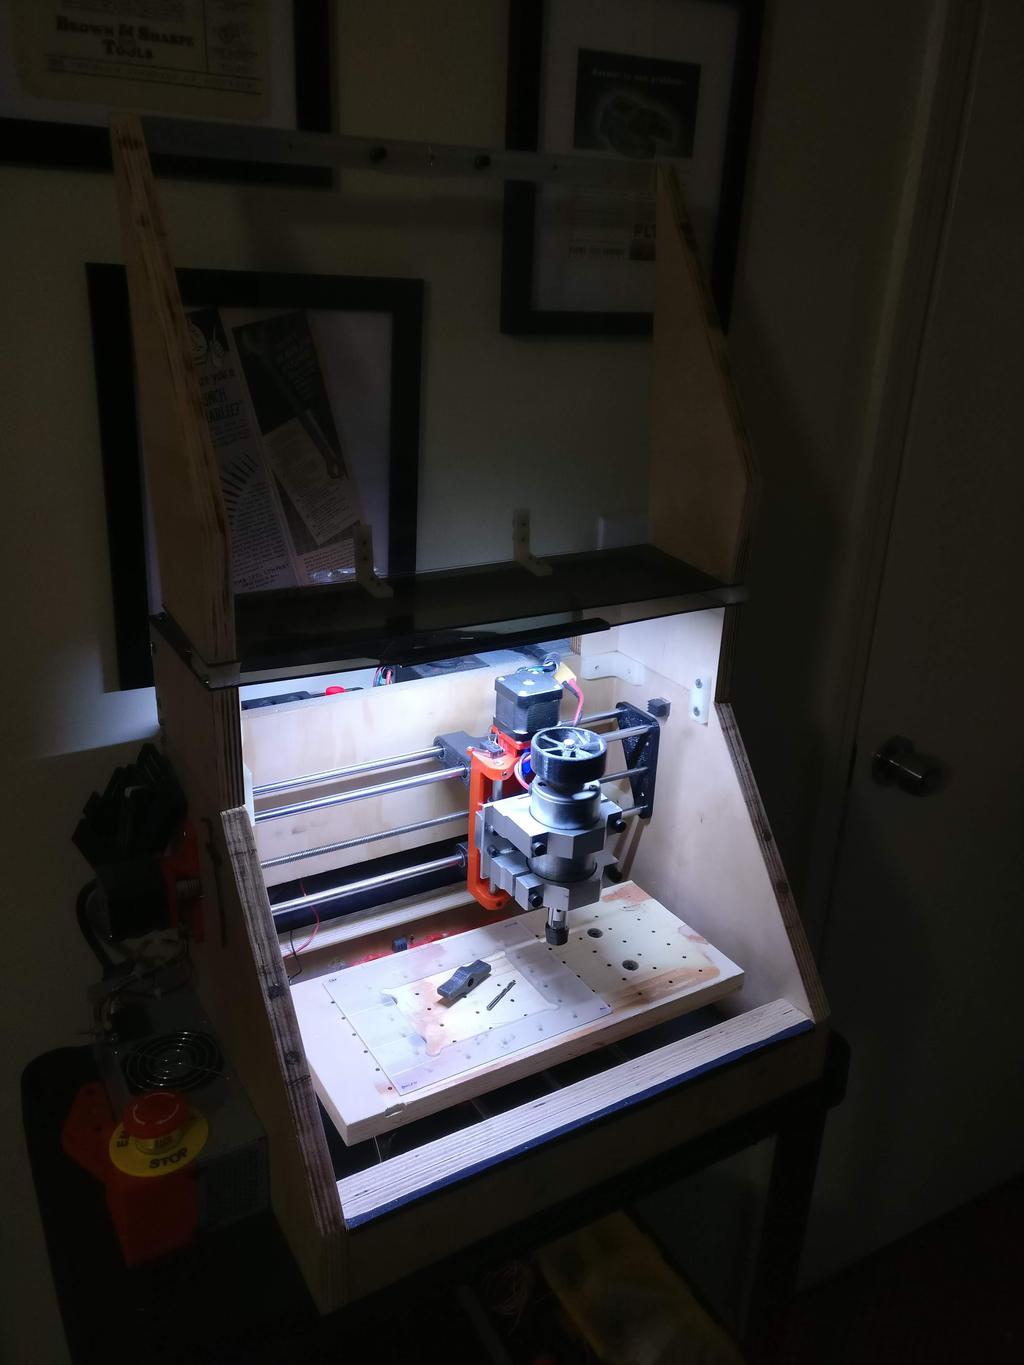
Handle for hinged-lid
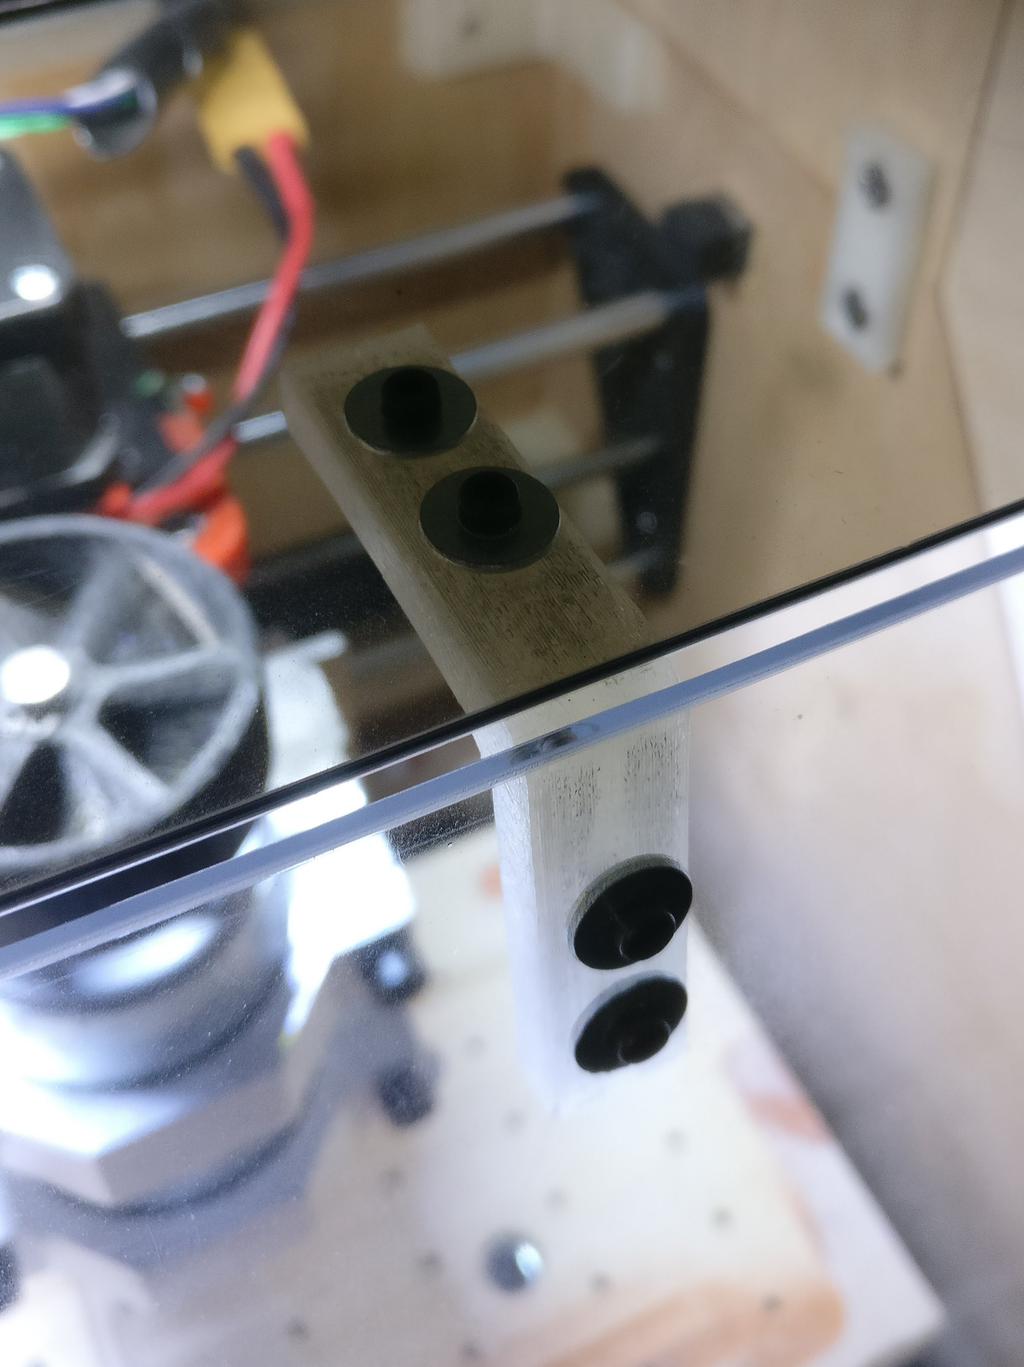
Angle-brackets for stabilizing acrylic windows on hinged lid
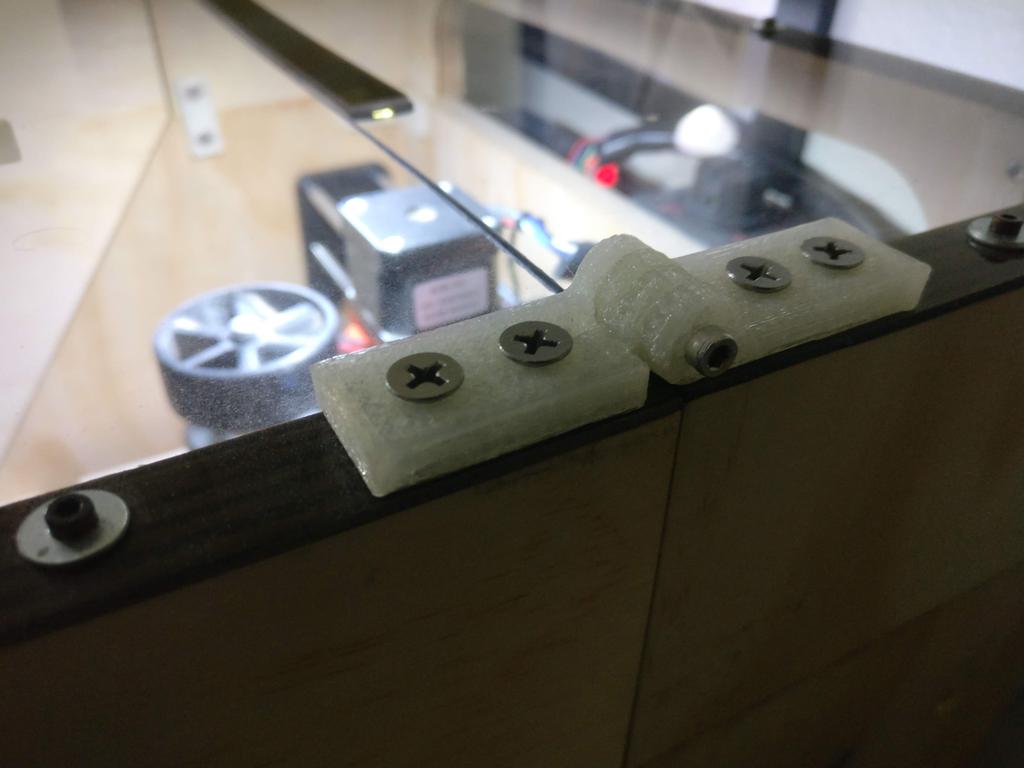
Hinges for hinged-lid
A bolt is used as the hinge-pin. For one side of the hinge, the holes are tight, so that the threads bite into it; for the other, they're loose, so that the hinge hinges freely.
Electronics enclosure and related parts
Original version:
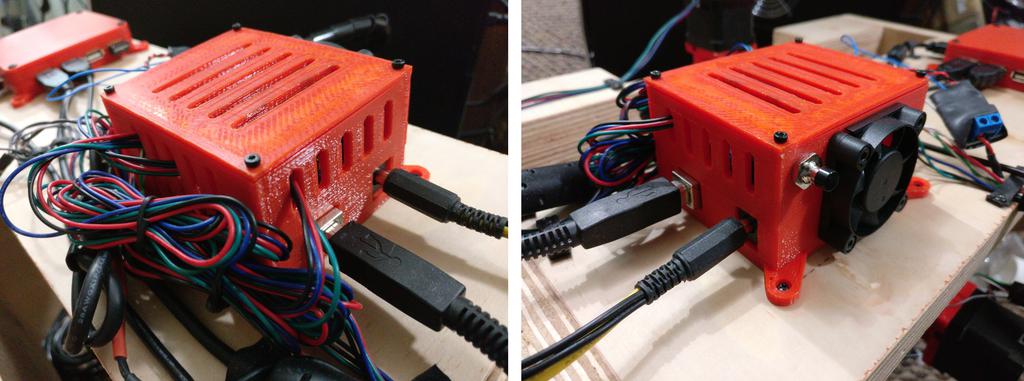
Final version:
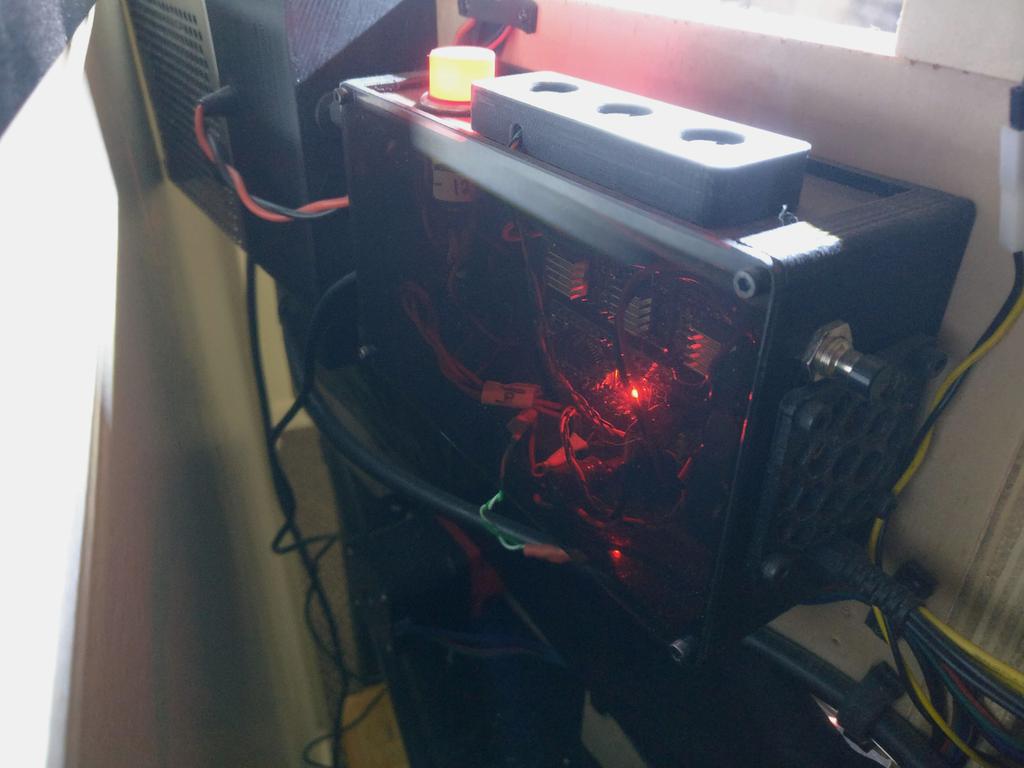
E-stop mount
The emergency stop button is mounted to the power supply. Pressing it directly cuts power to the printer.

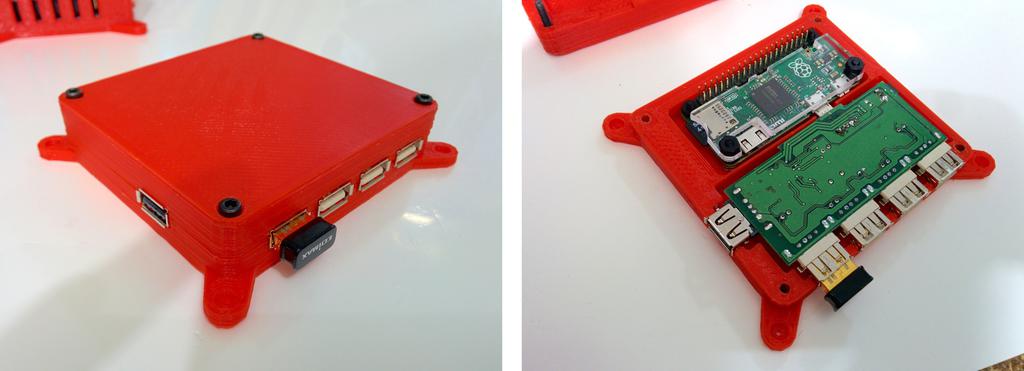
Raspberry Pi Zero and USB hub enclosure
This was eventually replaced by an old laptop; running a headless CNC mill was a bit of a silly idea.
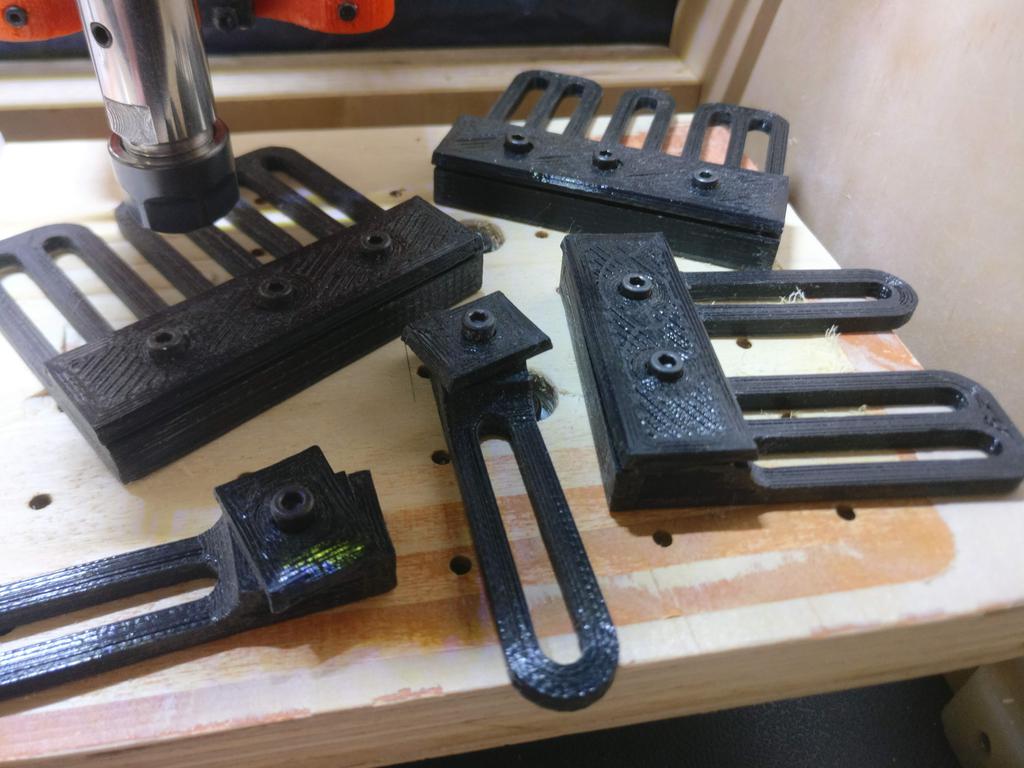
PCB and thin-stock clamps
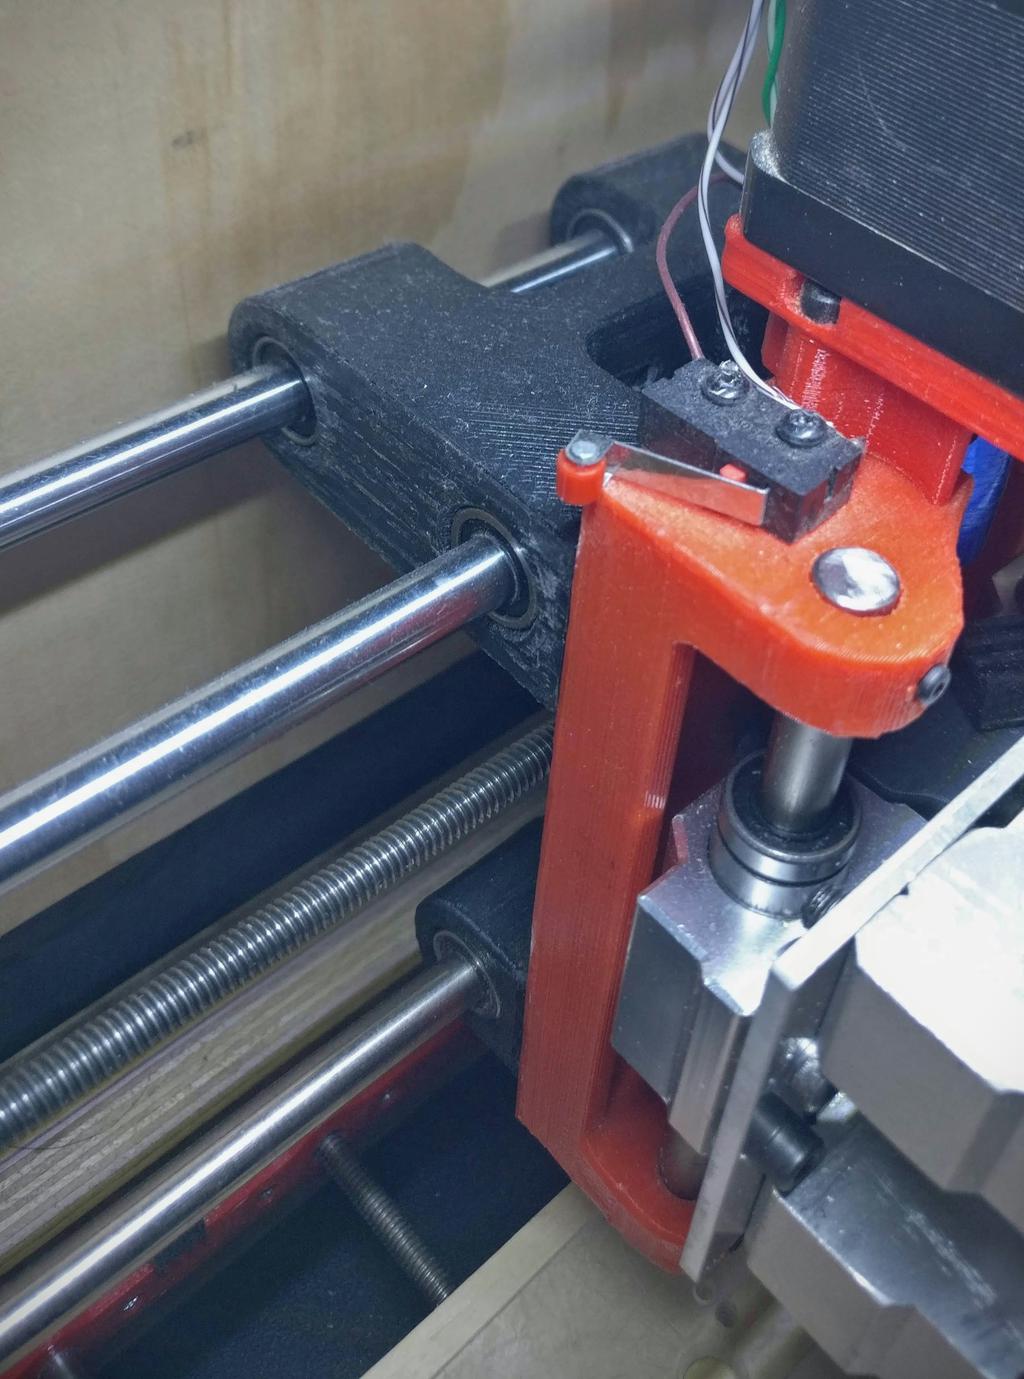
3 rails are better than 2
Okay, I know that 8 mm rails are too thin to expect to prevent deflection; but I had them, so I used them. With only two of them, there was too much deflection, so how about three? Slaps lipstick on a pig.
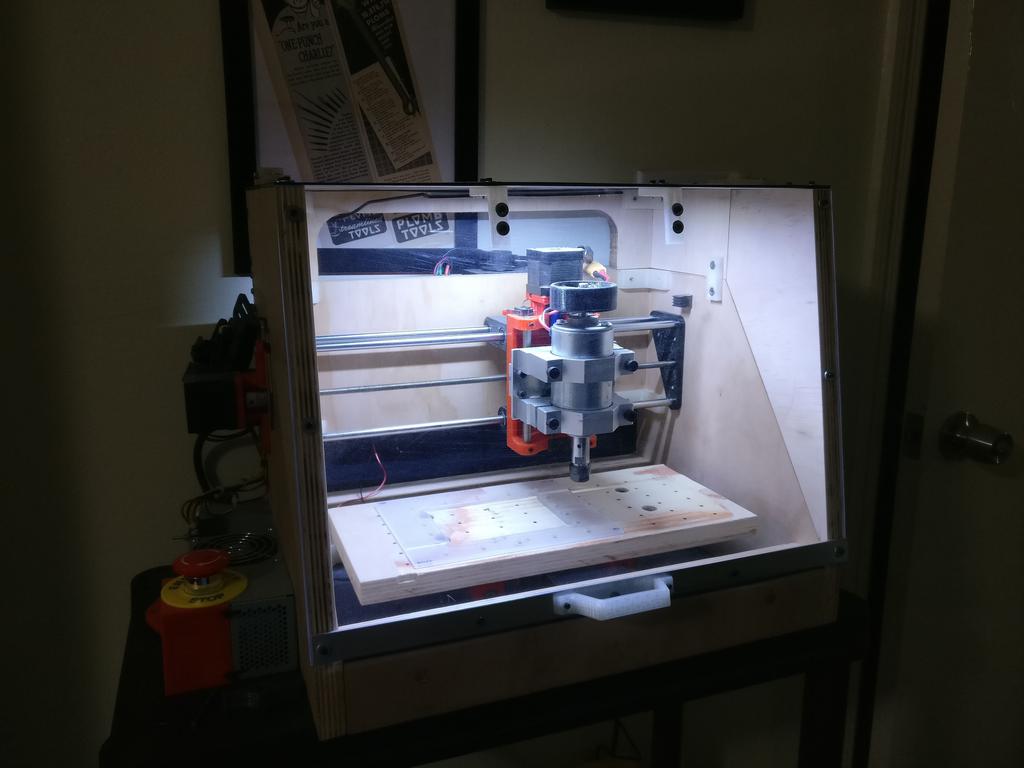
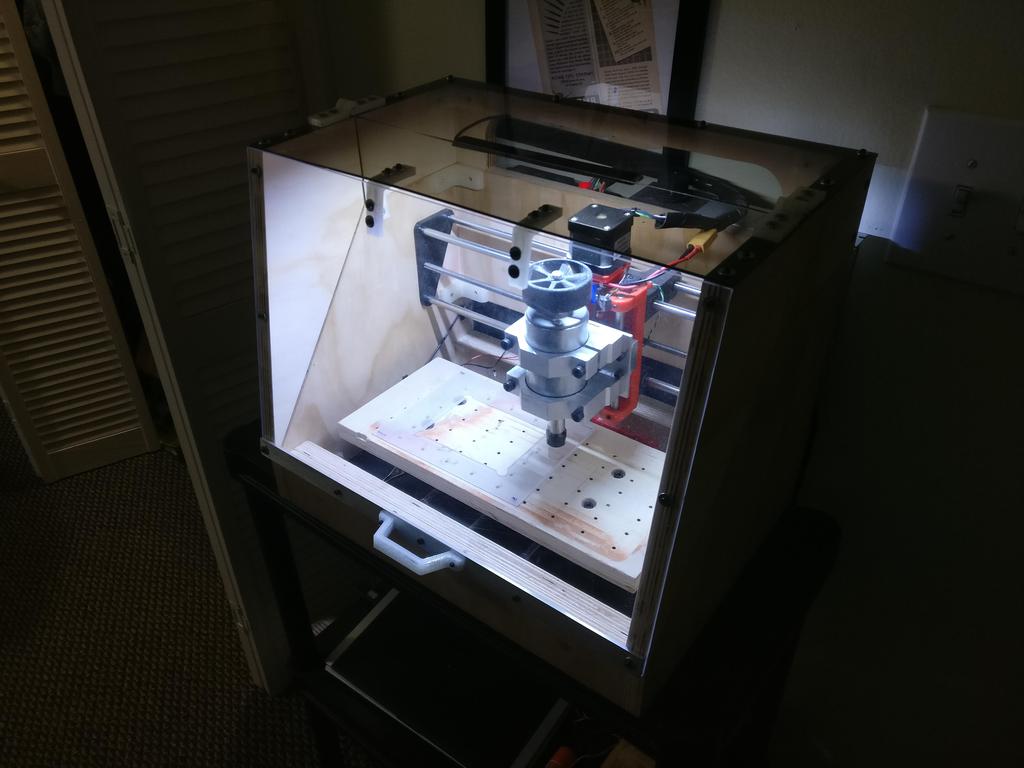
Enclosure

To leave a comment below, sign in using Github.