I've restored a bunch of old tool cabinets and toolboxes over the years, mostly from local garage sales. If you have the inclination—and a little effort to spare—it's hard to beat the value. Even if you aren't trying to save money, it feels pretty great to use something that you had a hand in making (or remaking).
Recently, my dad decided to try his hand at restoring a tool cabinet, after buying an old Craftsman at a garage sale for some single digit sum. It was, however, missing a badge—so I promised to make him one. What a great chance to try a few new techniques!
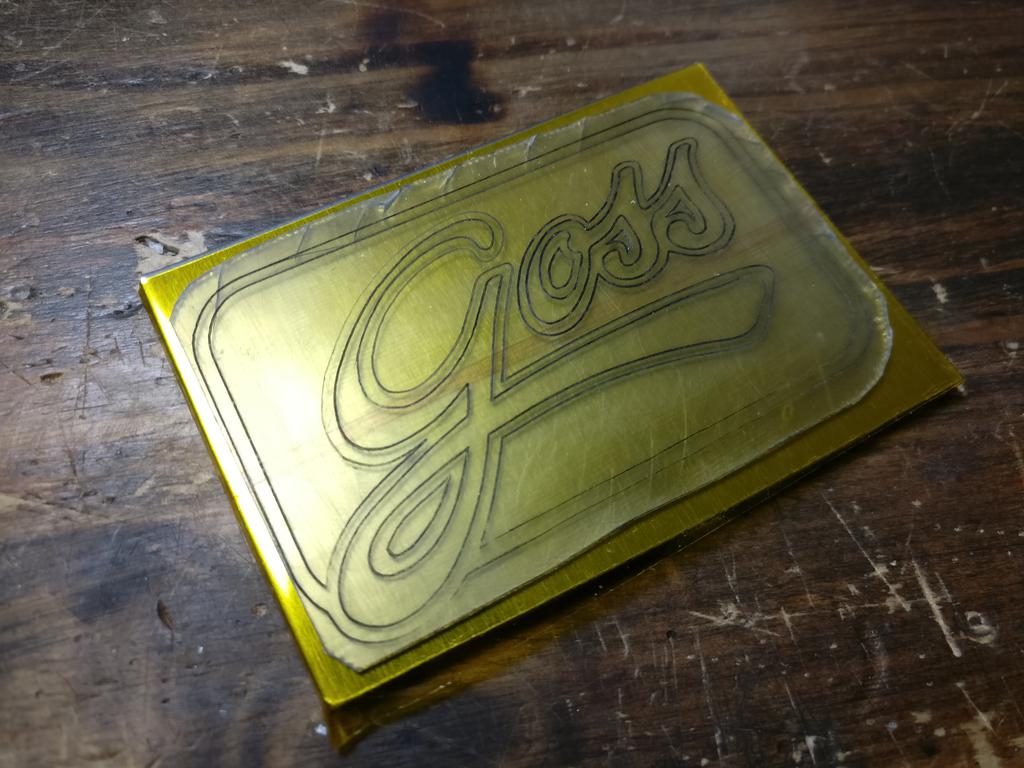
To start, I made an SVG of the badge in Inkscape—a stylized form of our last name, heavily inspired by the logo for a TV show that he likes. While I wanted to mill the badge directly from aluminum, my homemade miniature CNC mill (subject of a future post) was not yet far enough along to handle this, so I decided to electrolytically etch it instead.
Next, I covered the aluminum plate that I would etch with Kapton tape. The design will be cut into this, and what remains will act as an etch resist.

After milling a test-cut of the badge outline into some scrap plastic, I checked the fit, made the same cut onto the Kapton-covered aluminum plate, and peeled away the tape covering areas that I wanted to etch (excitedly, I forgot to take a picture at this point).
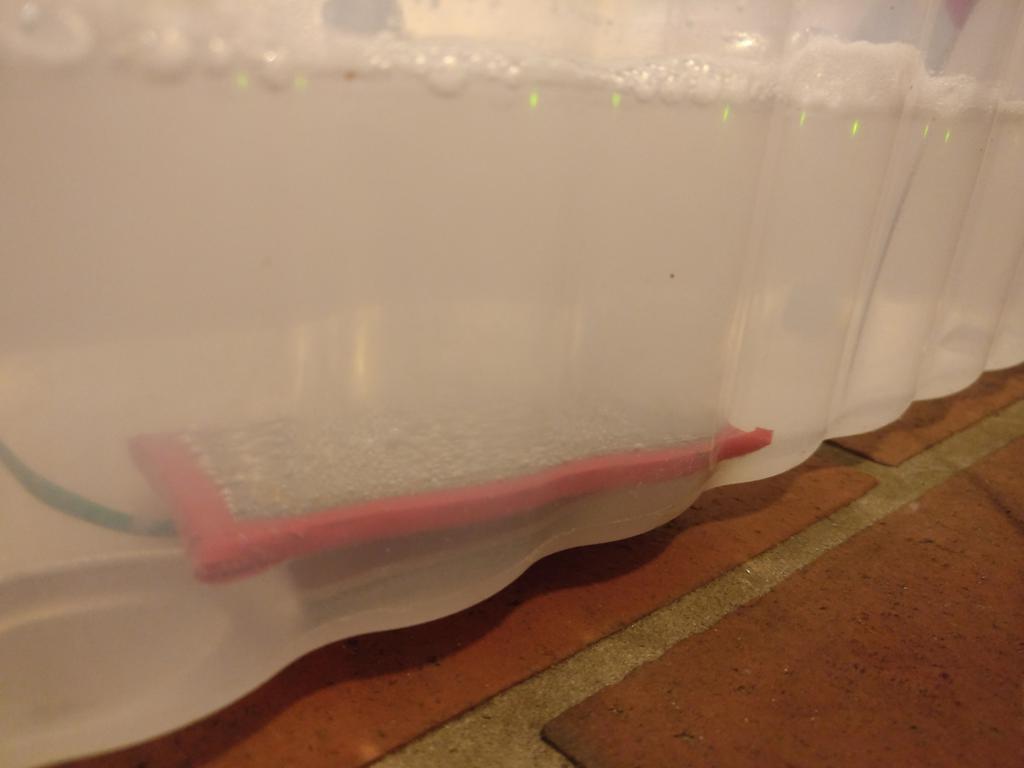
I taped a wire to back of the plate, surrounded that with even more tape to avoid etching the back, and lightly brushed exposed areas with an abrasive pad to remove the oxide layer. Then, using the plate as anode, another piece of aluminum as cathode, a saturated salt solution (NaCl in water) as electrolyte, and a car battery charger as power source, I began the etch process.
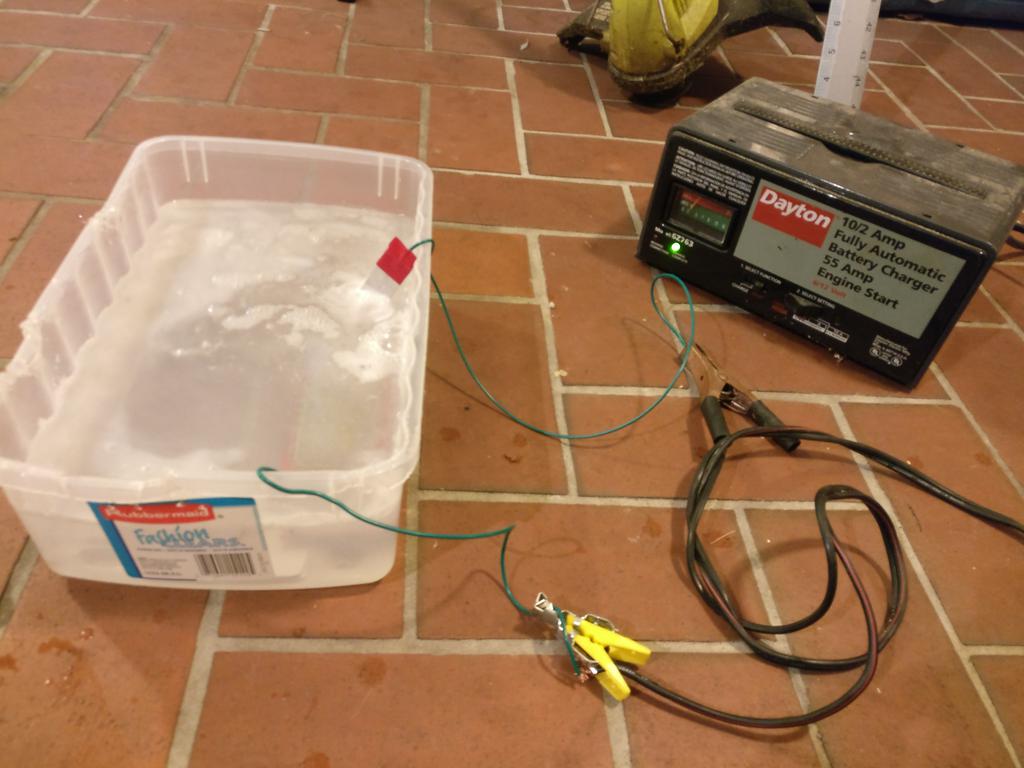
Given that a small amount of hydrogen and chlorine gas would be evolved during the etch, I did this outdoors, with a box fan blowing over the container at all times. Every few minutes, I stirred the electrolyte and tapped away any bubbles that had formed on the surface of the plate.
Once a few mm had been etched away, I washed the plate with plenty of water and peeled away the tape.
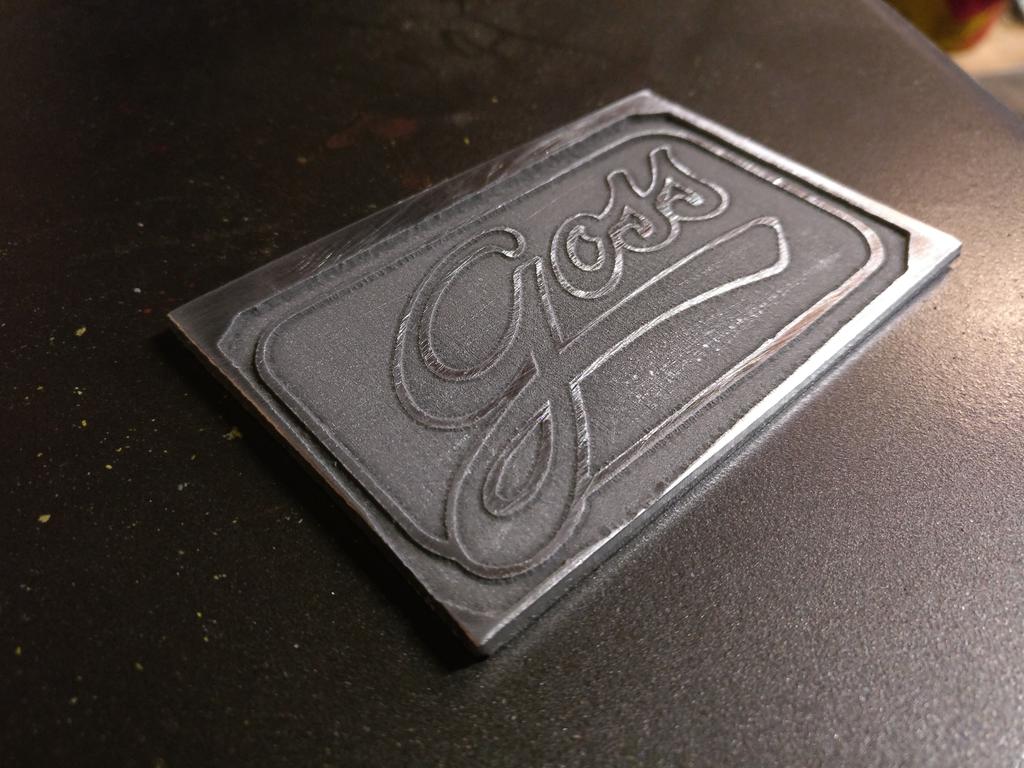
To finish the badge, I cut and sanded away the edges, drilled two holes for mounting with screws or rivets, filled the etched areas with black or off-white nail polish, and sprayed a few layers of clear coat on top of everything to protect it.
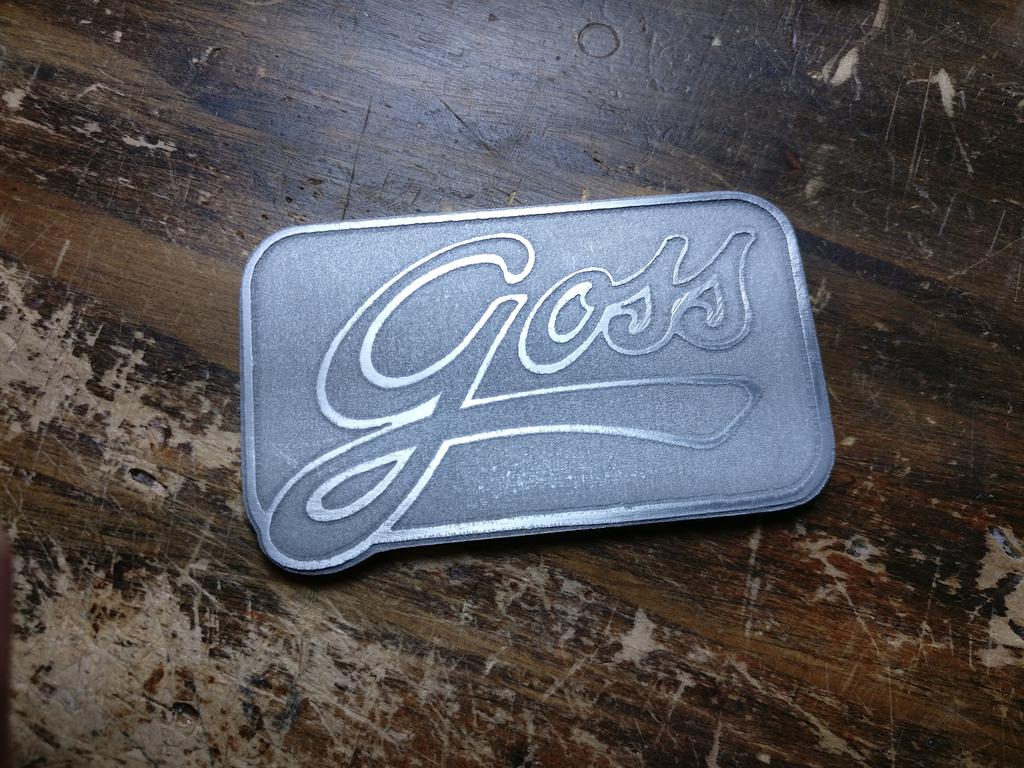

He loved it! What do you think?