High voltage capacitor discharge probe

But why?

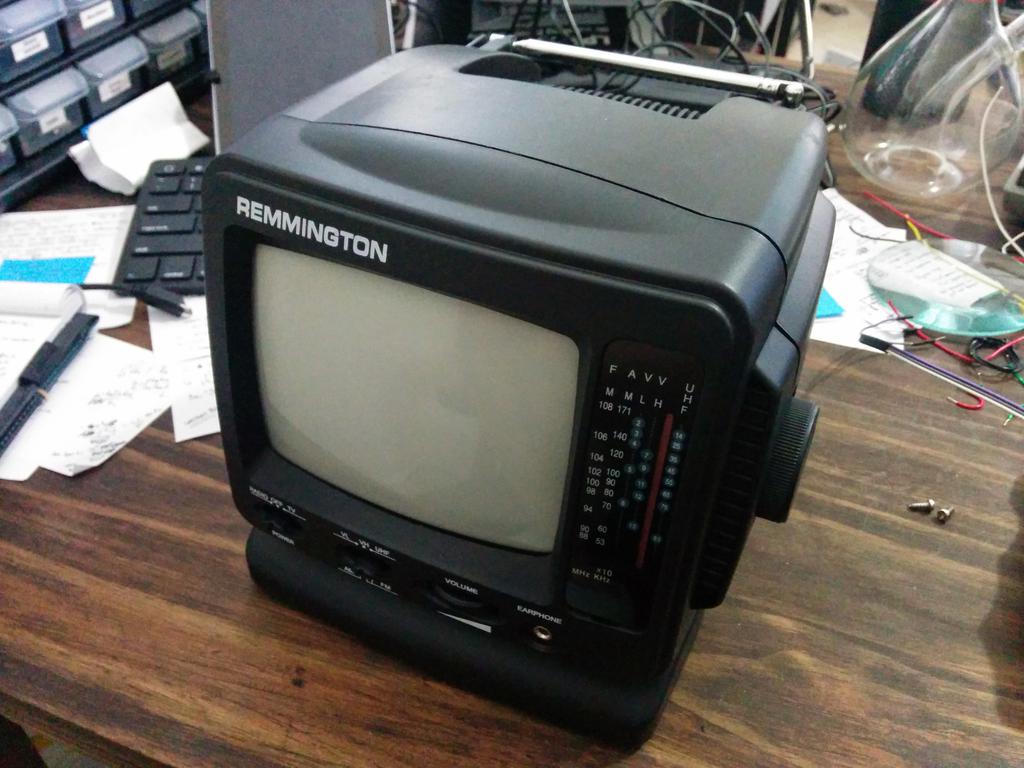
I picked up this tiny 5-AA powered CRT TV (in its original unopened box) at a garage sale for $5, and thought it might make for a great little display for some project. After taking it home, I realized that it only had an input for an external antenna (no composite input), so I figured I'd take it apart and see what could be done about that. Having turned it on before realizing this, I knew I'd need a way to safely discharge the capacitors to handle this thing safely. Battery-powered or not, it's still got a flyback transformer, and could deliver quite a wallop to the unsuspecting handler.

On to the probe!
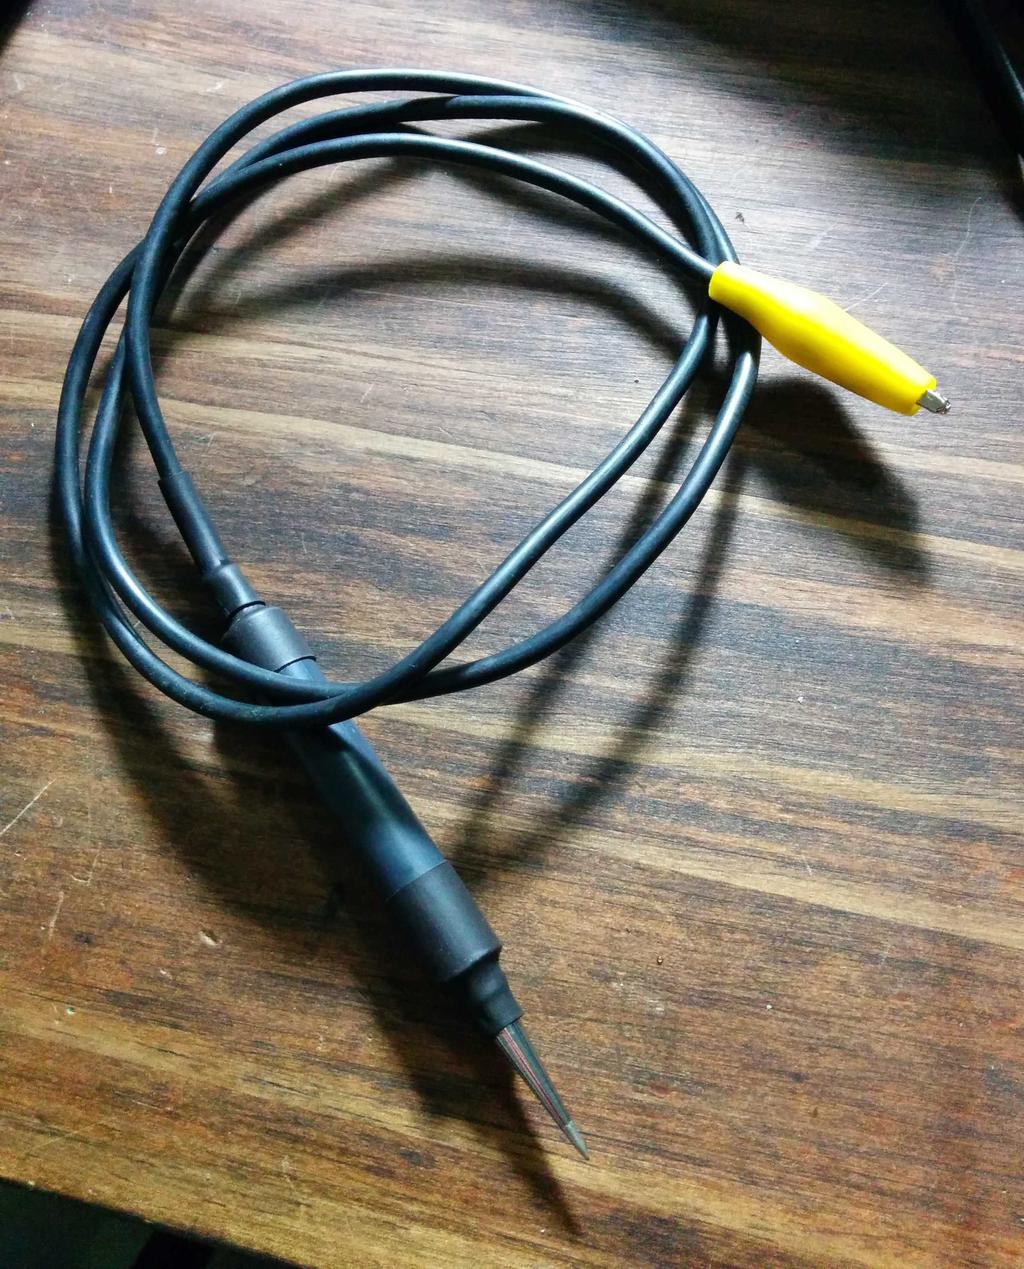
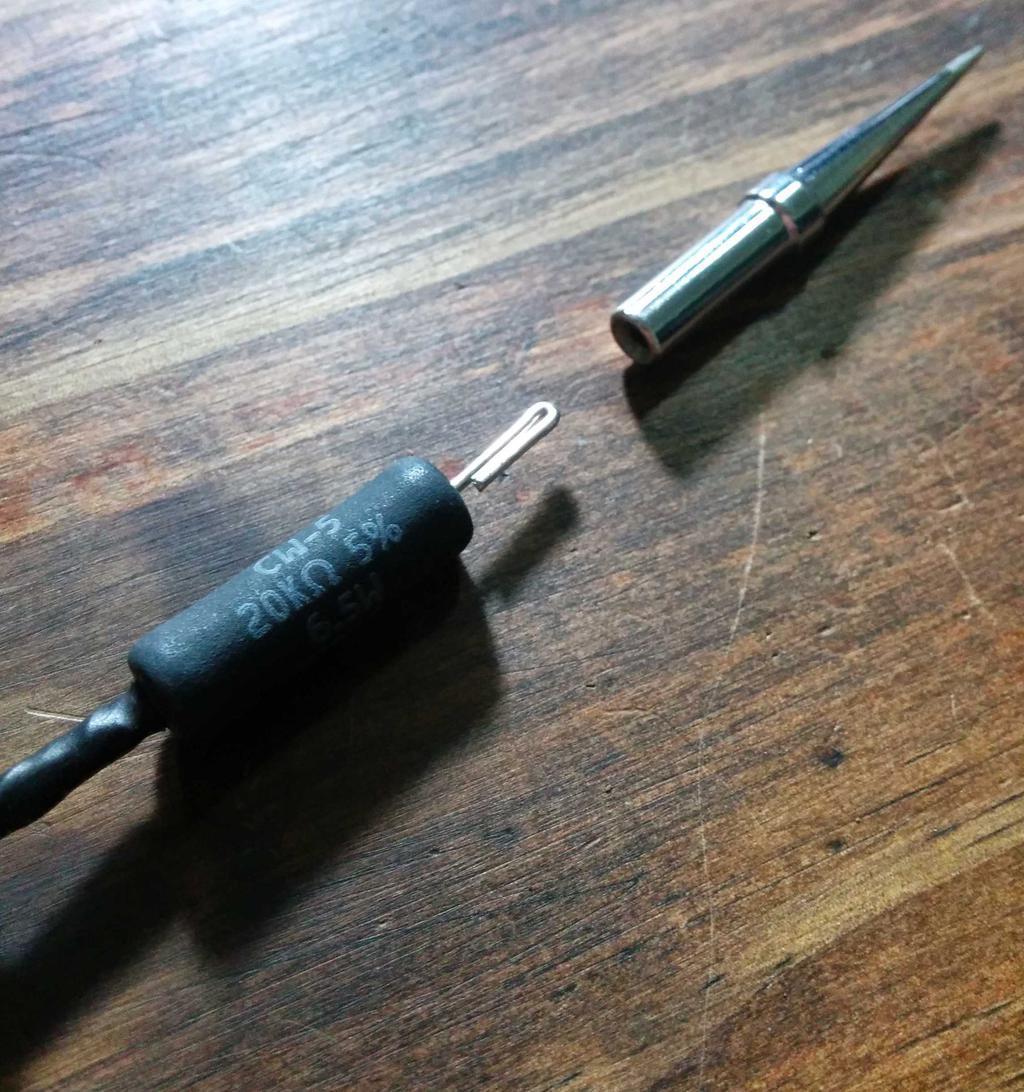
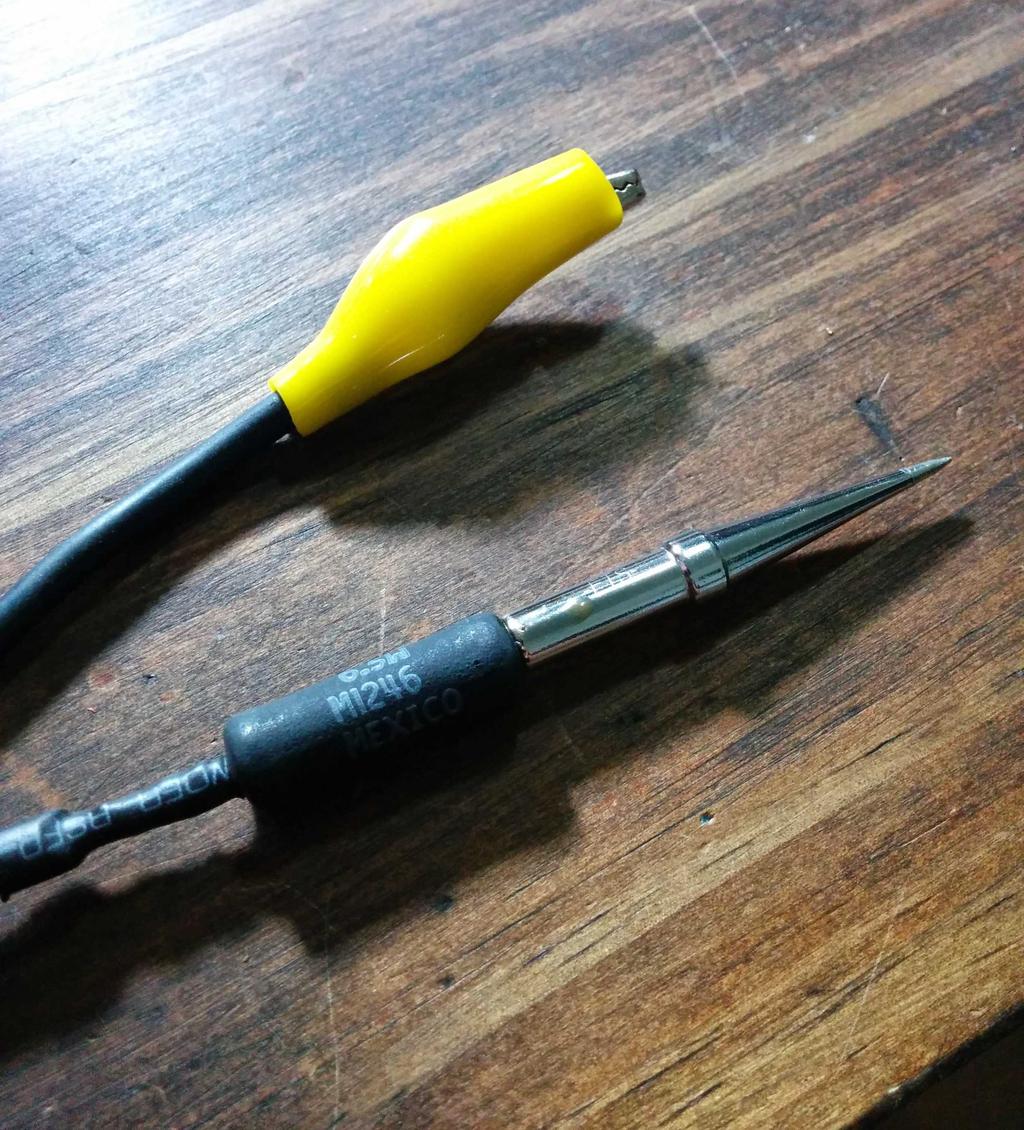
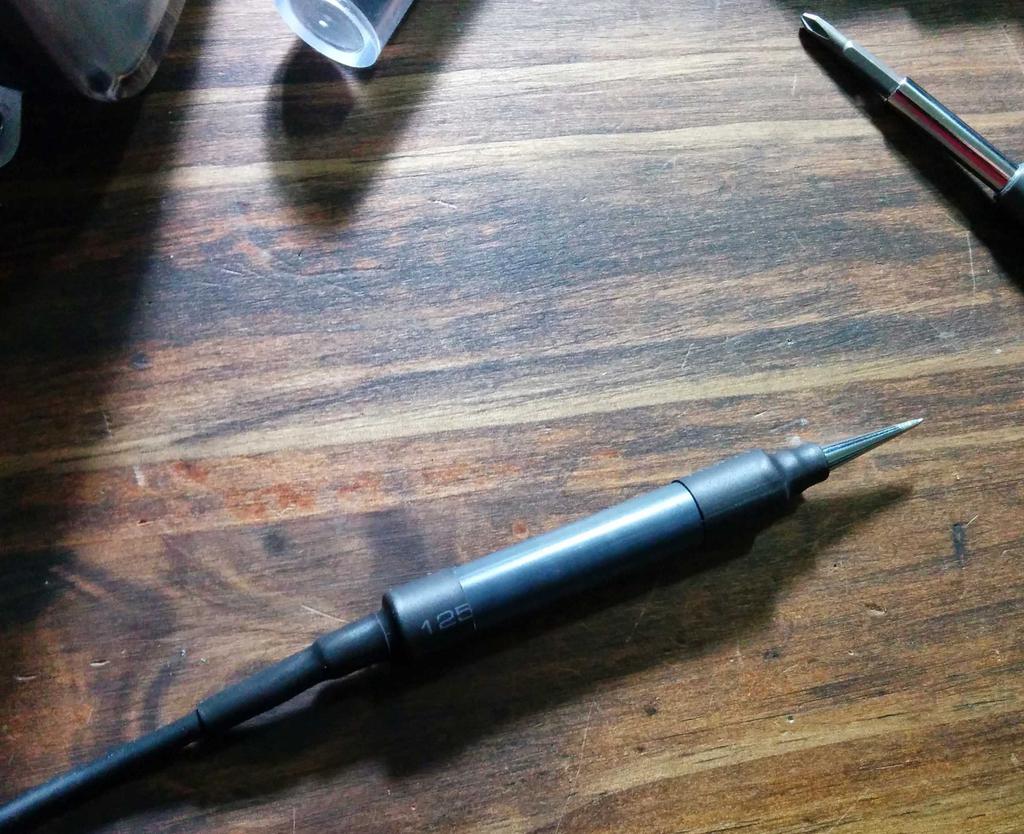
I built this discharge probe from a 6.5 W 20 KΩ power resistor, soldered to a spare soldering iron tip on one end and some thick silicone wire and alligator clip to ground on the other. After heat shrinking over the soldered connections, I slipped a thick plastic tube (recycled from a roll of doggie doo bags) other them and the resistor, and heat-shrunk that into place, so that it could serve as both a handle for the probe and as an additional isolation barrier.
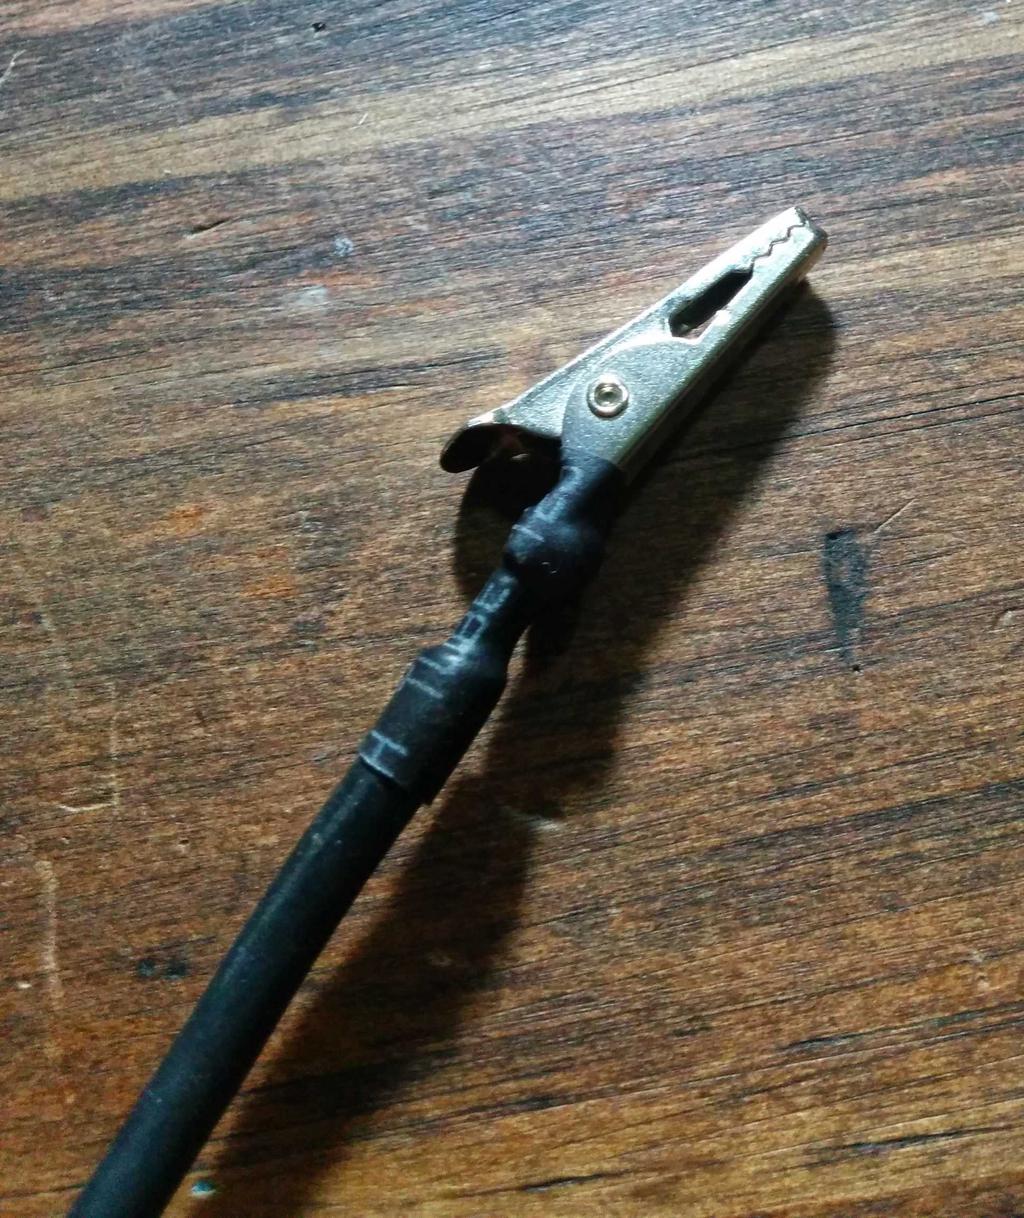
One end of wire soldered to alligator clip and covered with heat-shrink before covering with flexible yellow sleeve

Other end of wire soldered to resistor

Lead of resistor folded over, slipped into soldering-iron tip, and soldered in place.

Plastic sleeve slipped over resistor and heat shrunk into place

And what about the TV?

Considering that everything on the TV's PCB was through-hole, and that there was really only one IC on the board (labeled CD5151CP), this was actually pretty easy to get working.
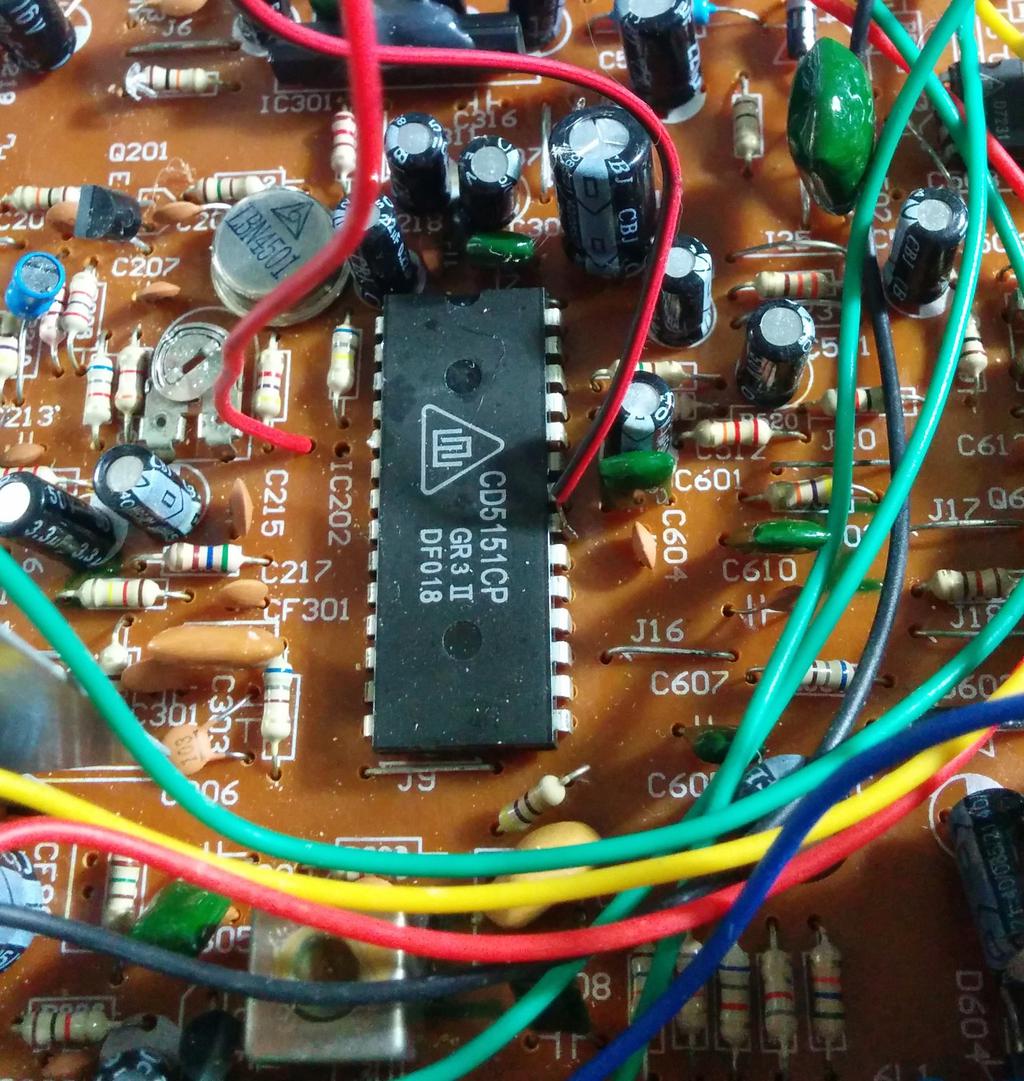
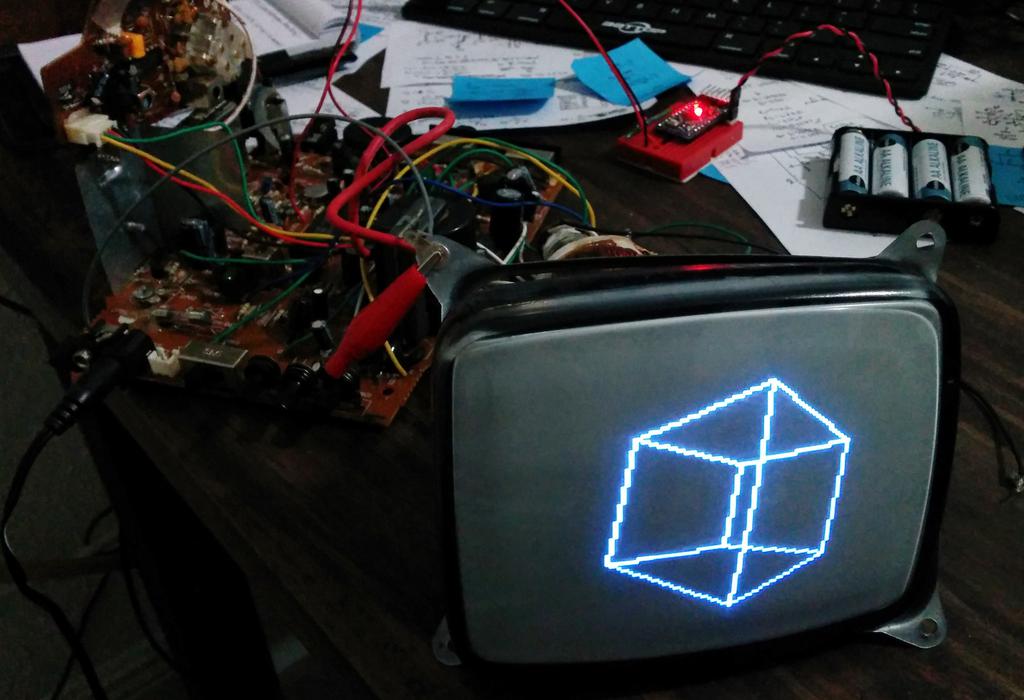
After a quick web search, I came across a Chinese datasheet for said chip; with the help of Google translate, I found that pin 5 was video out (1.8 V - 2.6 V typical) and that pin 21 was ground. From there, I clipped pin 5 from the IC, tapped into the PCB at that point (along with pin 21 for ground), and, pretending it was a composite input, hooked that up to an arduino mini clone running the arduino-tvout sketch with the recommended test-circuit.
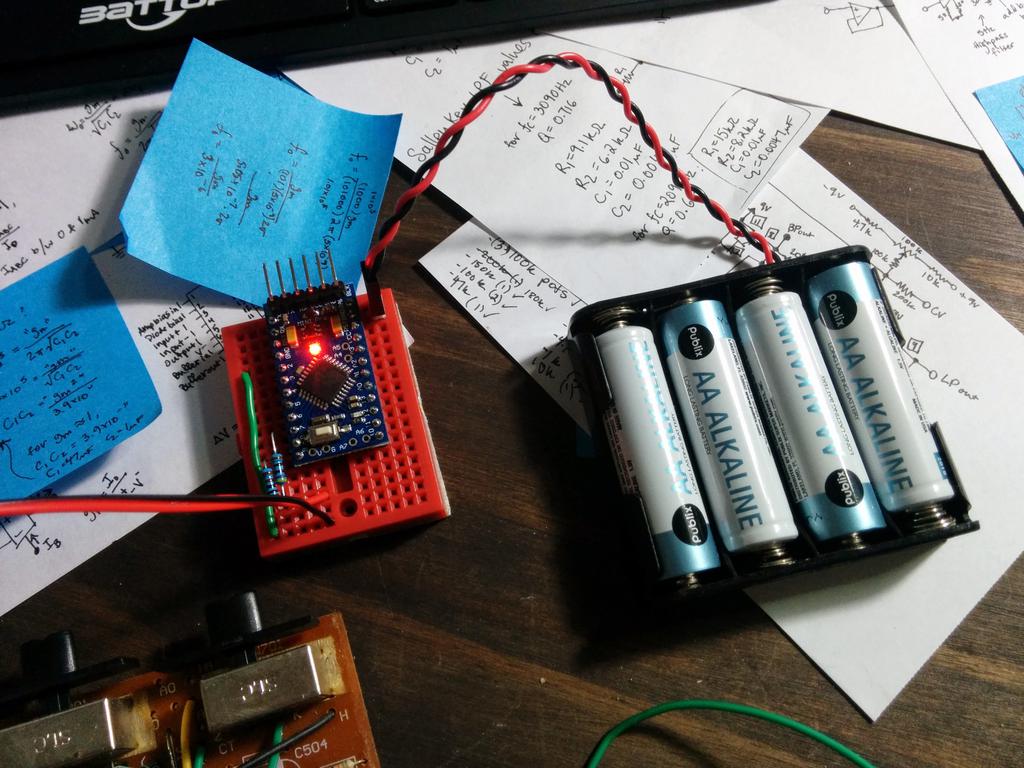
Lo' and behold, it worked!
Have something to say? Leave a comment.

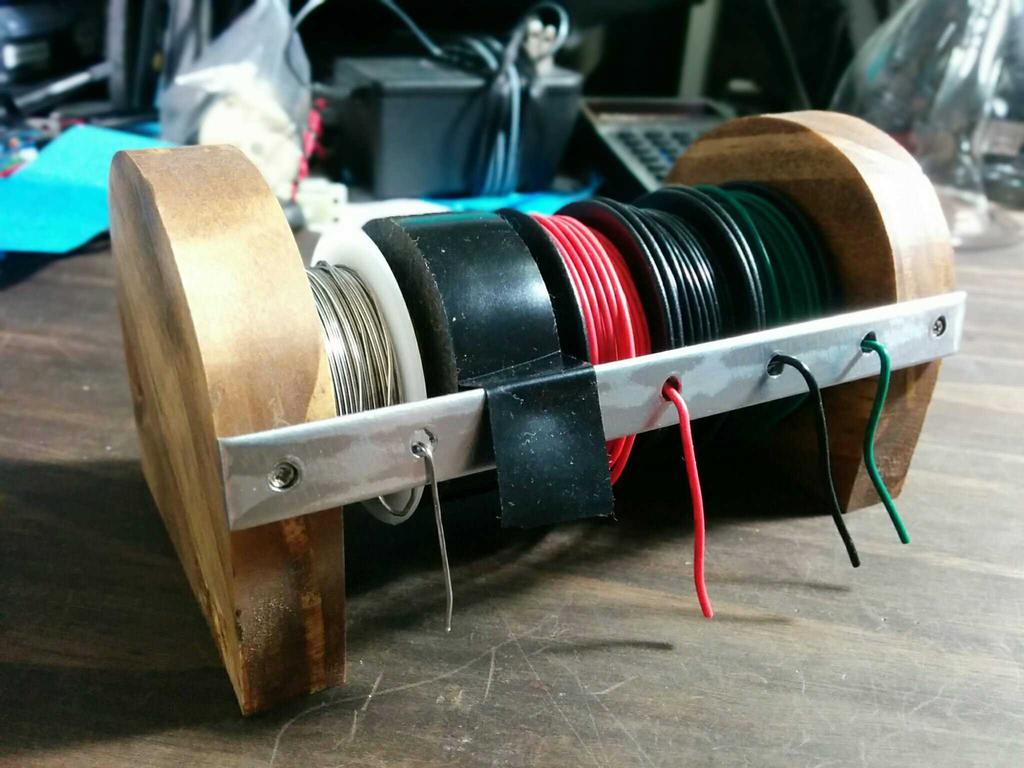
Wire, Solder, and Tape Holder

Made from a few scrap pieces of 3/4edge-glued poplar board, 1/2-wide folded steel strap, and 3/4" steel conduit, December 2014.

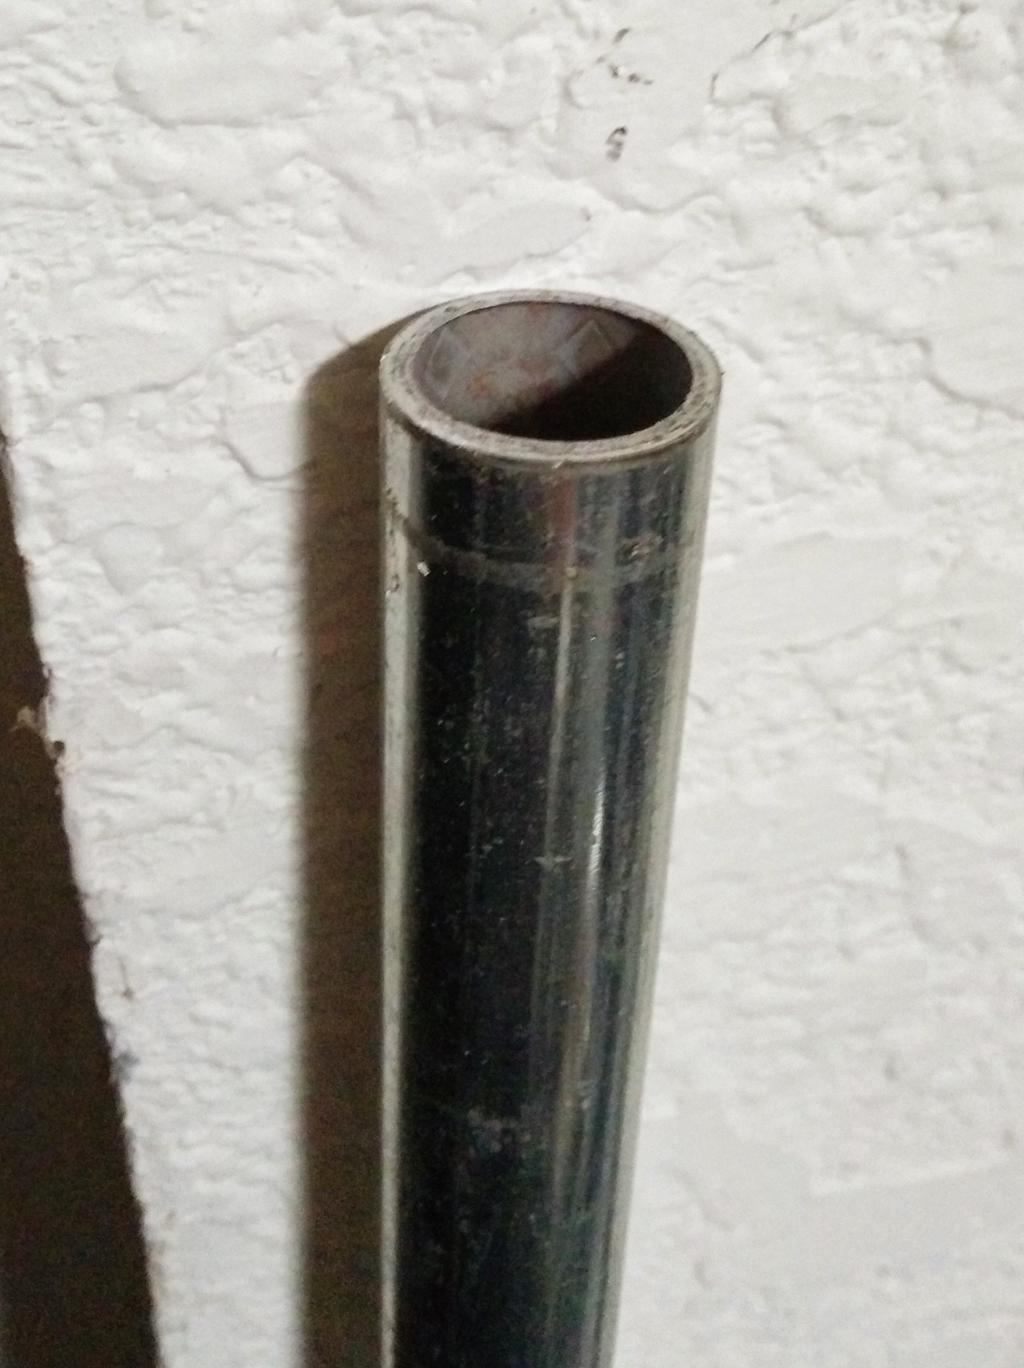
conduit

After cutting two identical sides from the poplar, I cut the conduit to the desired length, drilled 47/64diameter holes 1/2 into the center of the inside-face of each piece of poplar (for press-fitting the 3/4" conduit into place), and cut the folded steel to the appropriate length. I then drilled holes for affixing the folded steel onto the poplar end-pieces, and drilled 5 evenly spaced holes between them (though the tape won't need a hole, having an extra hole will allow me to rearrange the rolls at will). Finally, I stained and waxed the poplar, slid the rolls onto the conduit, press-fit the poplar onto the conduit, and affixed the folded steel (waxed to prevent rusting) to the poplar with two screws.

Have something to say? Leave a comment.

Felt Protective Sleeve for a Nexus 7 Tablet

Why not just buy one?

I was in the market for a protective sleeve for my tablet, but couldn't find exactly what I was looking for. Specifically, I wanted one that was:

  1. cheap (ideally $10 or less),
  2. more sophisticated-looking than my nephew's gameboy case, and
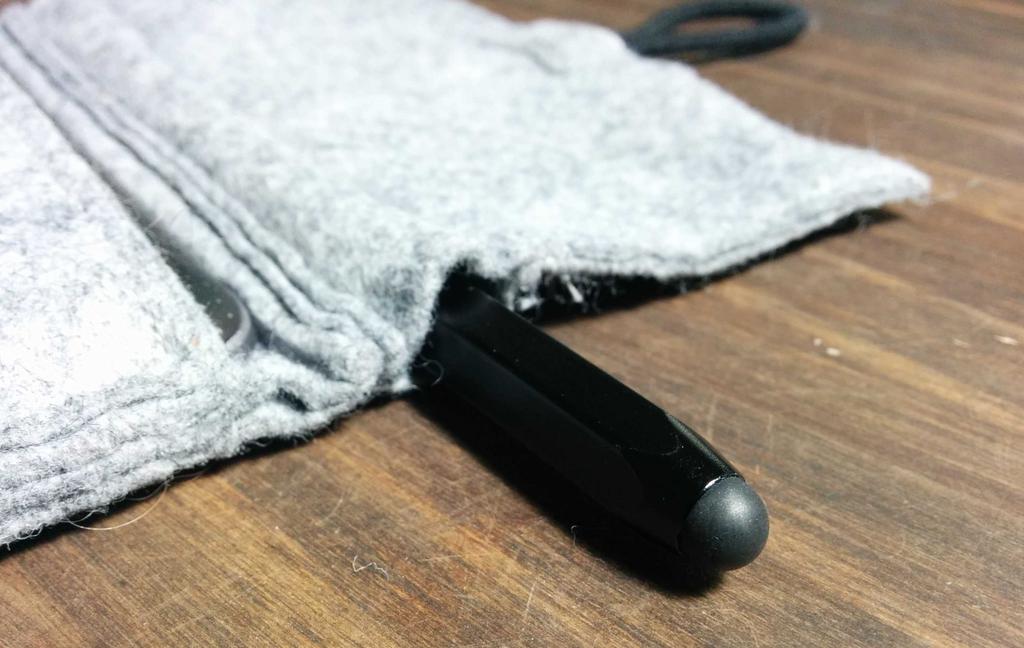
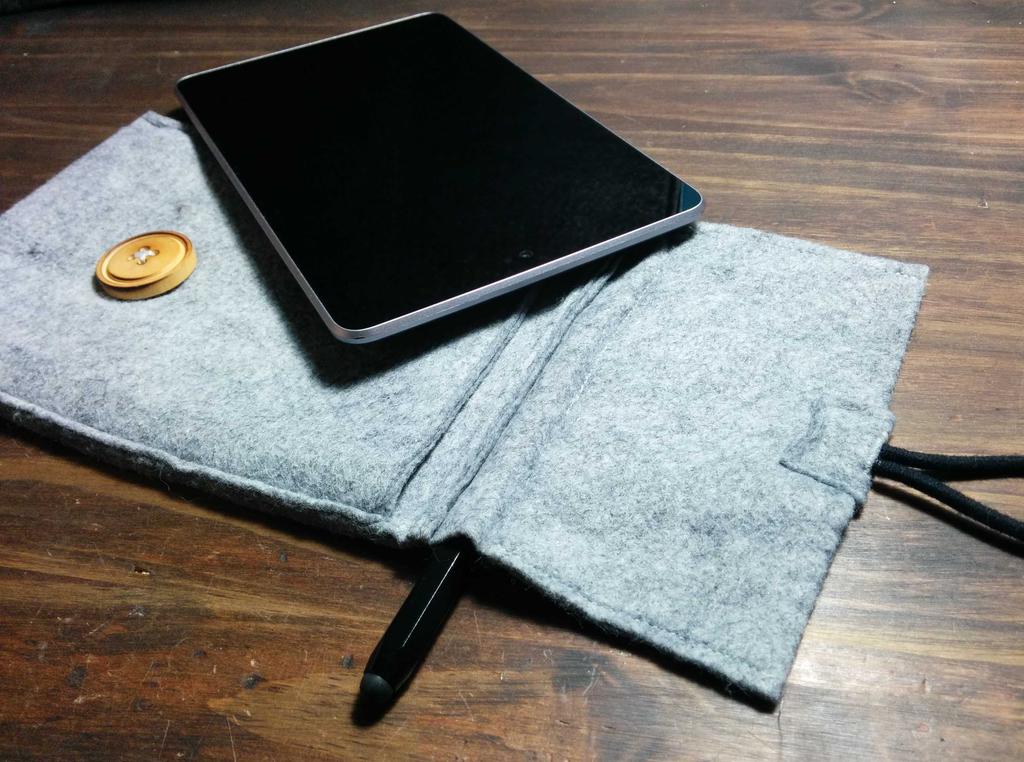
  3. that would securely hold my chunky aluminum touchscreen stylus adjacent to (but physically separate from) the tablet.

Unable to find all of these qualities, I set out to make my own.

How did I do it?

It's easy, I swear!

To be honest, it wasn't very difficult or time-consuming (but having a sewing machine really helped). Many incredibly confident and otherwise handy folks get flustered at the sight of fabric, but there really isn't any magic to it. Until you cut it, fabric is a pretty forgiving medium; if you misplace a stitch, you need only a sharp instrument to undo it and try again.

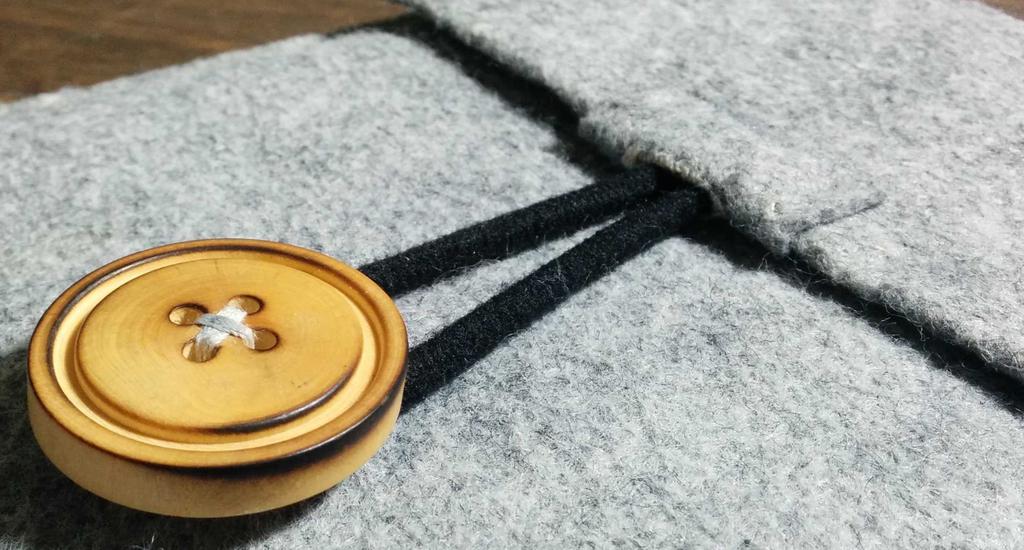
Initially, I wasn't sure exactly what look I was going for, but after picking through the clearance fabric-cutoffs section at a local craft/fabric store, I found a small amount of felt that looked and felt (ha!) about right. On the way to the register, I found a small assortment of wooden buttons and a black elastic hair band that I thought would complement it nicely. All told, I don't think I spent more than $6.

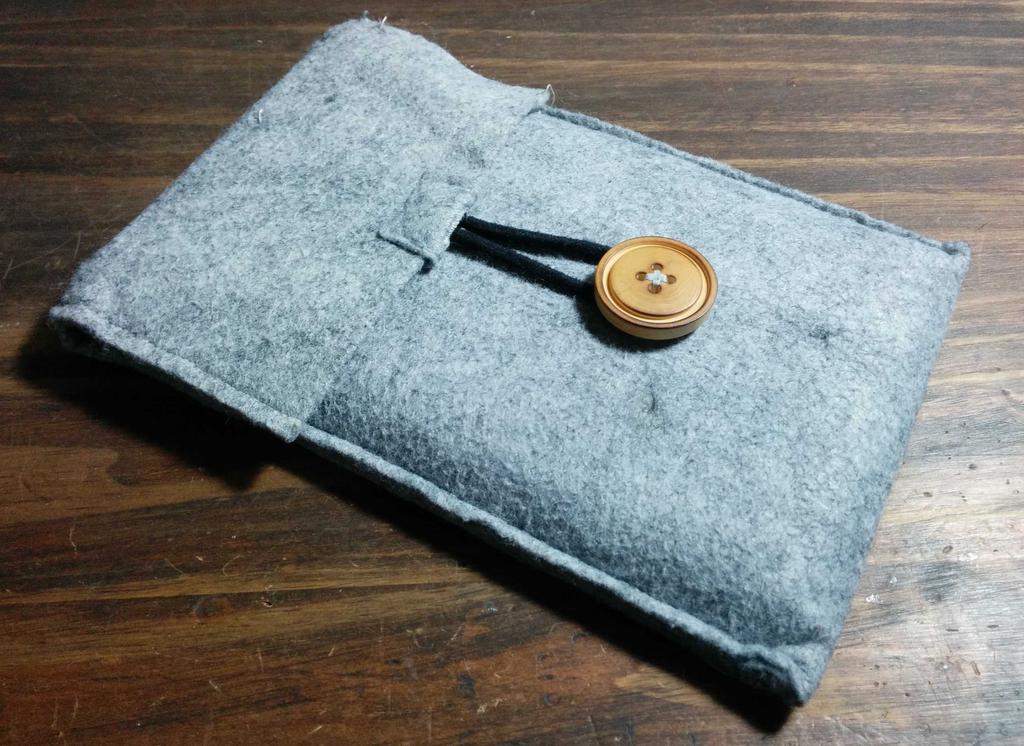
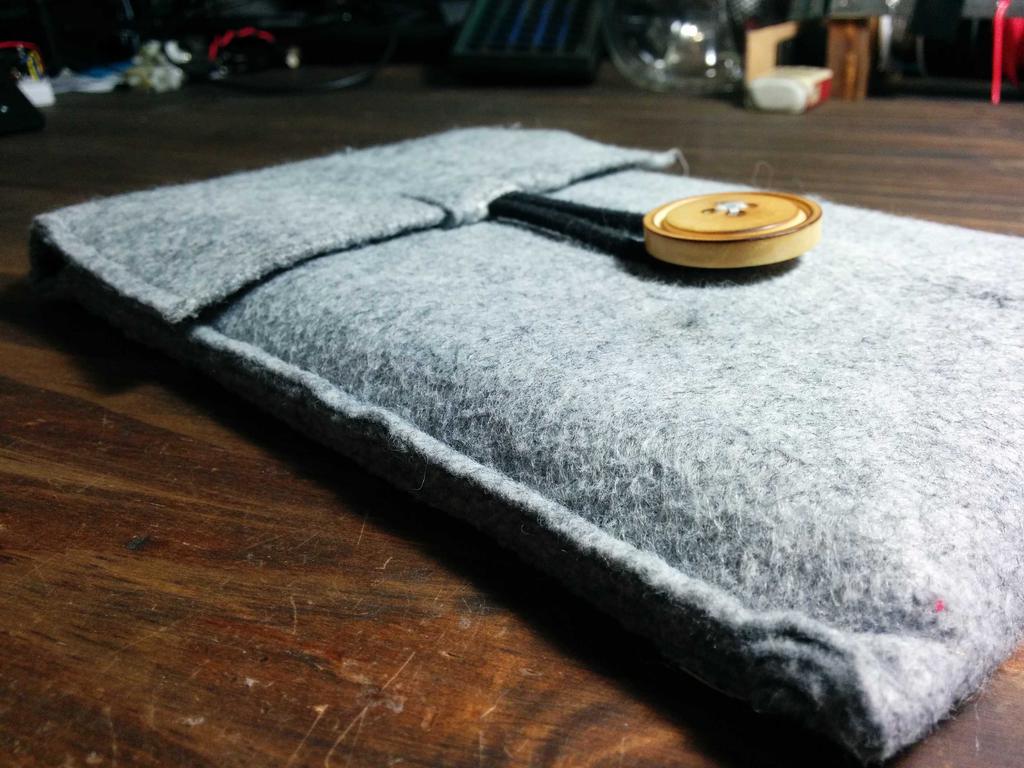
After getting home, I laid everything out around the tablet and figured out how I wanted things to look. As the felt was a bit thin as a monolayer, I doubled it over everywhere to provide additional padding, and stitched around the edge to reinforce it. The slot for the tablet was made by folding the doubled felt yet again, and running a stitch up both sides. Where I wanted the stylus to go (above the tablet but inside the fold), I left a small section of the edge of the doubled felt unstitched for it to slide into, and ran a stitch across the width of the sleeve to hold it in place.

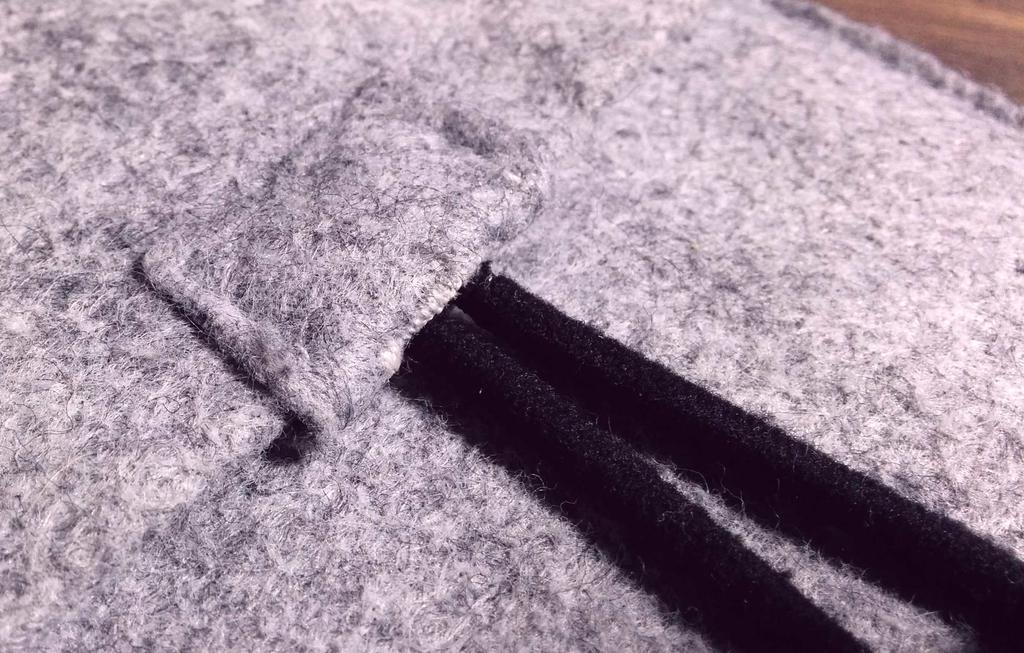
The elastic band was manually stitched to the flap to avoid piercing the elastic with the needle using several x-shaped stitches, and its attachment point was hidden using a small square of felt with a button-hole sewn into the middle, through which the band was passed. This was then stitched to the flap to secure it.

Finally, the wooden button was manually stitched to the sleeve, far enough down on the sleeve to keep the elastic band in tension once secured.

And here it is!

Have something to say? Leave a comment.